

The Complete Guide to
Evoto AI
Evoto AI is a modern tool for photographers that significantly speeds up image editing—from basic color correction and professional portrait retouching to working with presets, removing unwanted objects, and batch editing large photo series.
In this guide, I will walk you through the software step by step, explain what each section does, and show you how to use Evoto AI effectively in a real photographer’s workflow.
This material will be useful for anyone who wants to edit photos faster, maintain a consistent visual style, and achieve clean, professional results without spending hours on manual retouching.
What You Will Learn from This Guide
In this guide, we will take a detailed look at:
- the Evoto AI interface;
- importing and organizing photos;
- basic and creative color correction;
- working with built-in and custom presets;
- portrait retouching;
- AI Lab tools and object removal;
- enhancing landscape and atmospheric images;
- batch photo editing;
- the correct workflow—from importing images to exporting the final series.
Chapter 1. Evoto AI Interface
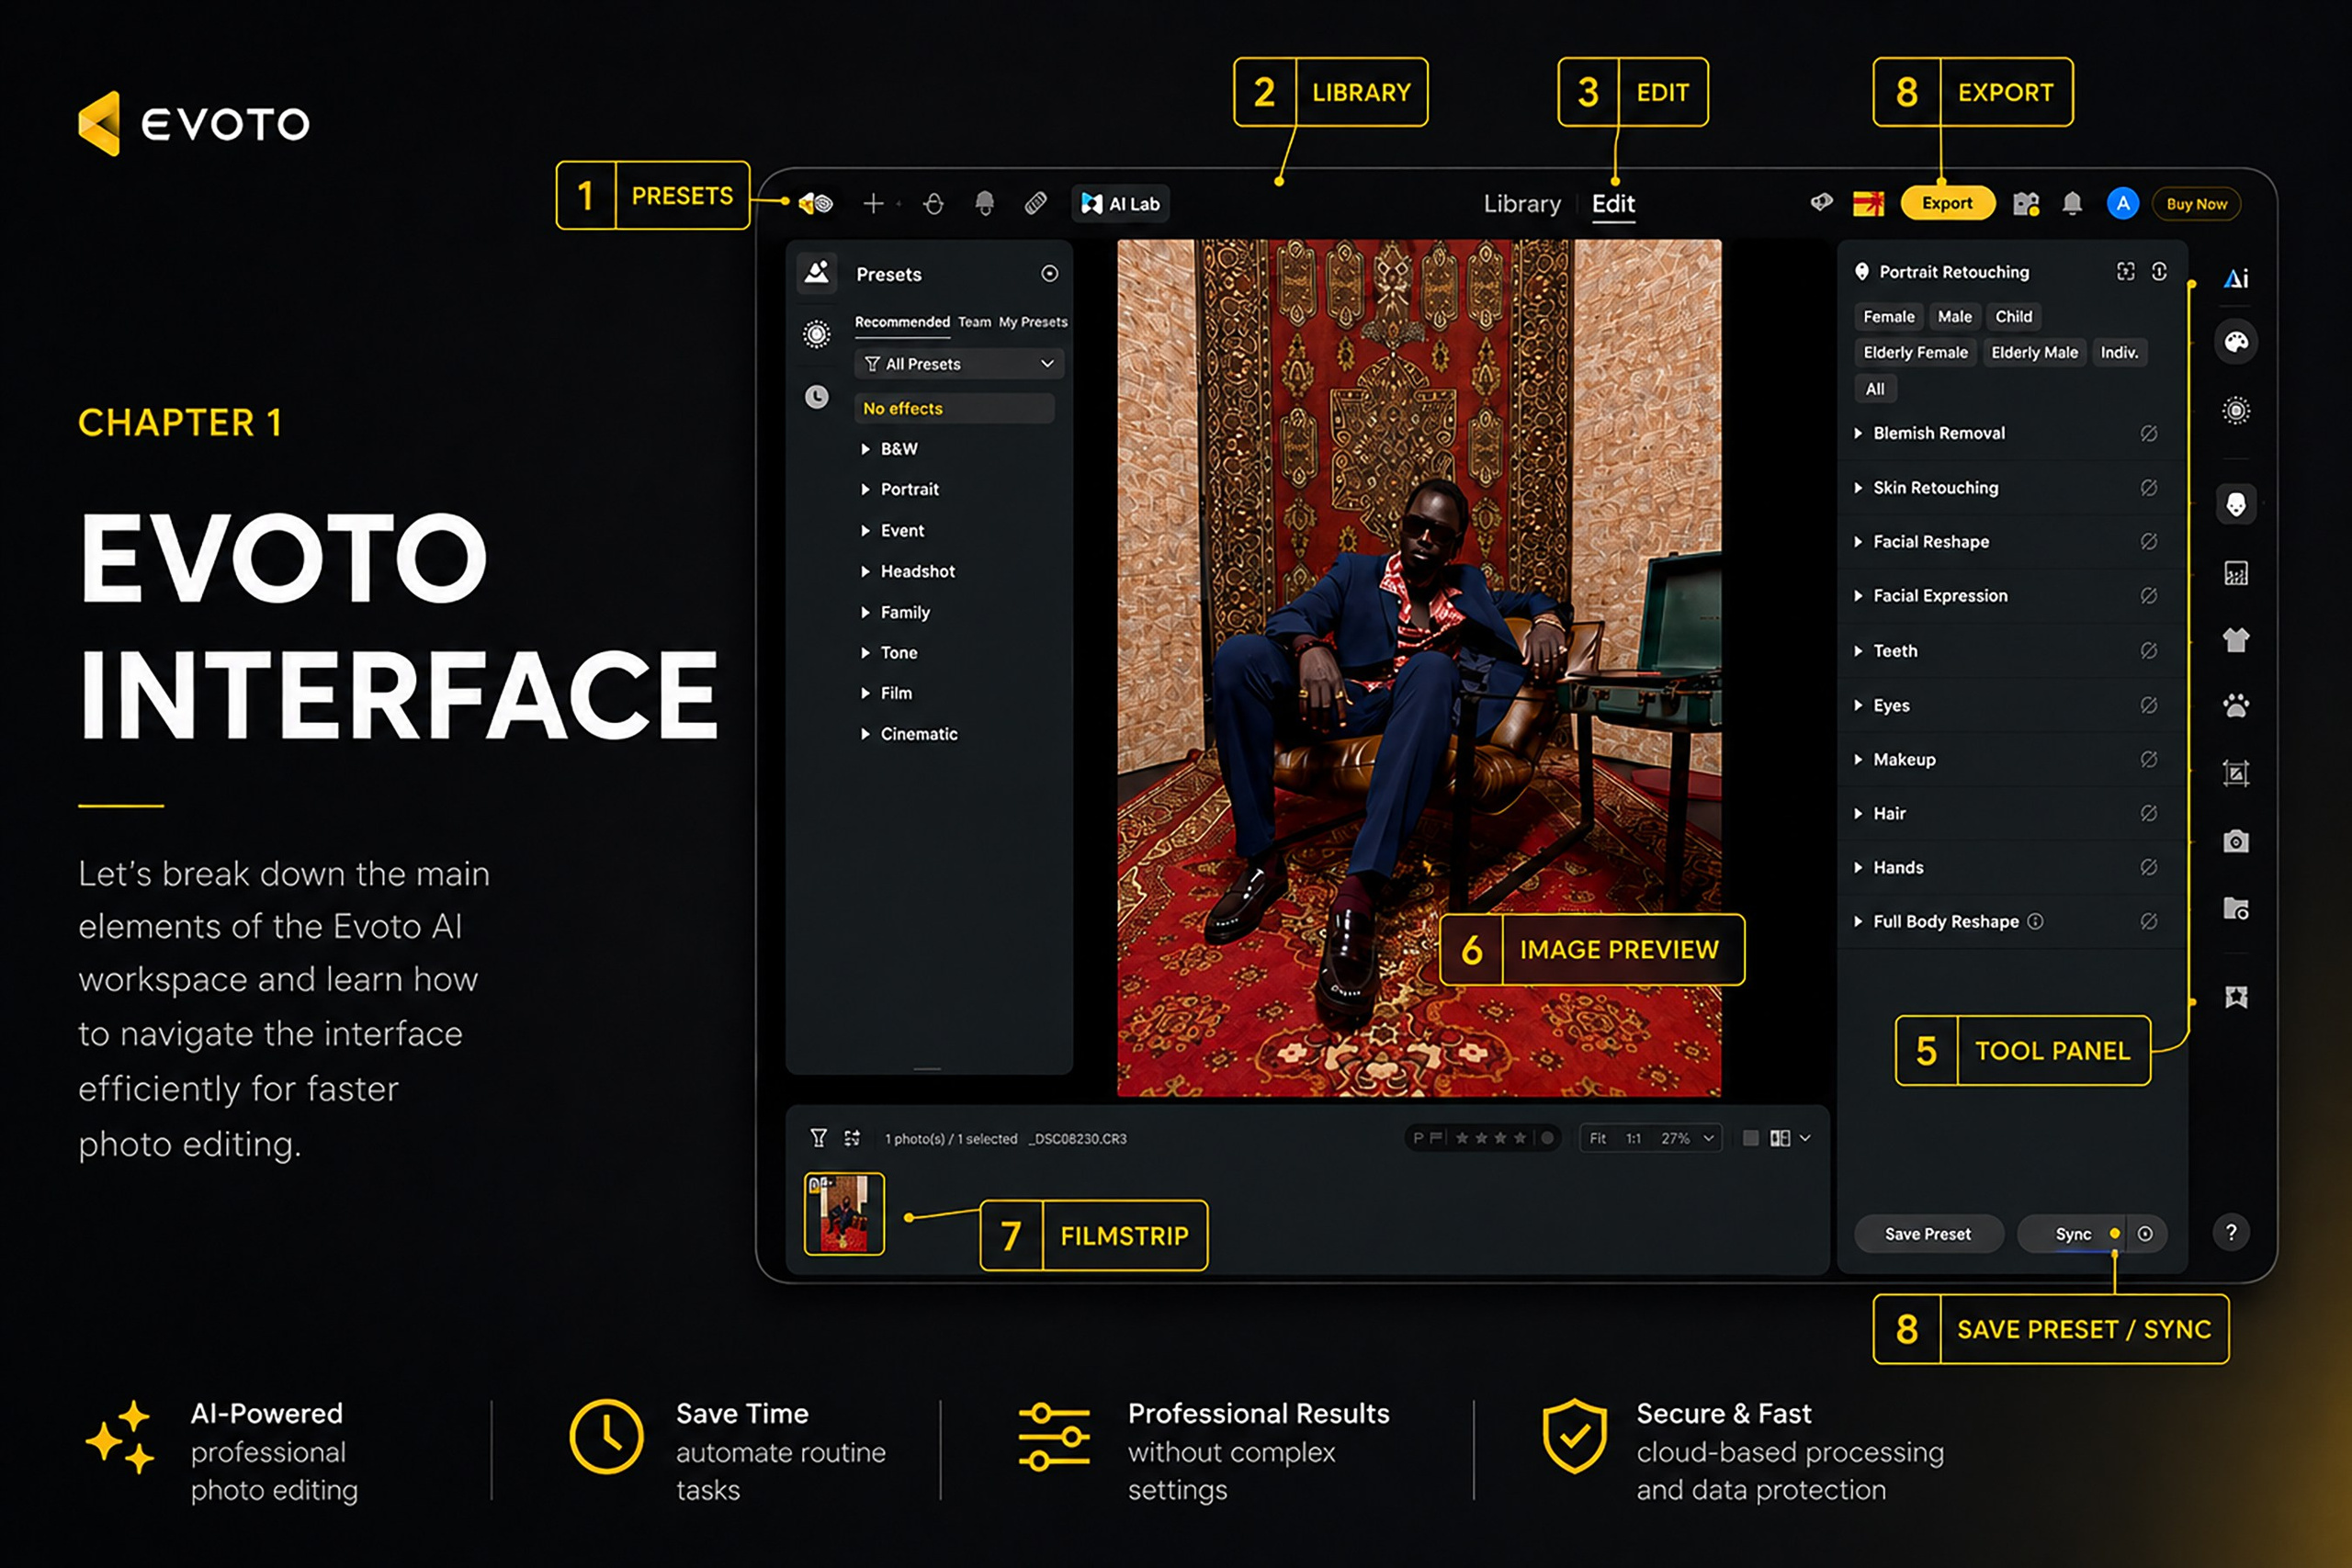
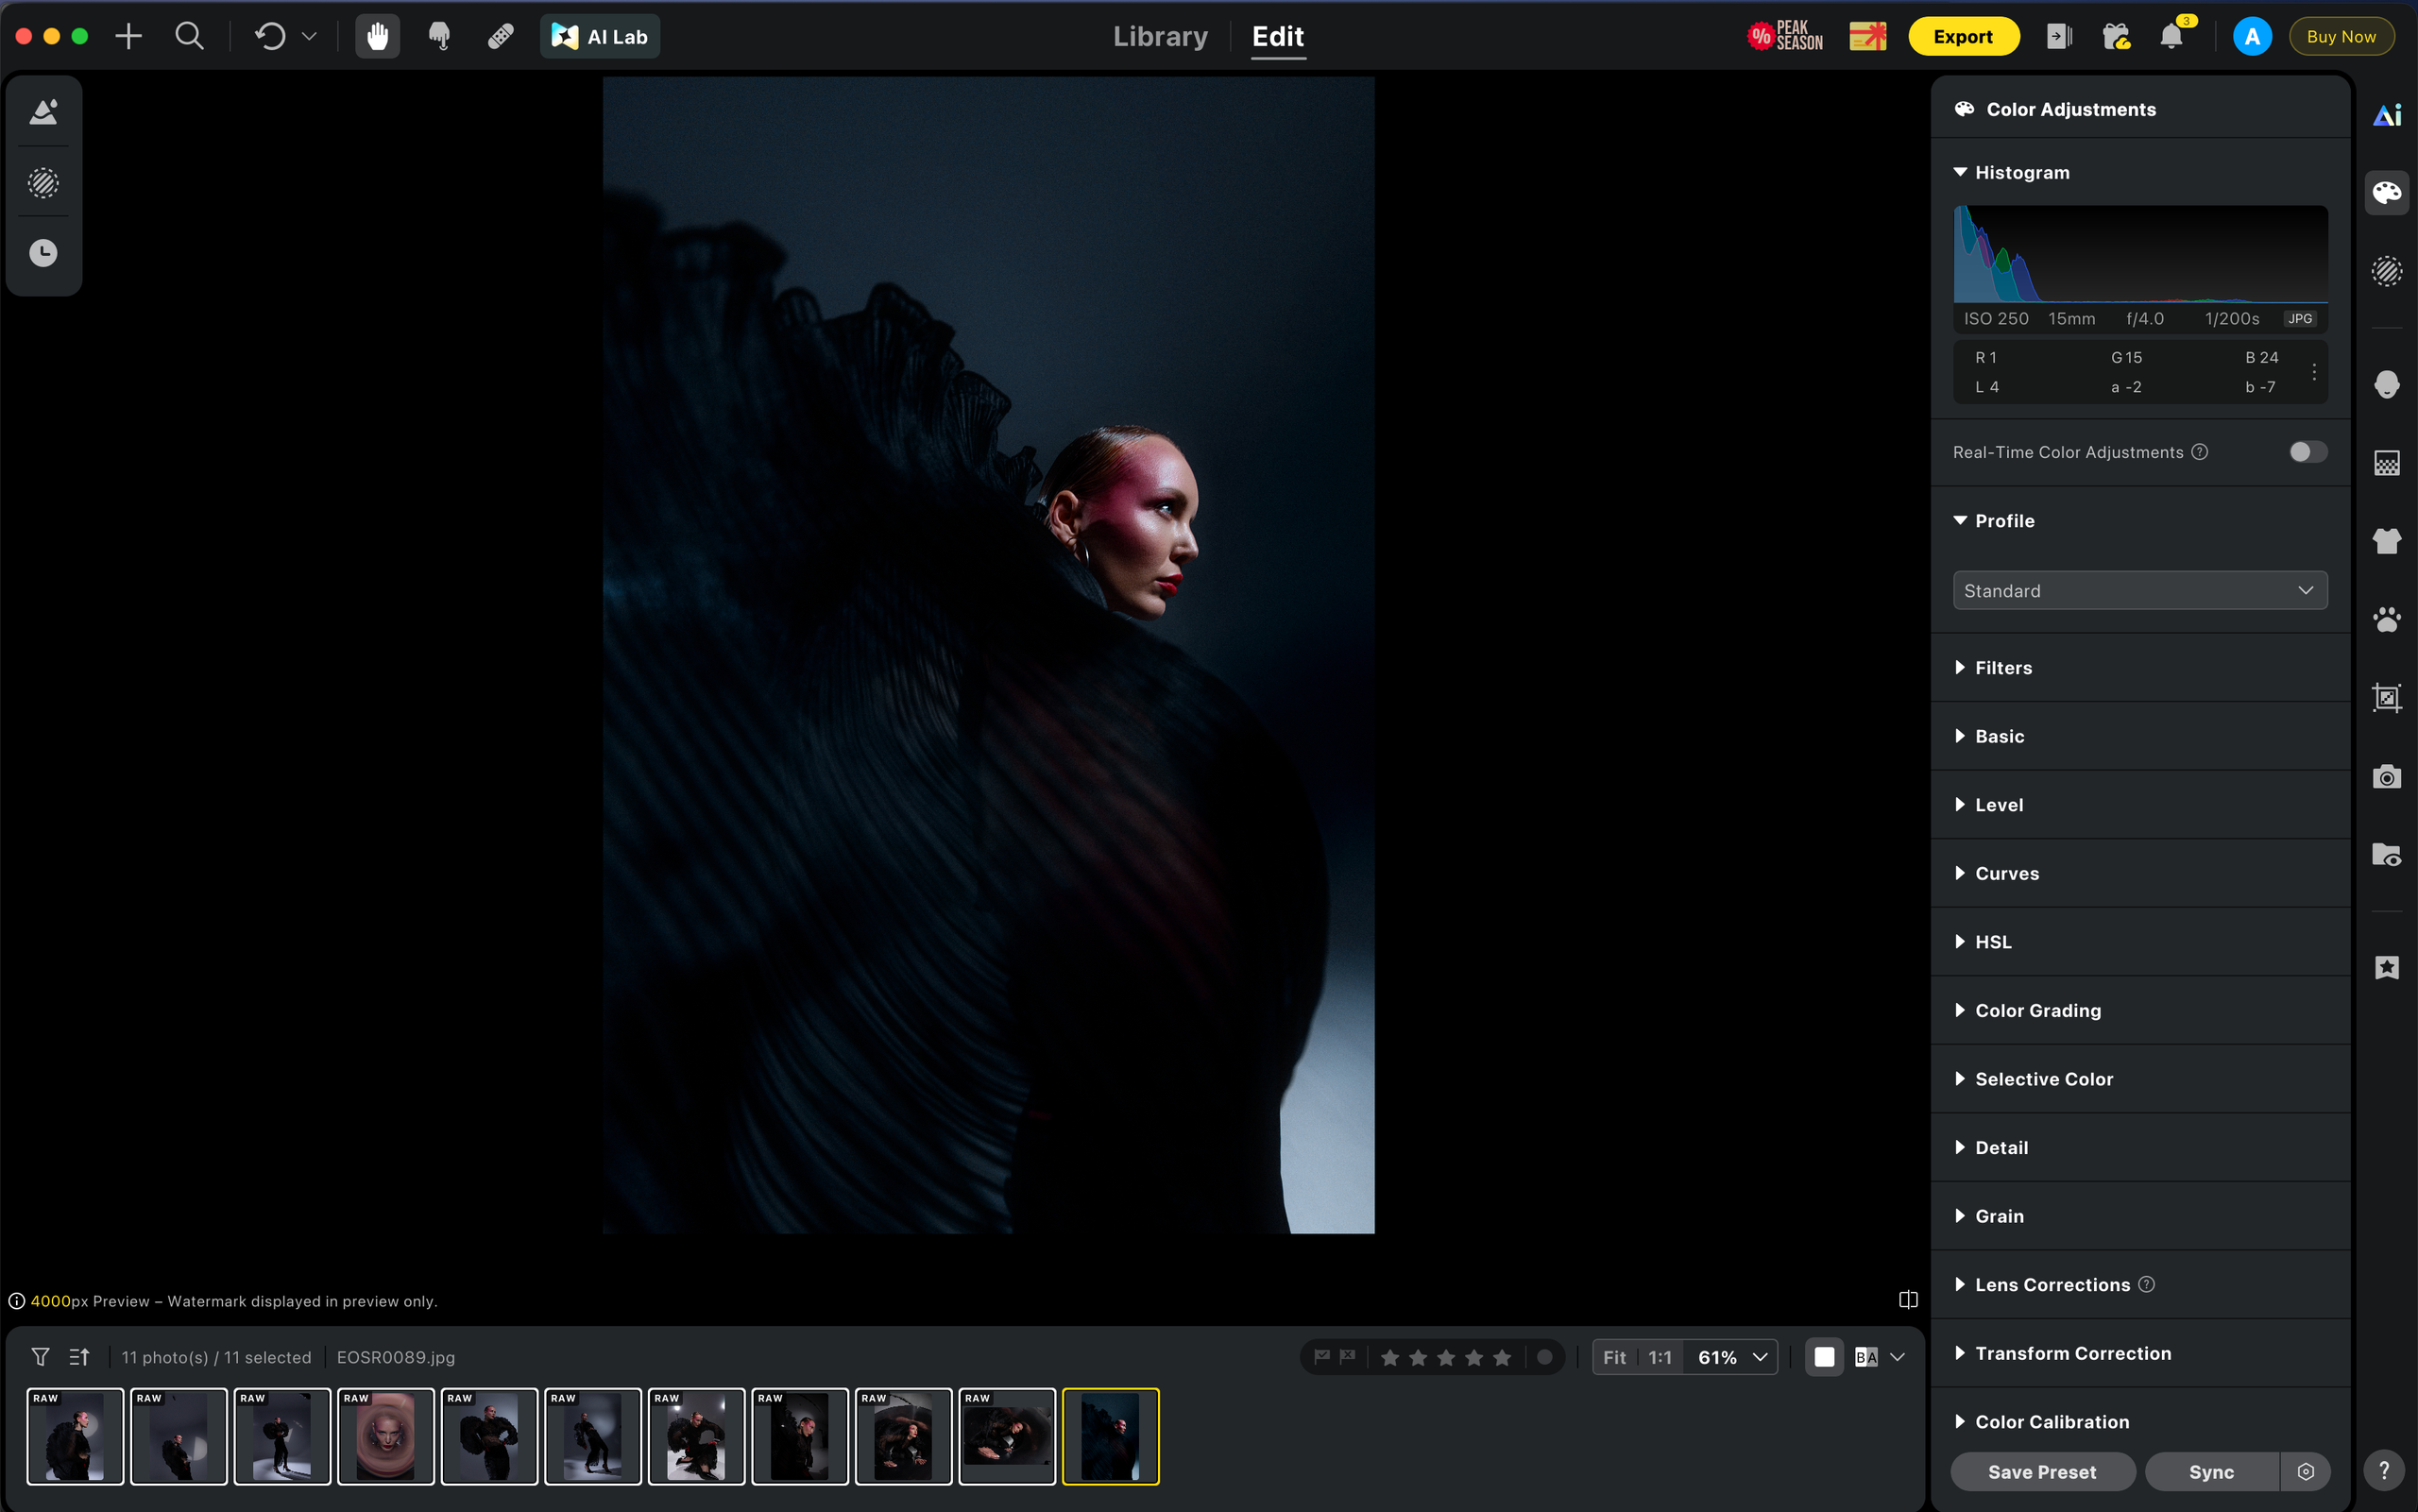
Evoto AI has a clear and logically organized interface designed to make a photographer’s workflow fast and comfortable.
The workspace is divided into several main areas: presets are located on the left, the selected photo is displayed in the center, editing tools are positioned on the right, and the entire series of imported images appears at the bottom of the screen.
Thanks to this structure, all the main functions remain visible, so you do not need to constantly switch between different windows while editing.
Main Interface Elements
Presets
A section containing ready-made editing styles.
Here you can use Evoto’s recommended presets, team presets, or your own saved settings.
Presets allow you to apply a consistent editing style to a single photo or an entire series with one click, significantly speeding up your workflow.
Library
The photo library.
This section contains all the imported photos, projects, and series you are currently working with.
It is a convenient place to review photos, perform an initial selection, sort images, and organize your project before editing.
Edit
The main photo editing section.
This is where most of the editing process takes place.
In the Edit section, you can work with:
- Basic Color;
- Portrait Retouching;
- AI Lab;
- AI Landscape Enhancer;
- presets;
- local adjustments;
- and other Evoto AI tools.
Preview Window
The main image preview area.
The selected photo is displayed in the center of the interface.
Here you can:
- evaluate the editing result;
- zoom in on specific areas of the photo;
- check image detail;
- compare the photo in Before / After mode.
This is where you see every change you make during editing.
Editing Panel
The editing tools panel.
All editing tools are located on the right side of the interface.
Depending on the selected section, this panel displays settings for:
- color correction;
- skin retouching;
- facial adjustments;
- eyes;
- hair;
- clothing;
- body reshaping;
- background editing;
- AI tools and other program features.
Editing Panel is the main workspace used to control all image editing parameters.
Filmstrip
The photo thumbnail panel.
The entire imported series is displayed at the bottom of the interface.
From this panel, you can:
- quickly switch between photos;
- select the best images;
- select multiple images at once;
- assign ratings to photos;
- synchronize editing settings across images.
When working with large photo sessions, Filmstrip significantly speeds up navigation through the series.
Save Preset
allows you to save your current editing settings as a custom preset.
This is useful when you want to reuse the same editing style in future projects or quickly apply your signature look to new photo series.
Sync
is used to synchronize settings between photos.
After fully editing one reference image, you can transfer selected settings to the remaining photos in the series.
This is one of the most useful features for large photo sessions because it helps maintain a consistent editing style and significantly reduces the amount of time required.
Export
is the section used to save your finished photos.
The Export button is located in the upper-right corner of the interface.
After completing the editing process, you can choose:
- file format;
- image quality;
- image size;
- resolution;
- destination folder;
- additional export settings.
Using Export, you can save either a single photo or the entire edited series.
Chapter 2. Import Photos
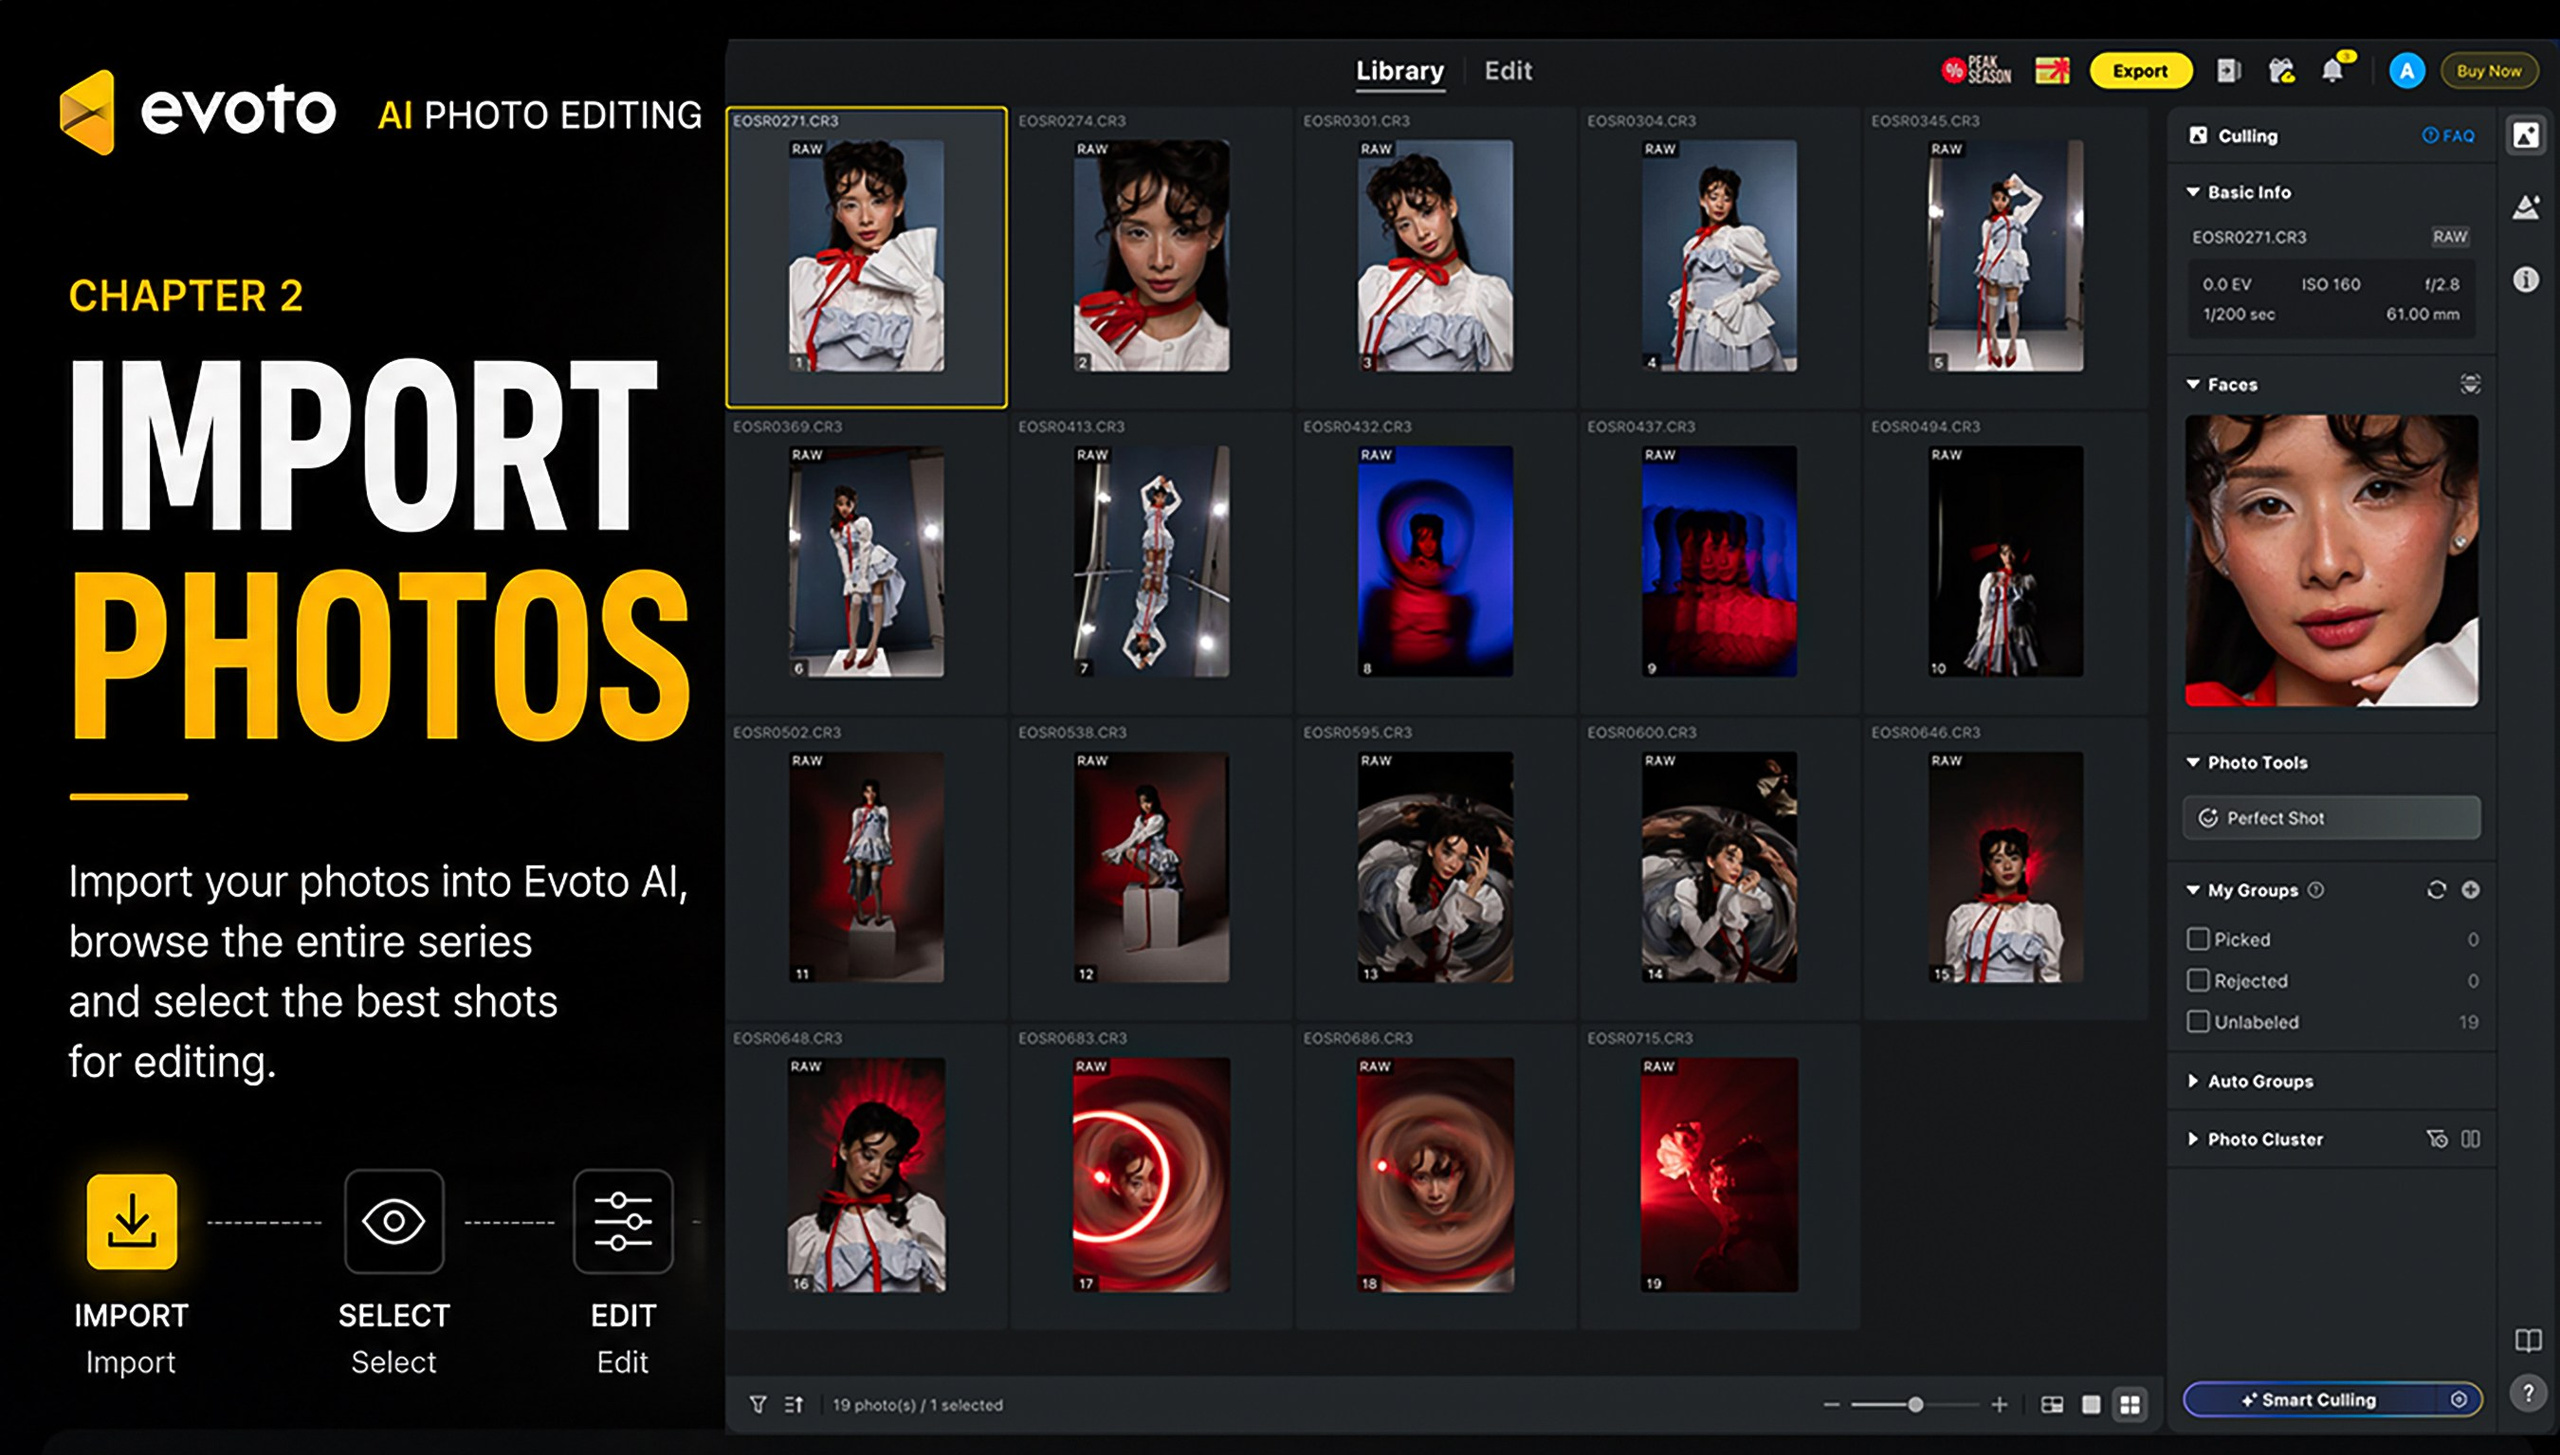
Importing Photos into Evoto AI
Import Photos is the first step in your workflow with Evoto AI.
At this stage, you import the photos that will be edited during your current session.
The software supports importing both individual images and large photo collections, making it suitable for portrait, wedding, commercial, and event photography.
Before starting the editing process, I recommend organizing your photos into separate projects or sessions. This will help keep your workflow structured and make it easier to manage large photo libraries.
Add Folder
Add Folder allows you to import an entire folder of photos at once.
This is the most convenient option when working with complete photo sessions.
Evoto AI automatically imports all supported images from the selected folder, allowing you to begin culling and editing immediately.
I recommend using this option for wedding, portrait, family, and commercial photo sessions where all images belong to the same project.
Add Images
Add Images allows you to import selected photos individually.
This option is useful when you only need to edit a few images instead of an entire folder.
It is also convenient when adding additional photos to an existing project.
Library
Library is your main workspace for managing imported photos.
This section contains all the images within your current project.
Here you can:
- browse your entire photo session;
- organize images;
- group photos;
- quickly navigate through your project;
- prepare your files before editing.
A well-organized library makes it much easier to work with large photo sessions and helps you quickly find the images you need.
Culling
Culling is the process of selecting the best photos from your session before editing.
Instead of editing every image, I recommend reviewing the entire shoot first and keeping only the strongest photographs.
This approach significantly reduces editing time and allows you to focus on delivering the highest-quality final gallery.
During culling, pay attention to:
- composition;
- facial expressions;
- sharpness;
- focus accuracy;
- lighting;
- duplicate images.
The better your selection, the faster and more efficient your editing workflow will be.
Pick Your Hero Image
Pick Your Hero Image is one of the most important steps in the entire workflow.
Before editing the full session, choose the strongest photo that best represents the lighting, colors, and overall style of the shoot.
This image will become your Hero Image and serve as the reference for the rest of the session.
I recommend selecting a photo that has:
- correct exposure;
- natural skin tones;
- representative lighting;
- a strong composition;
- the highest overall quality.
After fully editing your Hero Image, save the settings as a preset and synchronize them across the remaining photos using Sync.
This workflow ensures a consistent editing style throughout the entire session while dramatically reducing post-production time.
Recommended Workflow
I recommend following this workflow:
- Click Import Photos.
- Import your photos into the project.
- Open the Library section.
- Complete the initial Culling process.
- Select your best image (Hero Image).
- Fully edit that image.
- Save your custom Preset.
- Apply the settings to the rest of the photo series using Sync or Batch Editing.
Why This Workflow?
One of the most common mistakes photographers make is editing every photo individually.
A much more efficient approach is to fully edit one reference image first and then transfer those settings to the rest of the photo series.
This workflow allows you to:
- maintain a consistent editing style across the entire gallery;
- significantly reduce editing time;
- avoid color inconsistencies between neighboring images;
- prepare the final gallery for delivery much faster.
My Recommendation
Don’t rush into editing immediately after importing your photos.
Spend a few minutes carefully culling your images and selecting the strongest Hero Image.
The quality of your chosen Hero Image directly determines how quickly and accurately the rest of the series can be edited.
Many photographers save their preset before they have completely finished editing the reference image.
I recommend completing all color correction and retouching first, making sure you are fully satisfied with the result, and only then saving your settings using Save Preset.
A well-prepared Hero Image dramatically reduces the editing time for the entire photo session and helps maintain a consistent, professional look across every photograph.
Chapter 3. Basic Color
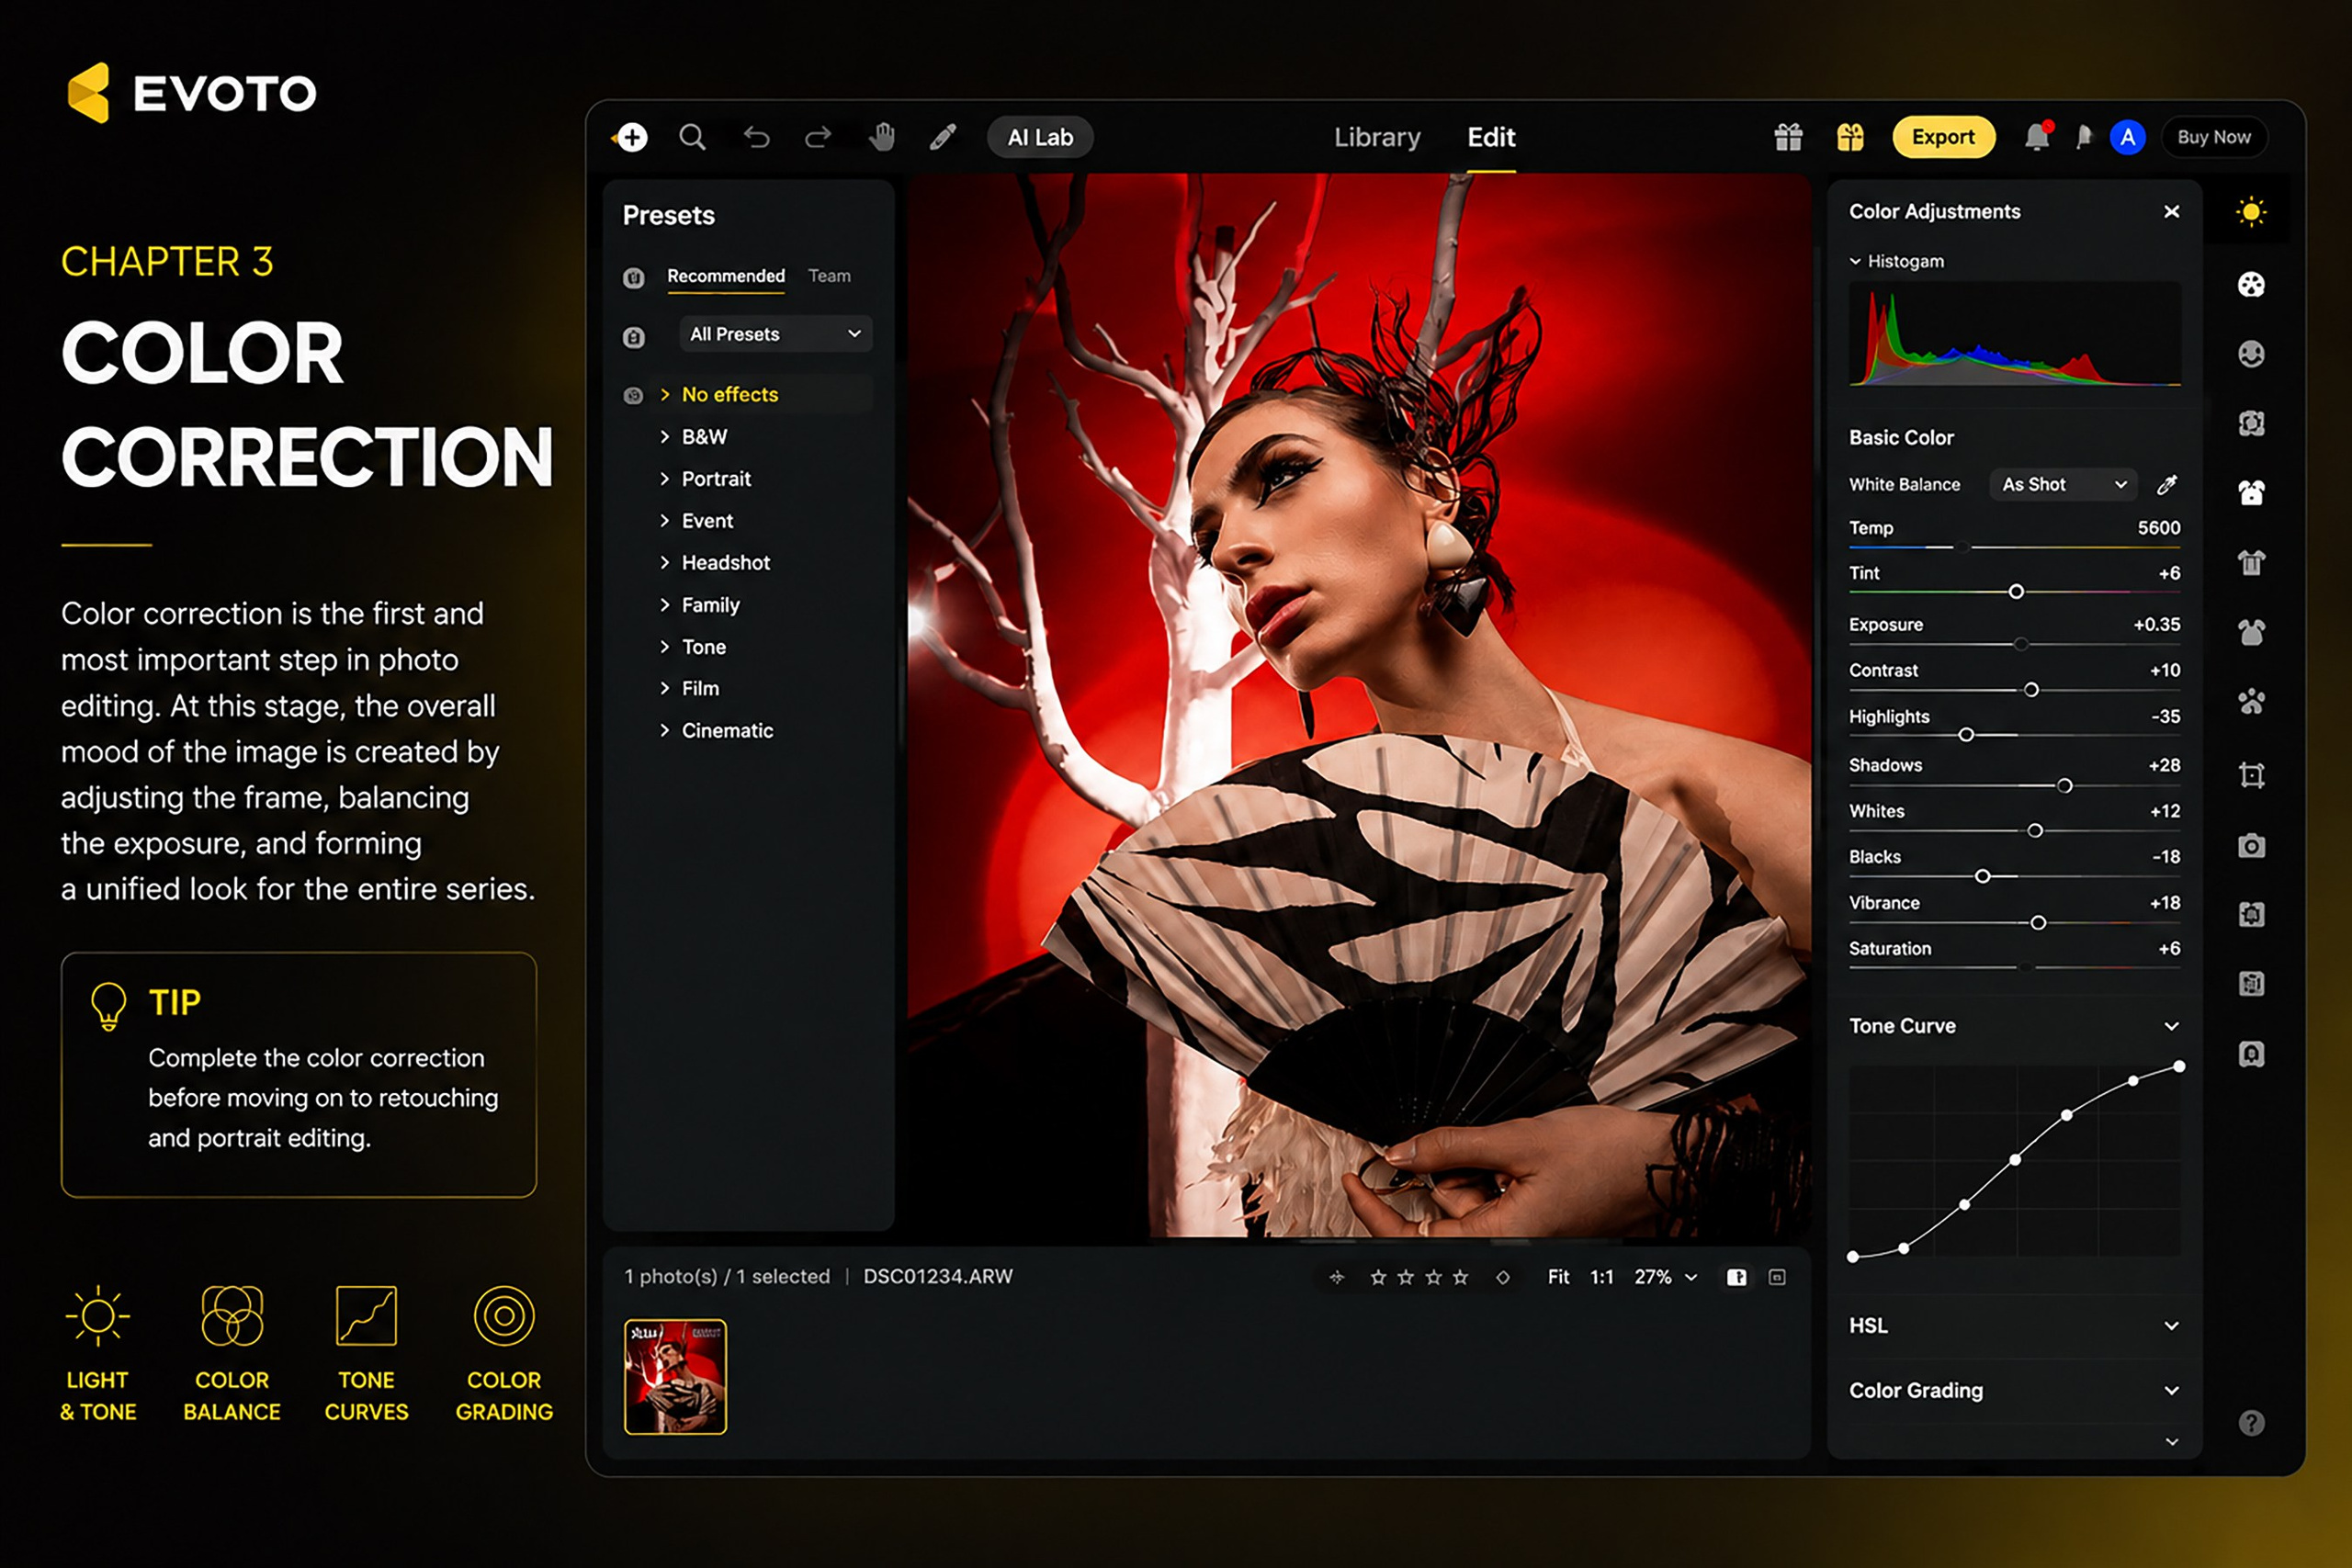
Basic Color is one of the most important sections in Evoto AI. It contains all the essential tools for professional color correction.
This is where I begin editing almost every photograph.
Proper color correction creates the foundation for all further editing.
Once exposure, white balance, contrast, and colors are balanced, portrait retouching and AI tools become much more effective.
I recommend completing the entire Basic Color section before moving on to portrait retouching or any AI-based enhancements.
White Balance
White Balance is responsible for the overall color balance of the image.
It helps correct unwanted color casts and make the colors look more natural.
When adjusting White Balance, I pay particular attention to skin tones, white clothing, neutral surfaces, and the overall atmosphere of the photograph.
A correct white balance does not always have to be perfectly neutral. In some cases, a slightly warmer or cooler tone may better support the mood of the image.
Exposure
Exposure controls the overall brightness of the photograph.
It allows you to brighten an underexposed image or reduce the brightness of an image that is too bright.
When adjusting exposure, it is important to preserve detail in both highlights and shadows.
I recommend making moderate corrections, as excessive changes can make the photograph look unnatural and reduce the amount of visible detail.
Contrast
Contrast controls the difference between the light and dark areas of the image.
Increasing contrast makes the photograph more expressive and gives it greater depth.
Reducing contrast creates a softer and more delicate look.
I recommend adjusting contrast only after correcting White Balance and Exposure, as these settings directly affect the overall appearance of the image.
Highlights
Highlights controls the brightest areas of the photograph.
This tool is useful for recovering detail in:
- bright skies;
- wedding dresses;
- light clothing;
- reflective surfaces;
- clouds;
- other bright areas of the image.
Reducing Highlights helps restore detail in overexposed parts of the photograph without significantly affecting the rest of the image.
Shadows
Shadows controls the darker areas of the photograph.
Increasing this value helps reveal detail in shadowed areas without affecting the brightest parts of the image.
This tool is especially useful for portraits, architecture, landscapes, and photographs taken in high-contrast lighting conditions.
Whites
Whites controls the brightest white tones in the image.
This adjustment helps make the photograph look cleaner, brighter, and more expressive.
Unlike Exposure, Whites mainly affects the brightest pixels.
I recommend using this tool carefully to avoid losing detail in light areas.
Blacks
Blacks controls the darkest tones in the photograph.
Adjusting this parameter helps add depth, strengthen contrast, and define the darkest areas of the image.
Excessively dark blacks can hide important detail, so I recommend making only moderate corrections.
Vibrance
Vibrance selectively increases the intensity of less saturated colors while preserving natural-looking skin tones.
Unlike Saturation, this tool primarily affects muted colors and has a much smaller impact on colors that are already vivid.
Vibrance can be used to:
- make the sky richer;
- enhance the color of foliage;
- emphasize clothing;
- improve the overall appearance of the image;
- make the photograph look more expressive without appearing overprocessed.
I recommend using moderate values. In most cases, Vibrance produces a more natural result than Saturation.
Saturation
Saturation increases or decreases the intensity of all colors in the photograph simultaneously.
Unlike Vibrance, this adjustment affects every color equally.
It can be used to:
- create a more vibrant image;
- mute colors for a softer look;
- enhance the overall mood of the photograph;
- emphasize color contrast;
- achieve a more expressive visual style.
Avoid excessive saturation, as it can make skin tones look unnatural and cause the image to lose realism.
Tone Curve
Tone Curve is one of the most powerful tools for professional color correction.
It provides precise control over brightness and contrast across different tonal ranges.
With Tone Curve, you can:
- increase overall contrast;
- brighten shadows;
- darken highlights;
- create a softer image;
- add depth to the photograph;
- build your own color grading style.
I recommend making small adjustments. Even subtle changes to the curve can have a significant impact on the final result.
HSL
HSL allows you to adjust each color in the image independently.
For every color, you can modify:
- Hue — the color hue;
- Saturation — the color intensity;
- Luminance — the brightness of the color.
For example, you can:
- make the sky deeper;
- correct skin tones;
- change the color of foliage;
- emphasize clothing;
- make water appear richer.
This is one of the most important tools for professional color correction.
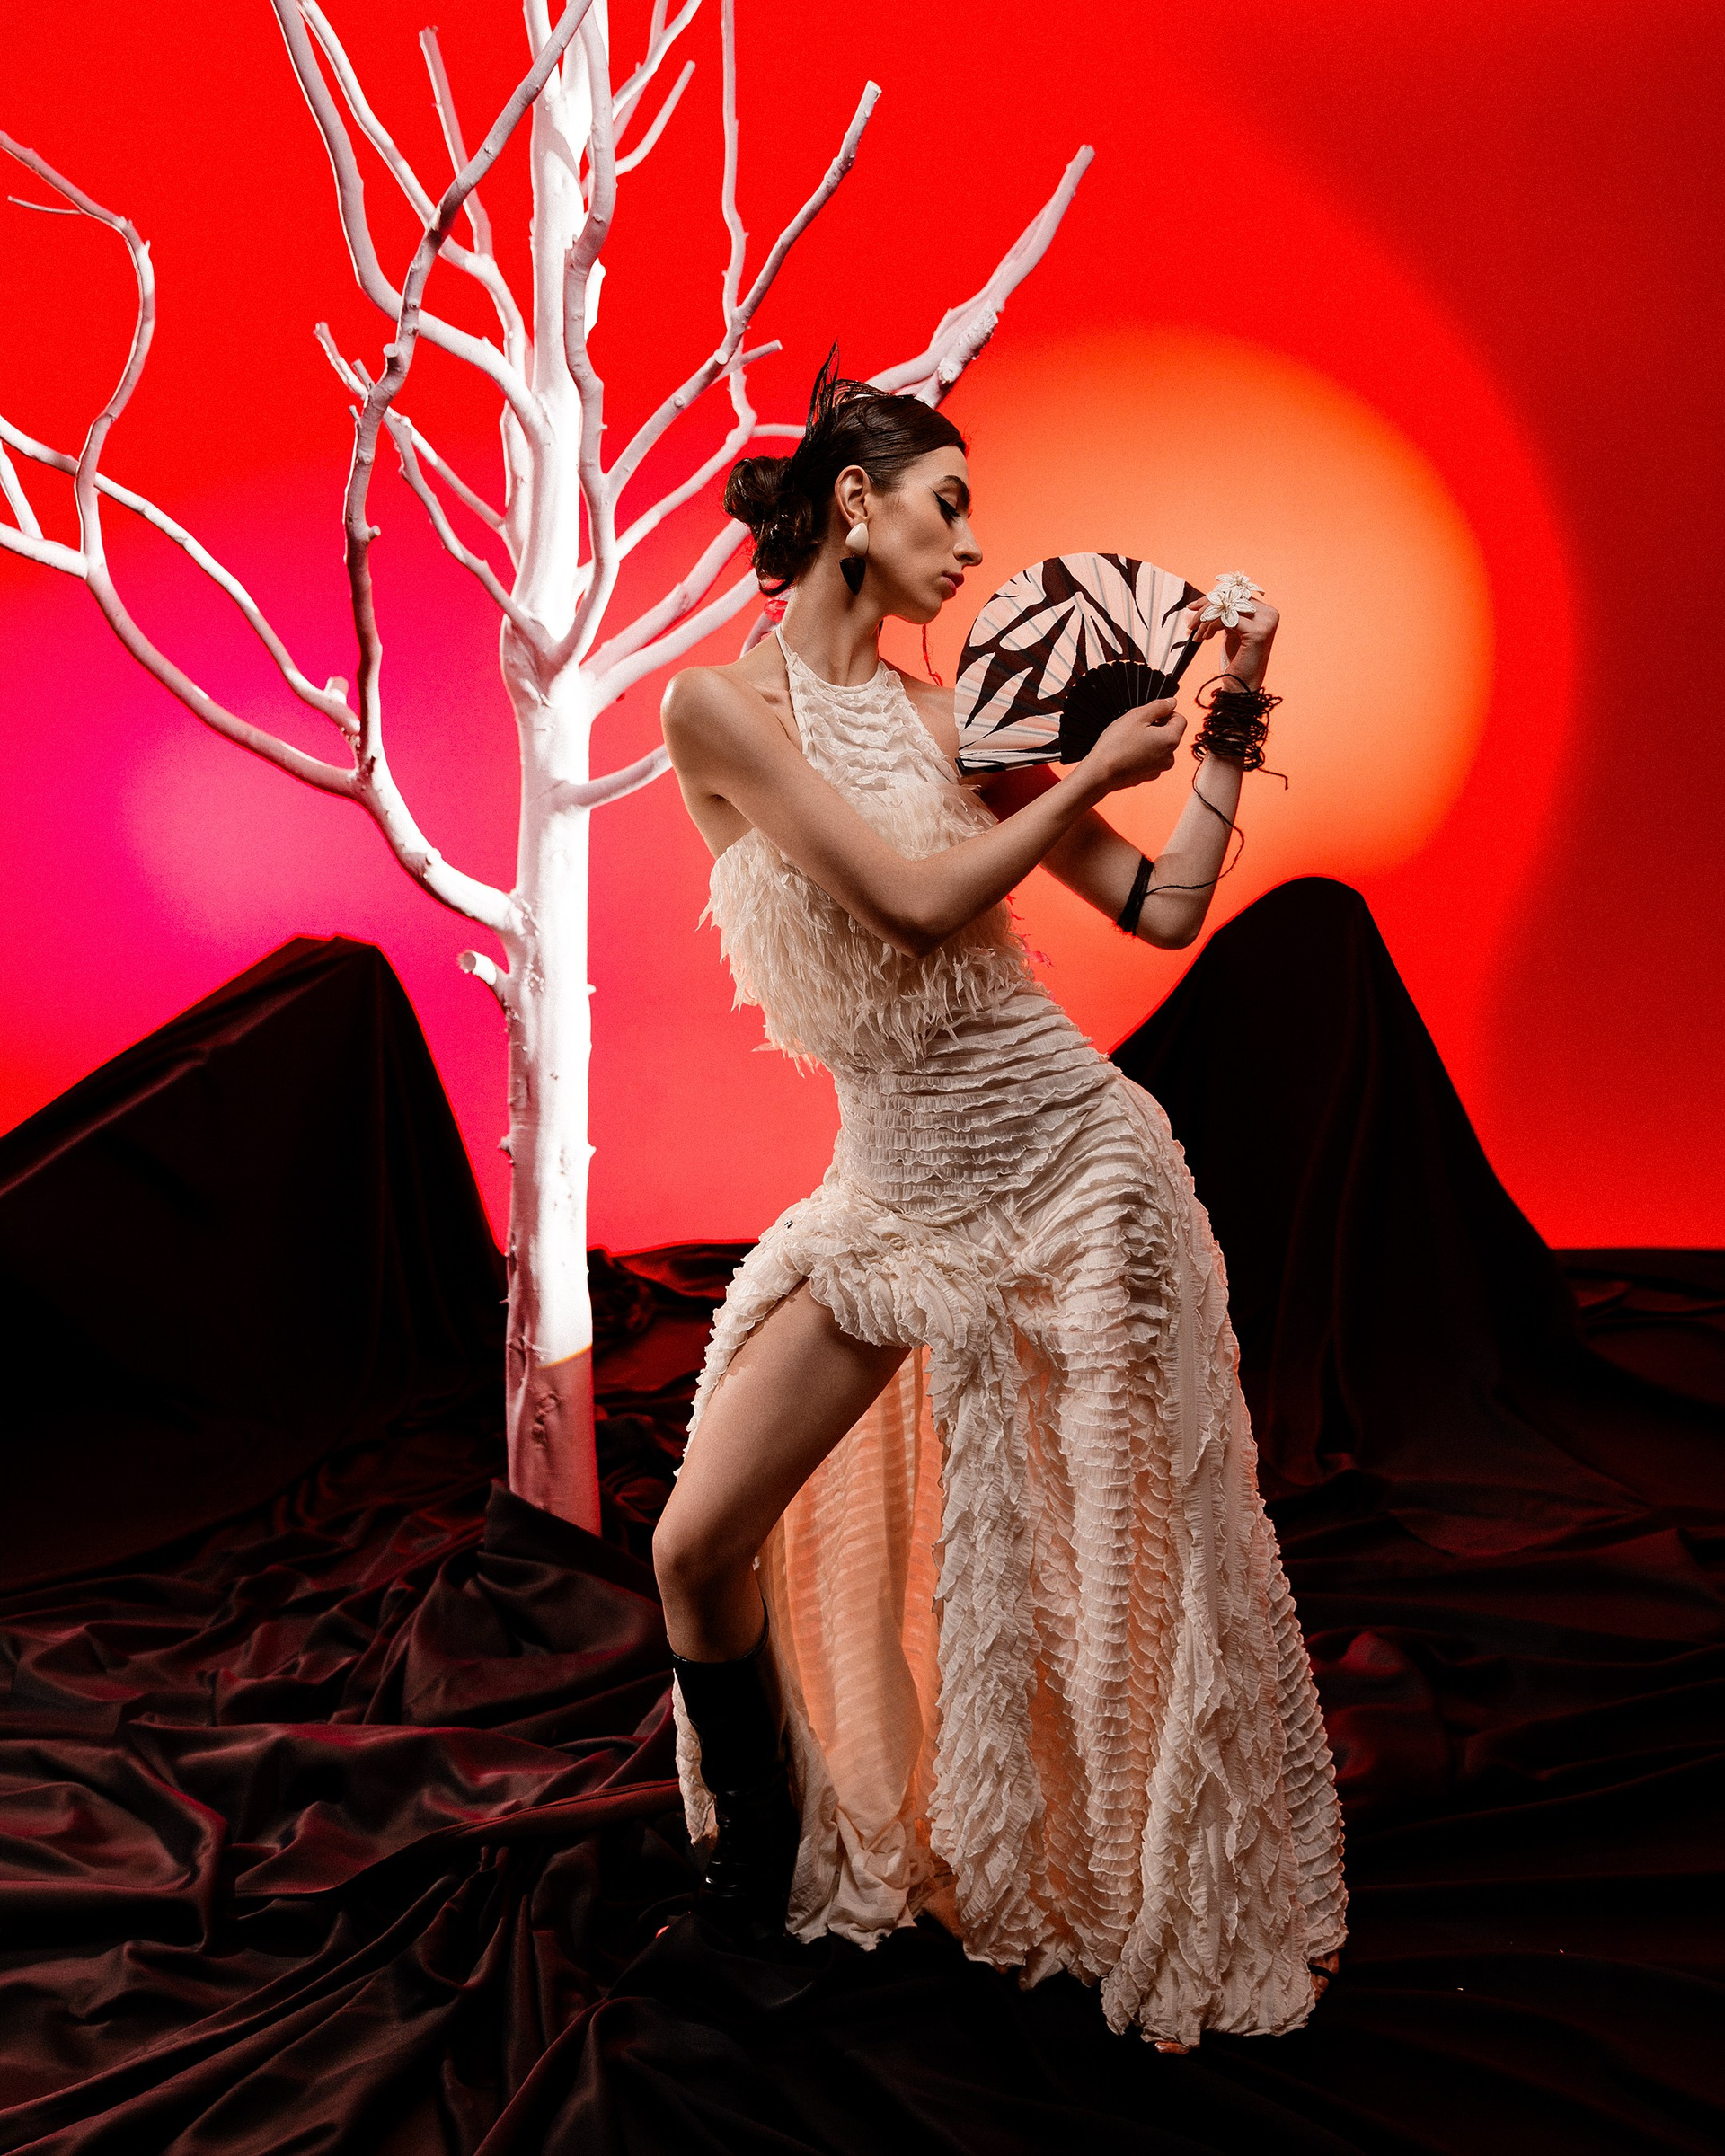
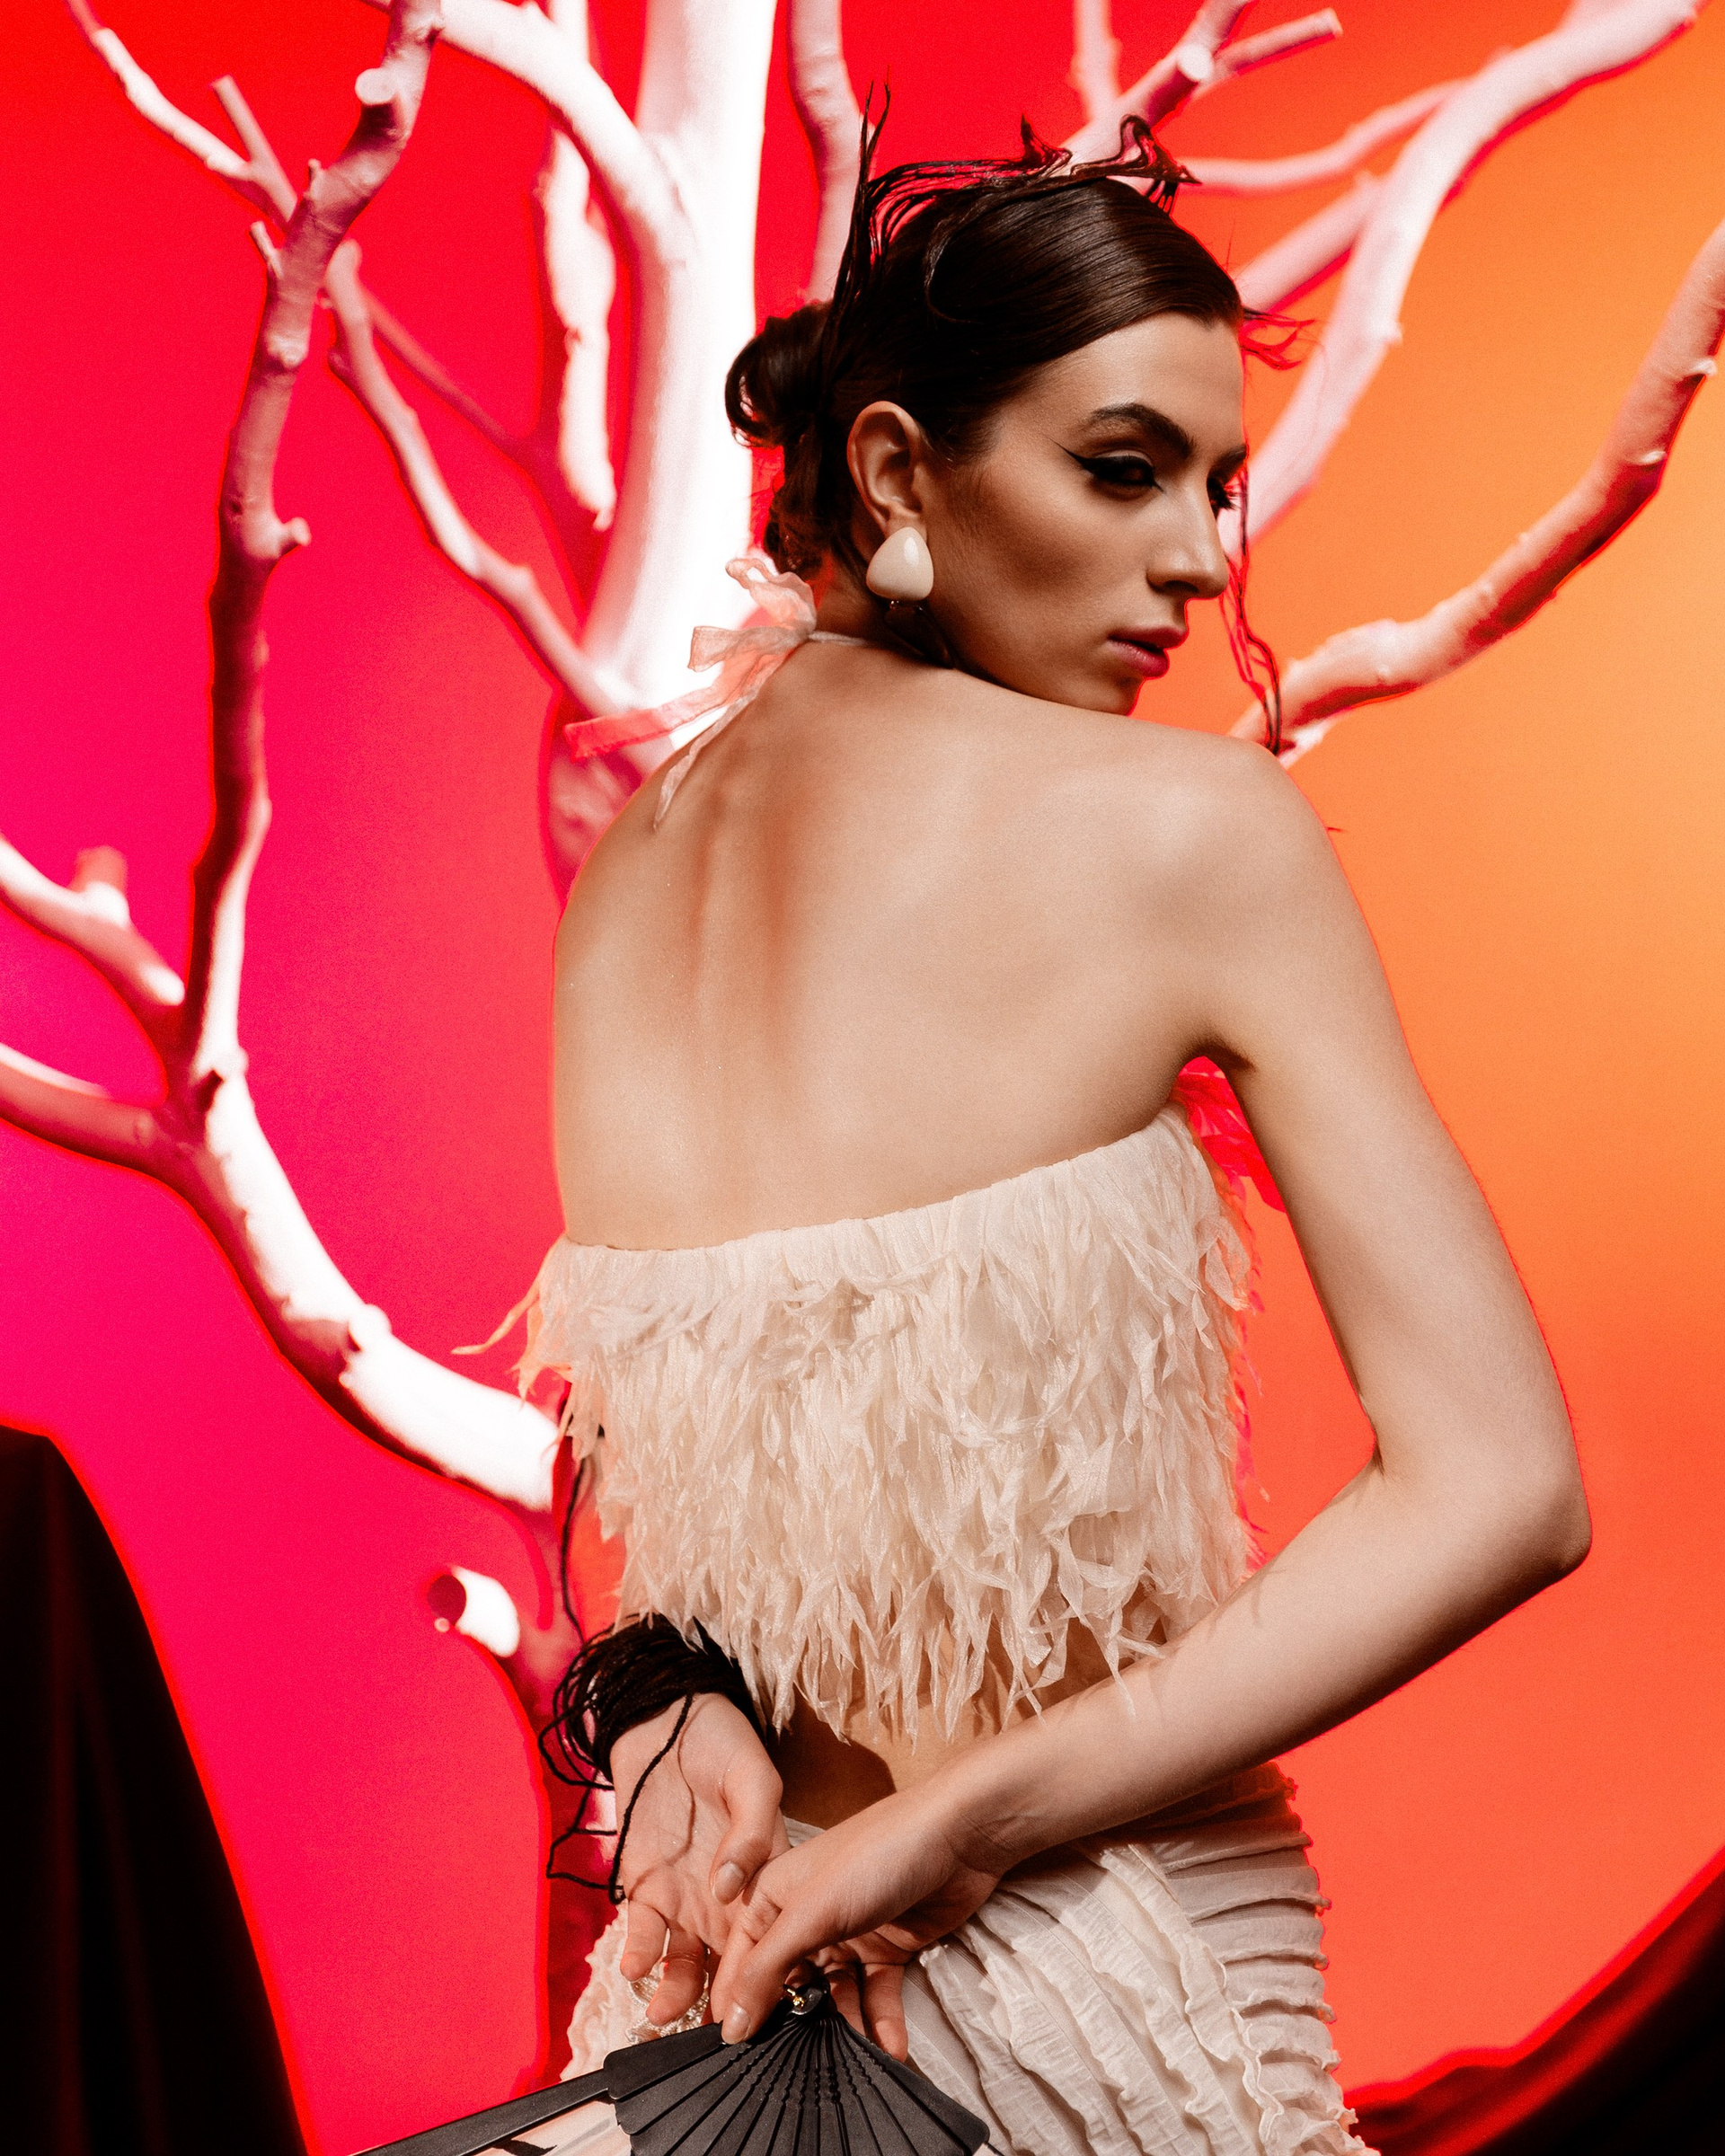
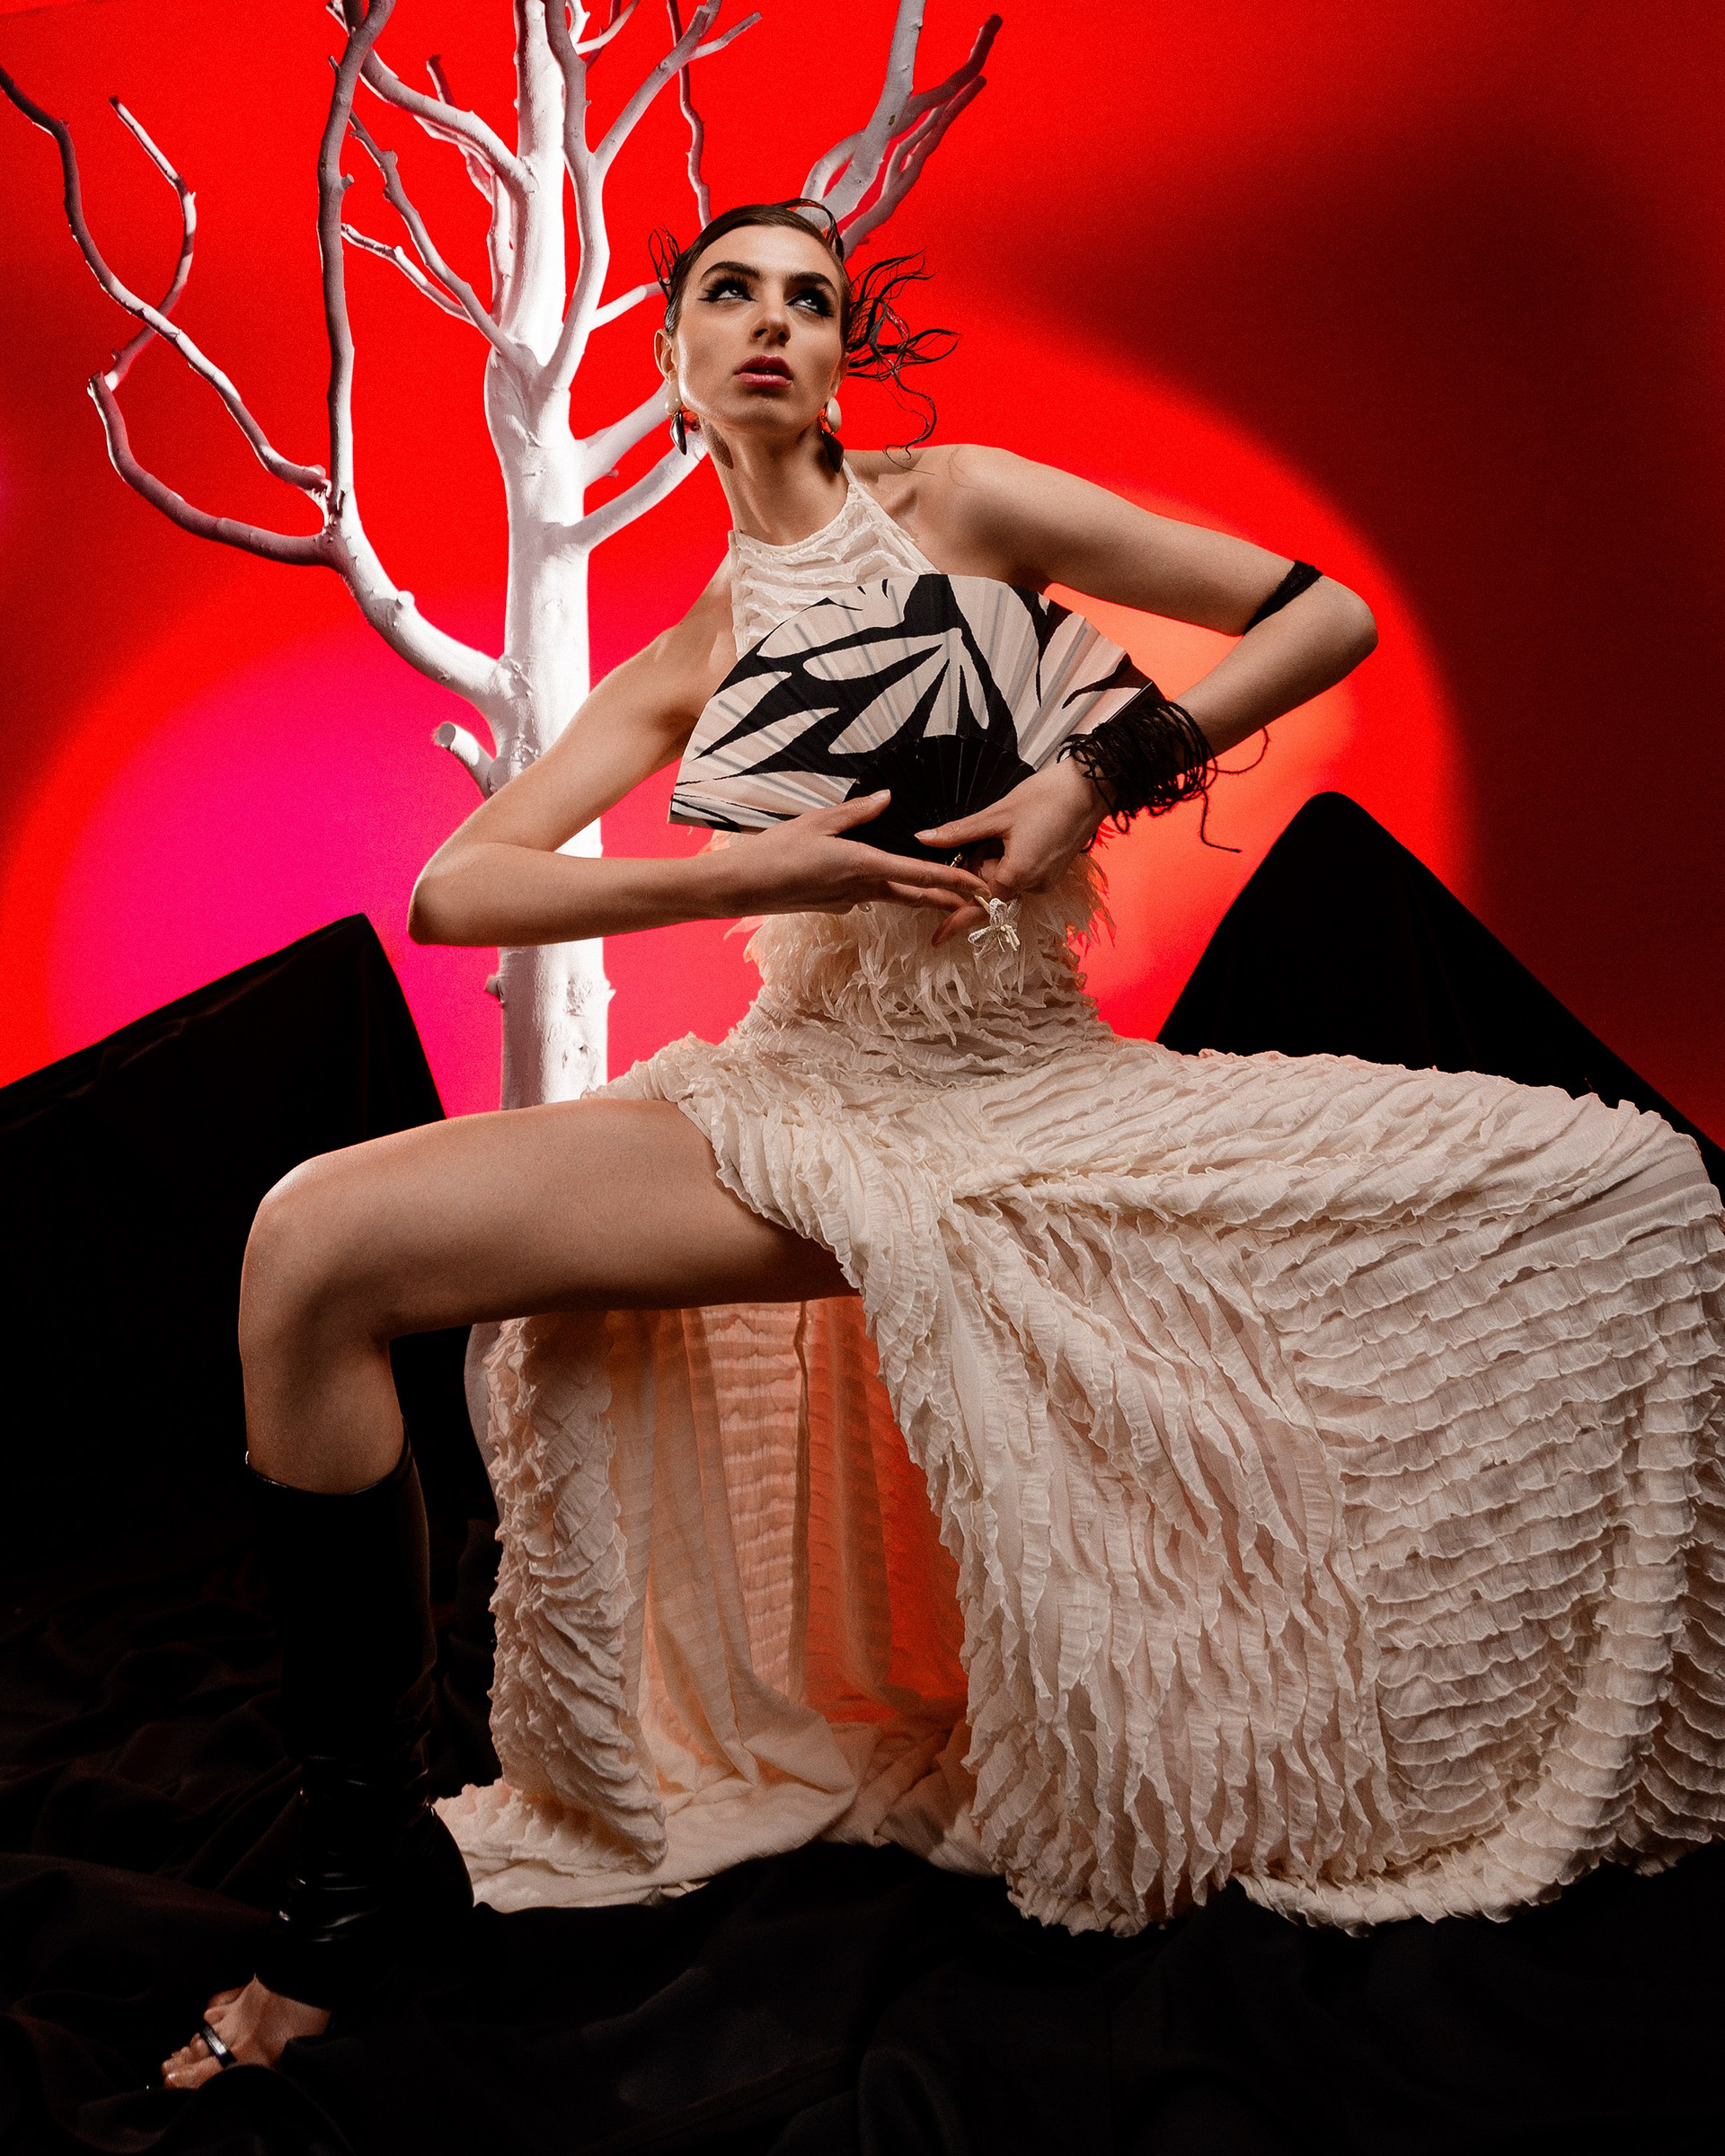
Color Grading
Color Grading allows you to apply different color tones to the shadows, midtones, and highlights independently.
This tool is commonly used to create a specific mood or cinematic style.
With Color Grading, you can:
- warm up highlights;
- cool down shadows;
- create cinematic color palettes;
- enhance the atmosphere of the image;
- achieve a more artistic final look.
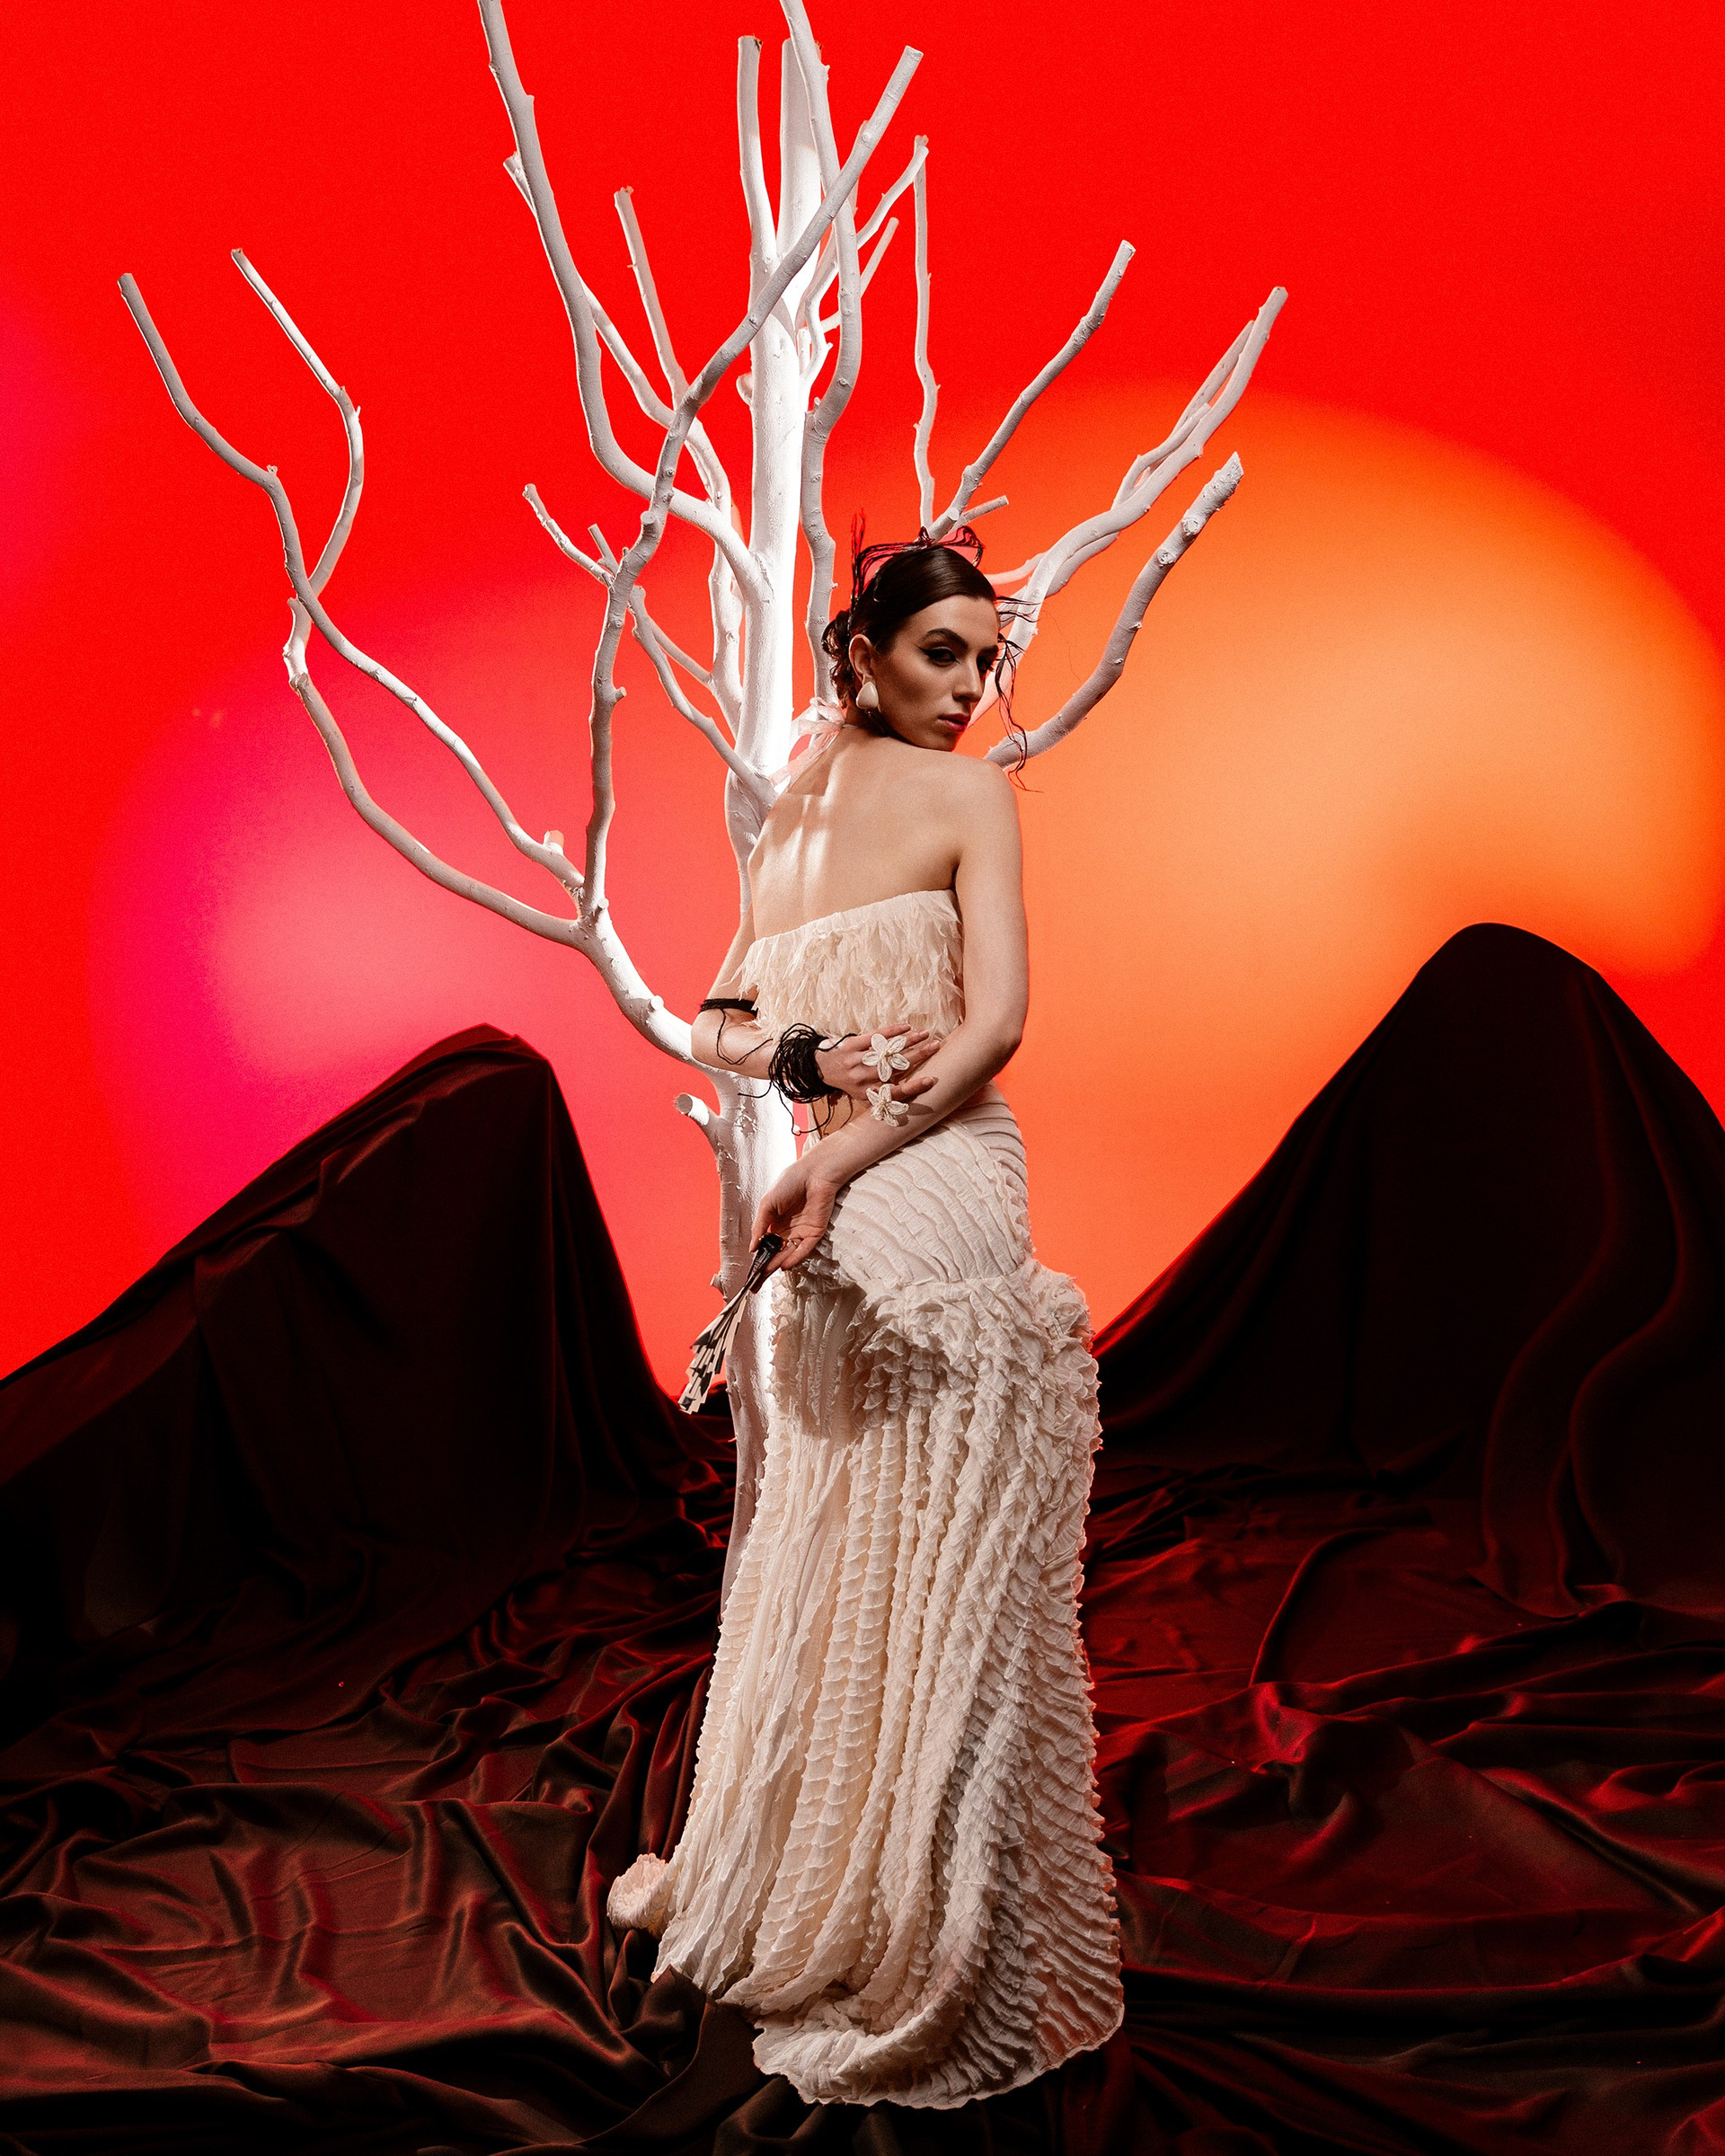
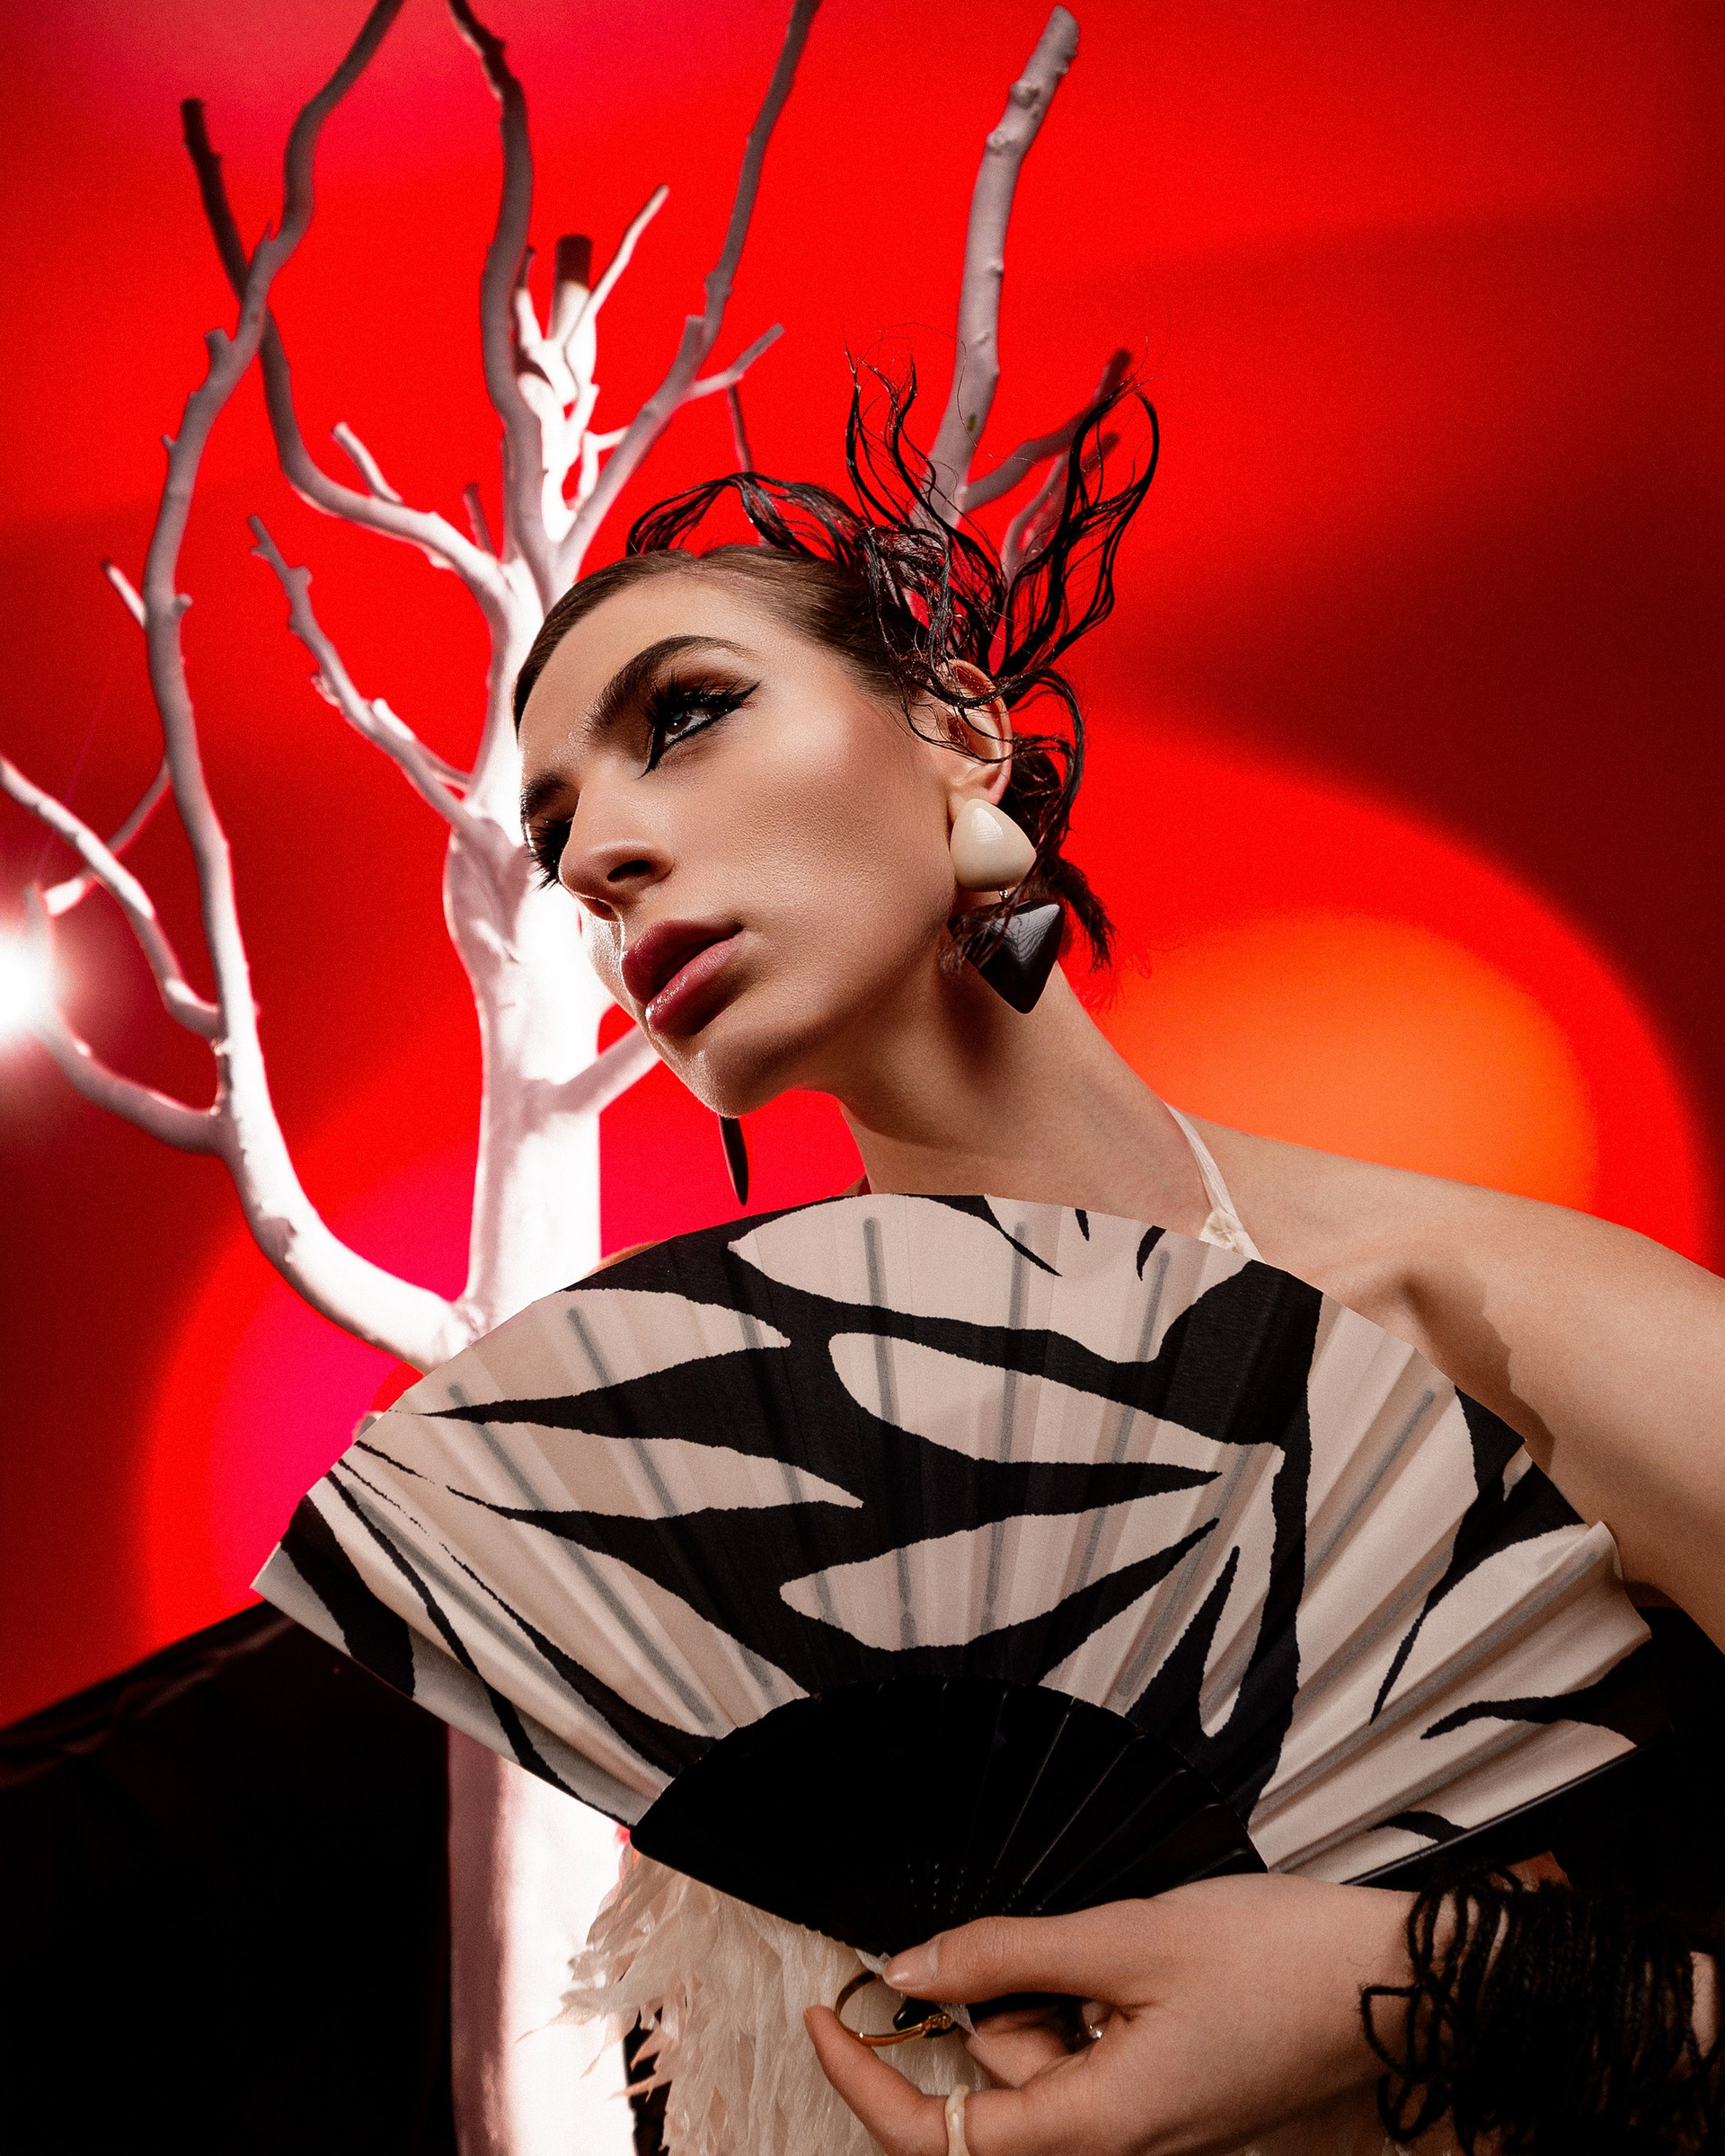
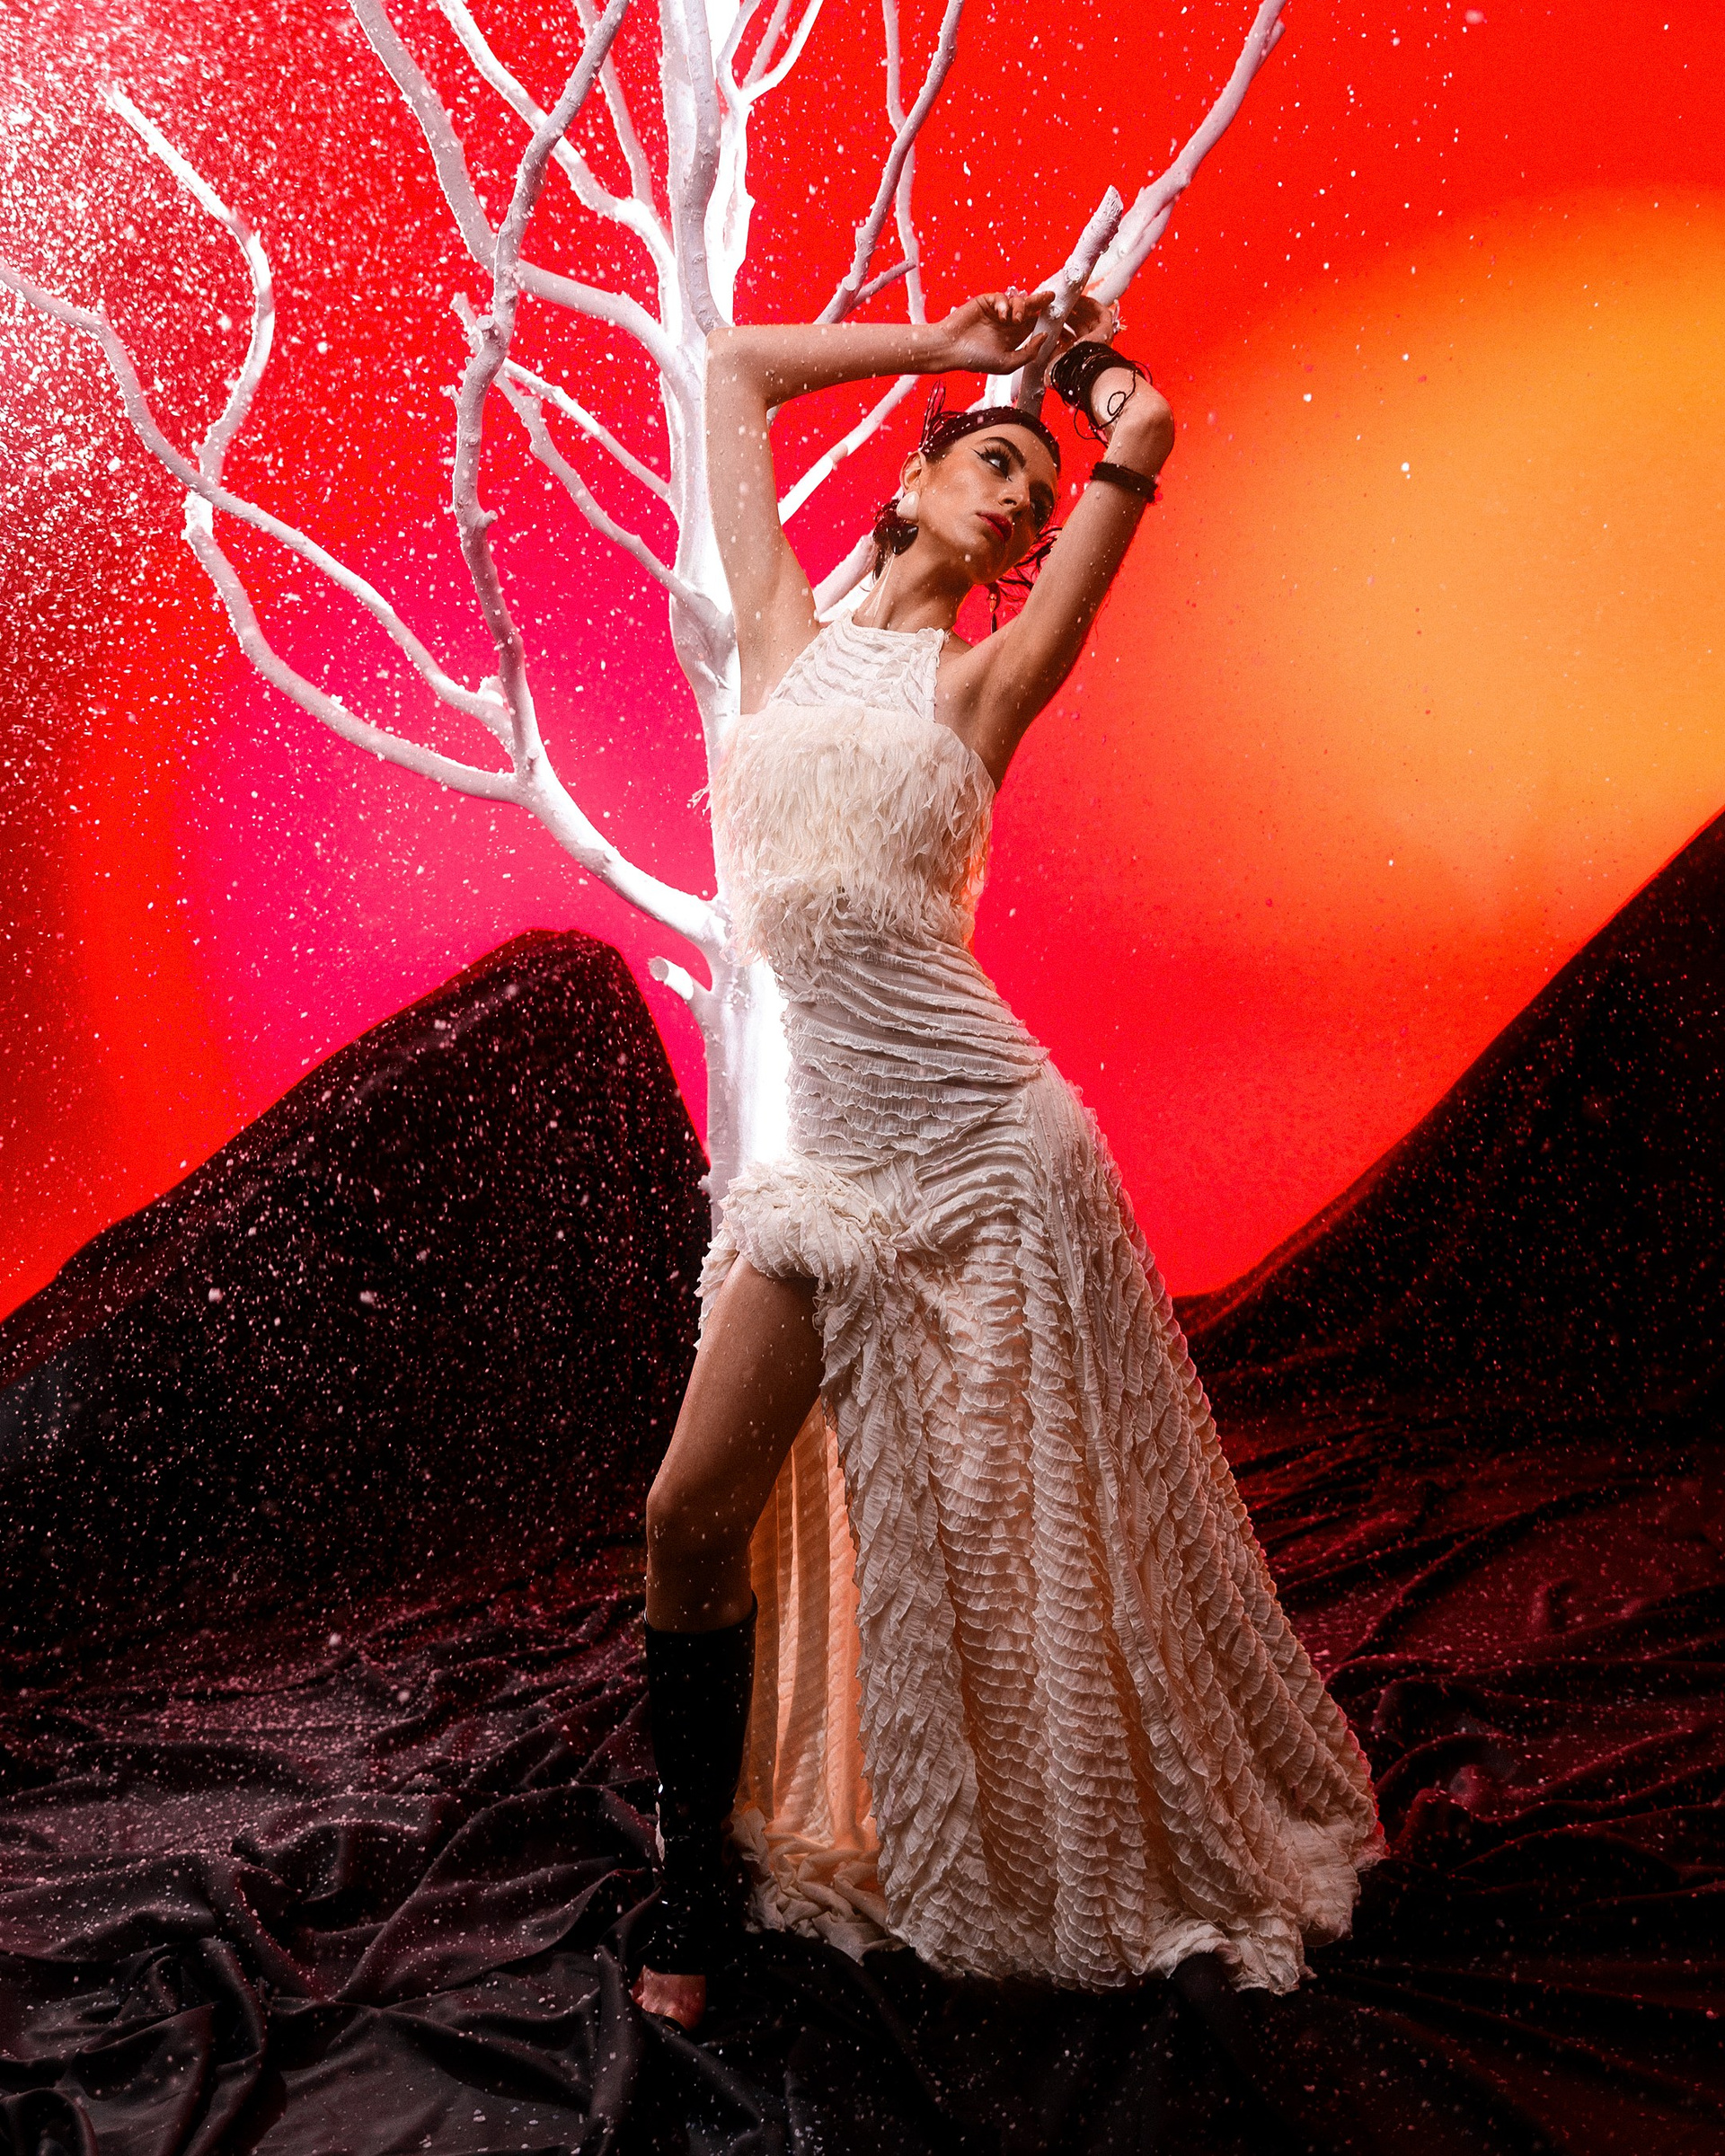
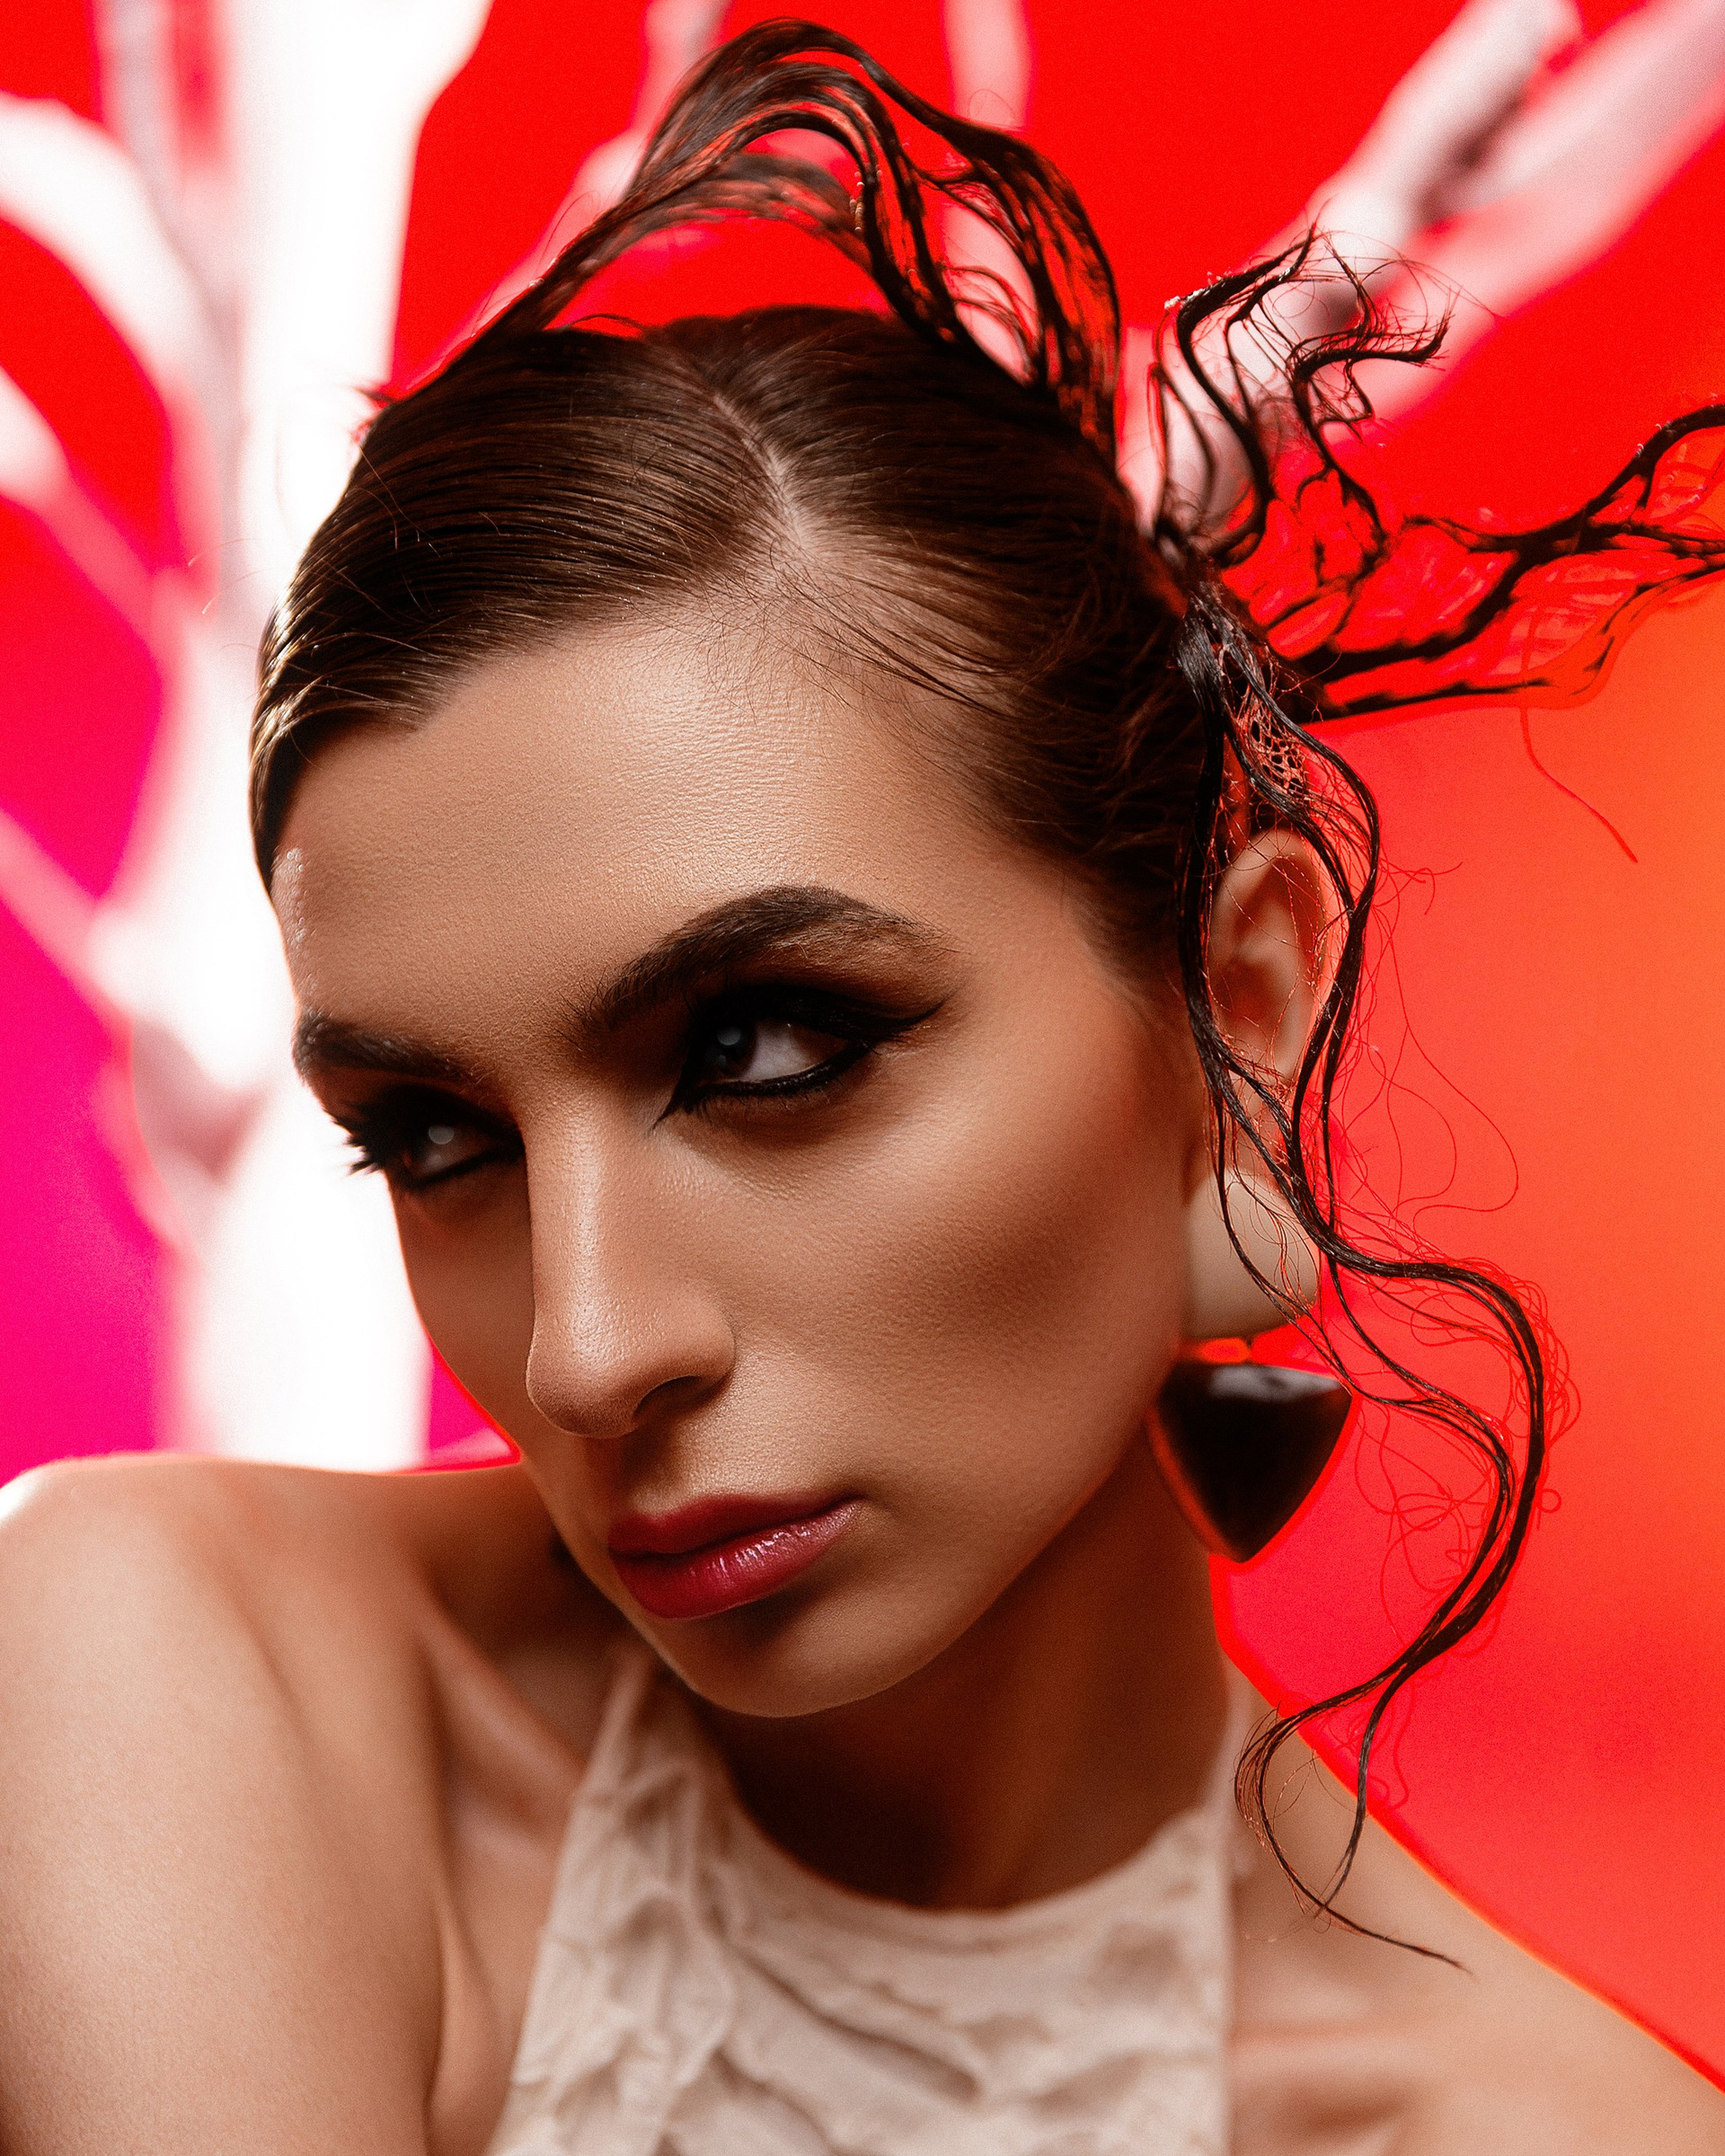
I recommend using subtle adjustments. Small color shifts often create a much more refined and professional result than strong color grading.
My Recommendation
I always follow the same editing workflow:
- Adjust White Balance.
- Correct Exposure.
- Fine-tune Contrast, Highlights, and Shadows.
- Adjust Whites and Blacks.
- Refine color intensity using Vibrance and Saturation.
- Create the final color style with Tone Curve, HSL, and Color Grading.
Only after completing the color correction do I move on to portrait retouching.
This workflow helps achieve the cleanest, most natural, and most professional results, while making every subsequent stage of editing much faster and easier.
Chapter 4. Presets
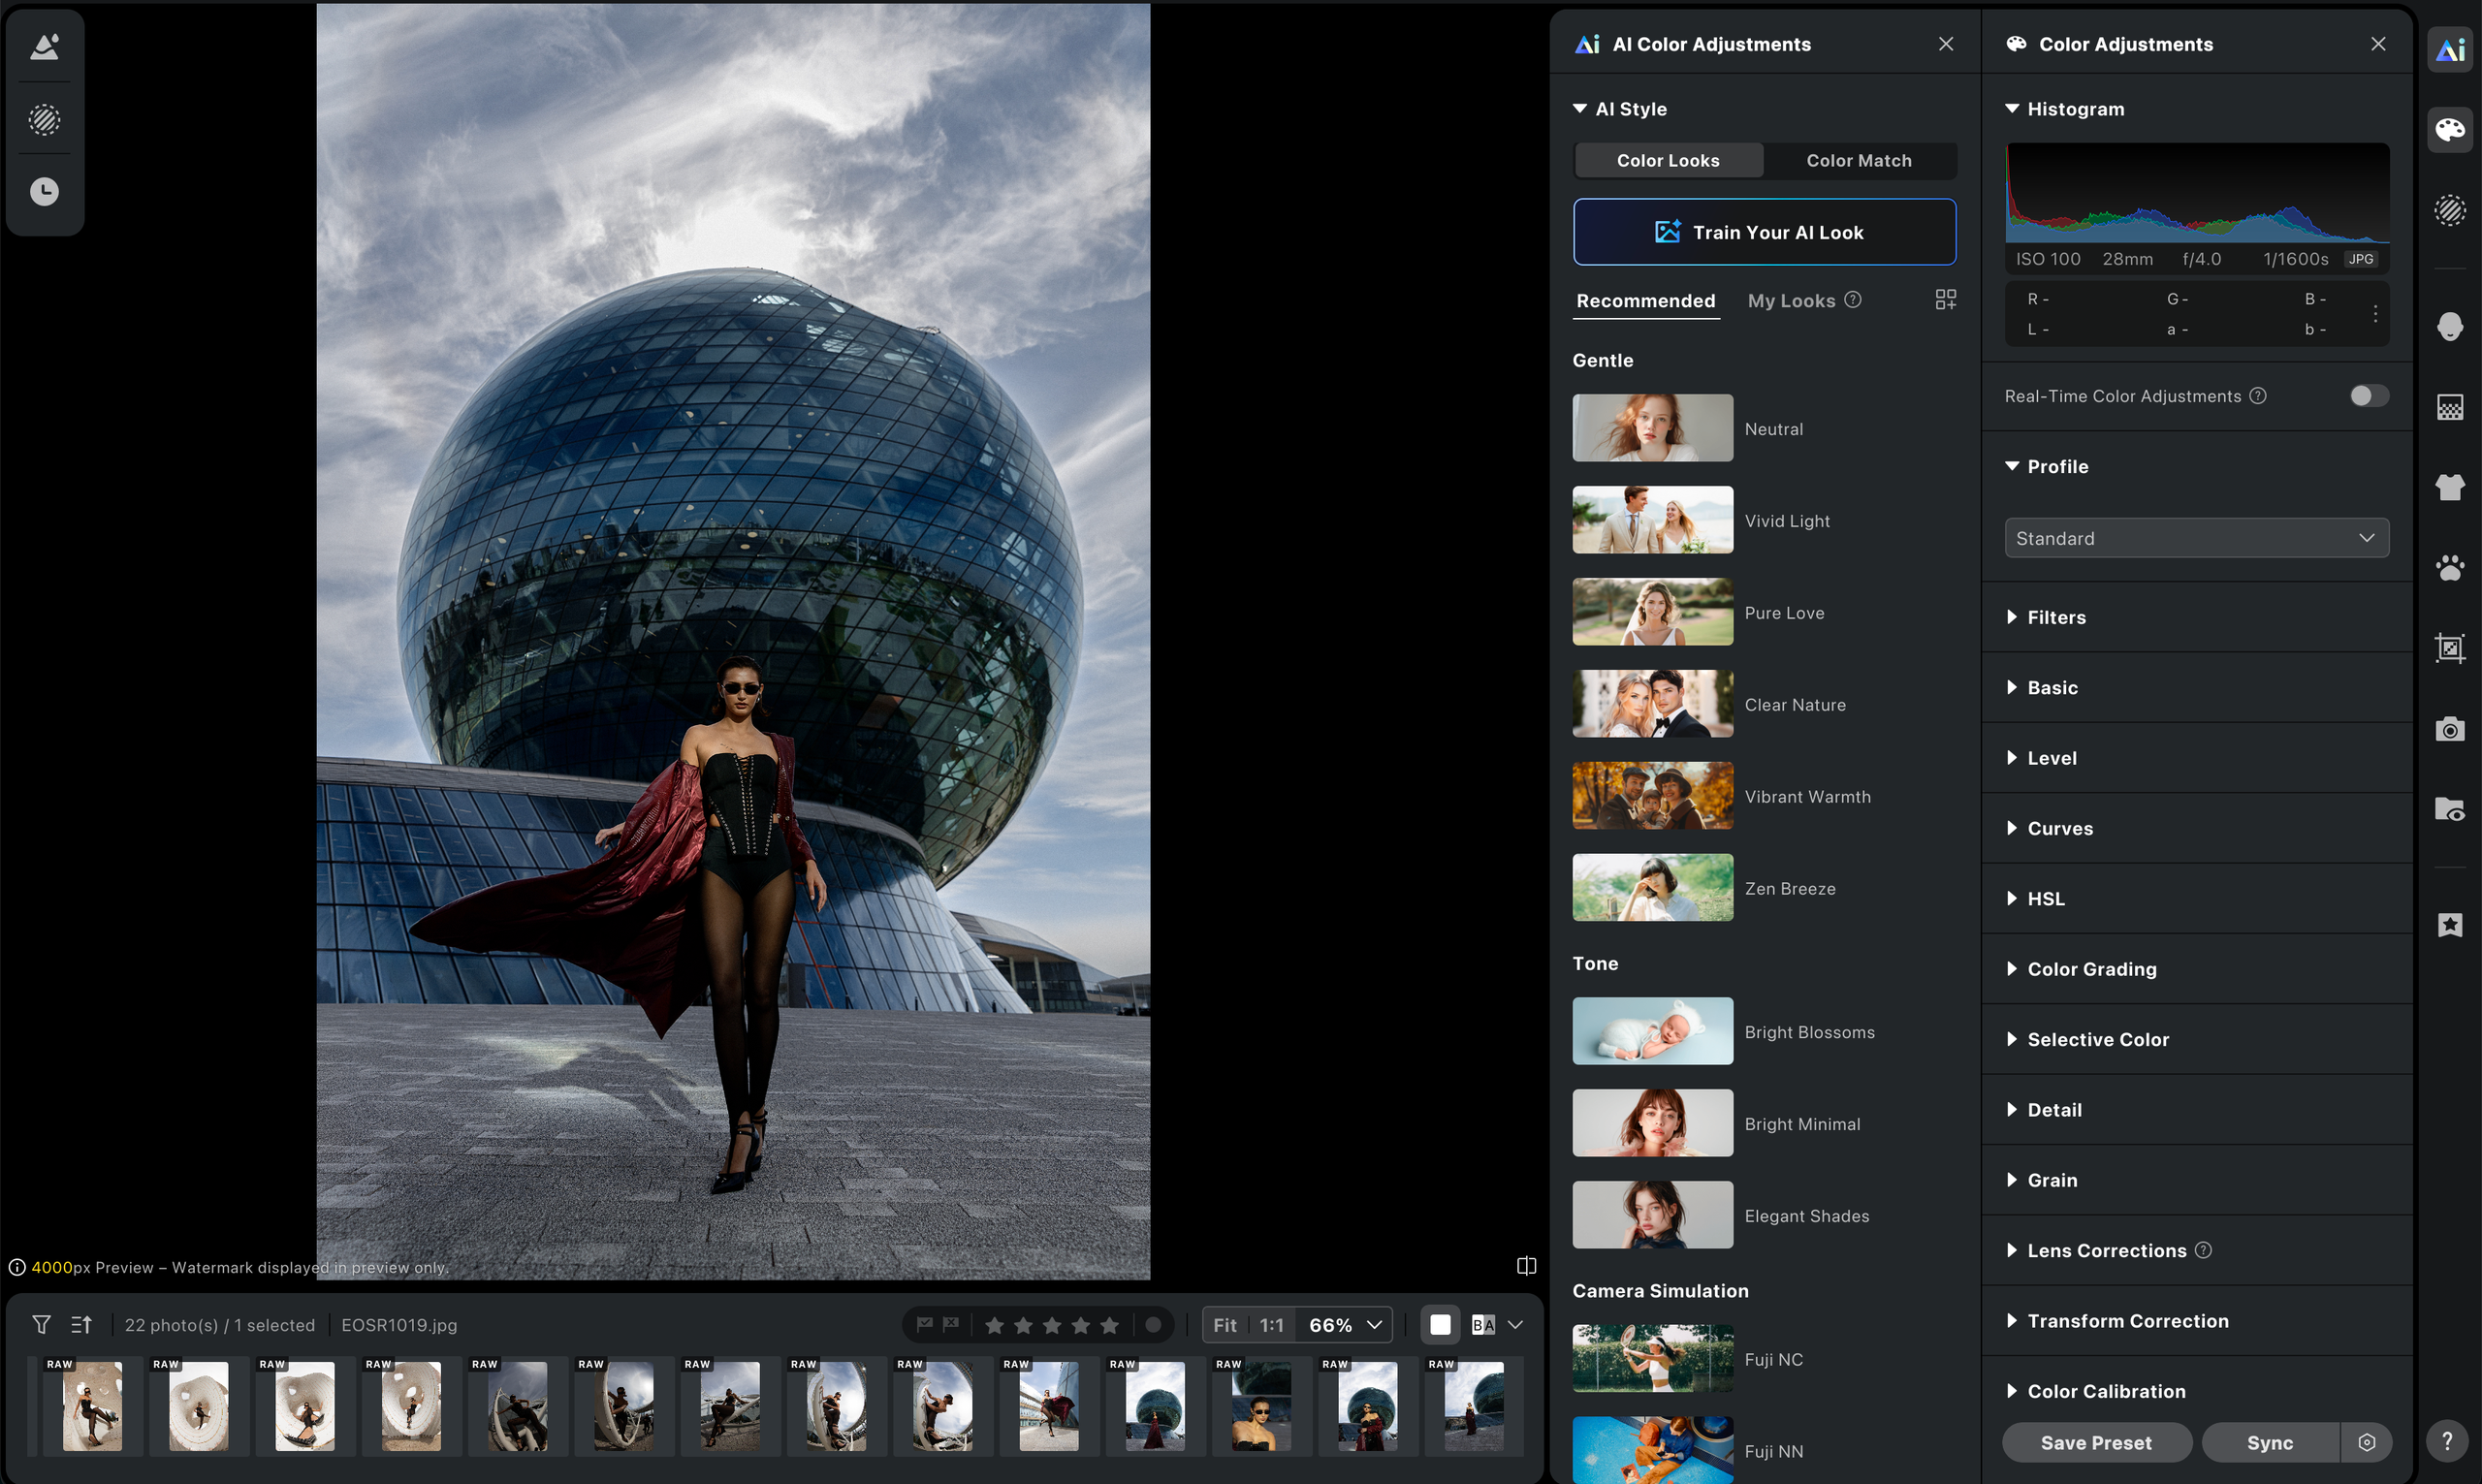
Presets are ready-made sets of editing settings that can be applied to a photo with a single click.
They help speed up your workflow, maintain a consistent visual style across an entire photo series, and reuse successful editing settings in future projects.
In Evoto AI, presets may include color correction, portrait retouching, AI settings, and other editing parameters.
This makes presets especially useful when working with large wedding, family, portrait, commercial, and editorial photo sessions.
Recommended
Recommended is a collection of presets created by the Evoto AI team.
This section includes ready-made editing styles for different genres of photography.
For example:
- Portrait;
- Wedding;
- Family;
- Fashion;
- Headshot;
- Lifestyle;
- Cinematic;
- Film.
These presets are an excellent starting point, especially when you are just beginning to work with Evoto AI.
After applying a preset, you can always fine-tune any of its settings manually.
Team
Team is designed for collaborative work when several professionals are working on the same project.
When a photographer, retoucher, or several studio team members are editing the same session, shared presets help maintain one consistent style across the entire series.
This is especially useful for commercial, wedding, and corporate projects where complete visual consistency is essential.
My Presets
My Presets is the section where all your custom presets are stored.
This is where you gradually build your own library of signature editing styles.
I recommend creating separate presets for different types of shoots.
For example:
- Wedding Soft;
- Outdoor Portrait;
- Studio Portrait;
- Fashion Contrast;
- Commercial Clean;
- Golden Hour;
- Black & White;
- Cinematic Portrait.
This approach allows you to choose the right style for a new photo session in just a few seconds.
Save Preset
Once you have finished editing your reference image, click Save Preset to save the current settings.
A preset can include almost all editing parameters, such as:
- color correction;
- Tone Curve;
- HSL;
- Color Grading;
- retouching;
- AI settings;
- other editing parameters.
After saving, the preset will immediately appear in My Presets and will be available for use in future projects.
How to Create Your Own Preset
I recommend following this workflow:
- Select the best image from the series.
- Complete the full color correction.
- Create the final visual style of the photograph.
- Complete the portrait retouching.
- Check the image in Before / After mode.
- Make sure you are fully satisfied with the result.
- Click Save Preset.
- Give the preset a clear and understandable name.
Do not save a preset before the editing process is complete.
The preset should reflect your final editing style.
Naming Presets
Clear preset names make your workflow significantly easier.
I recommend using a simple and consistent naming system.
For example:
- Wedding Soft;
- Studio Clean;
- Outdoor Warm;
- Fashion Contrast;
- Commercial Portrait;
- Natural Skin;
- Cinematic Look;
- Editorial Black & White.
As your preset library grows, a clear naming system will help you quickly find the right style without unnecessary searching.
Apply Preset
To apply a saved preset, select a photo and click the required preset in the My Presets section.
All saved settings will be applied to the image automatically.
After that, you can make small individual adjustments if necessary.
Sync
After fully editing one reference image, use Sync to transfer its settings to the remaining photos in the series.
You can choose exactly which parameters should be synchronized, including:
- color;
- presets;
- retouching;
- AI tools;
- cropping;
- other settings.
This approach allows you to process a large photo series several times faster.
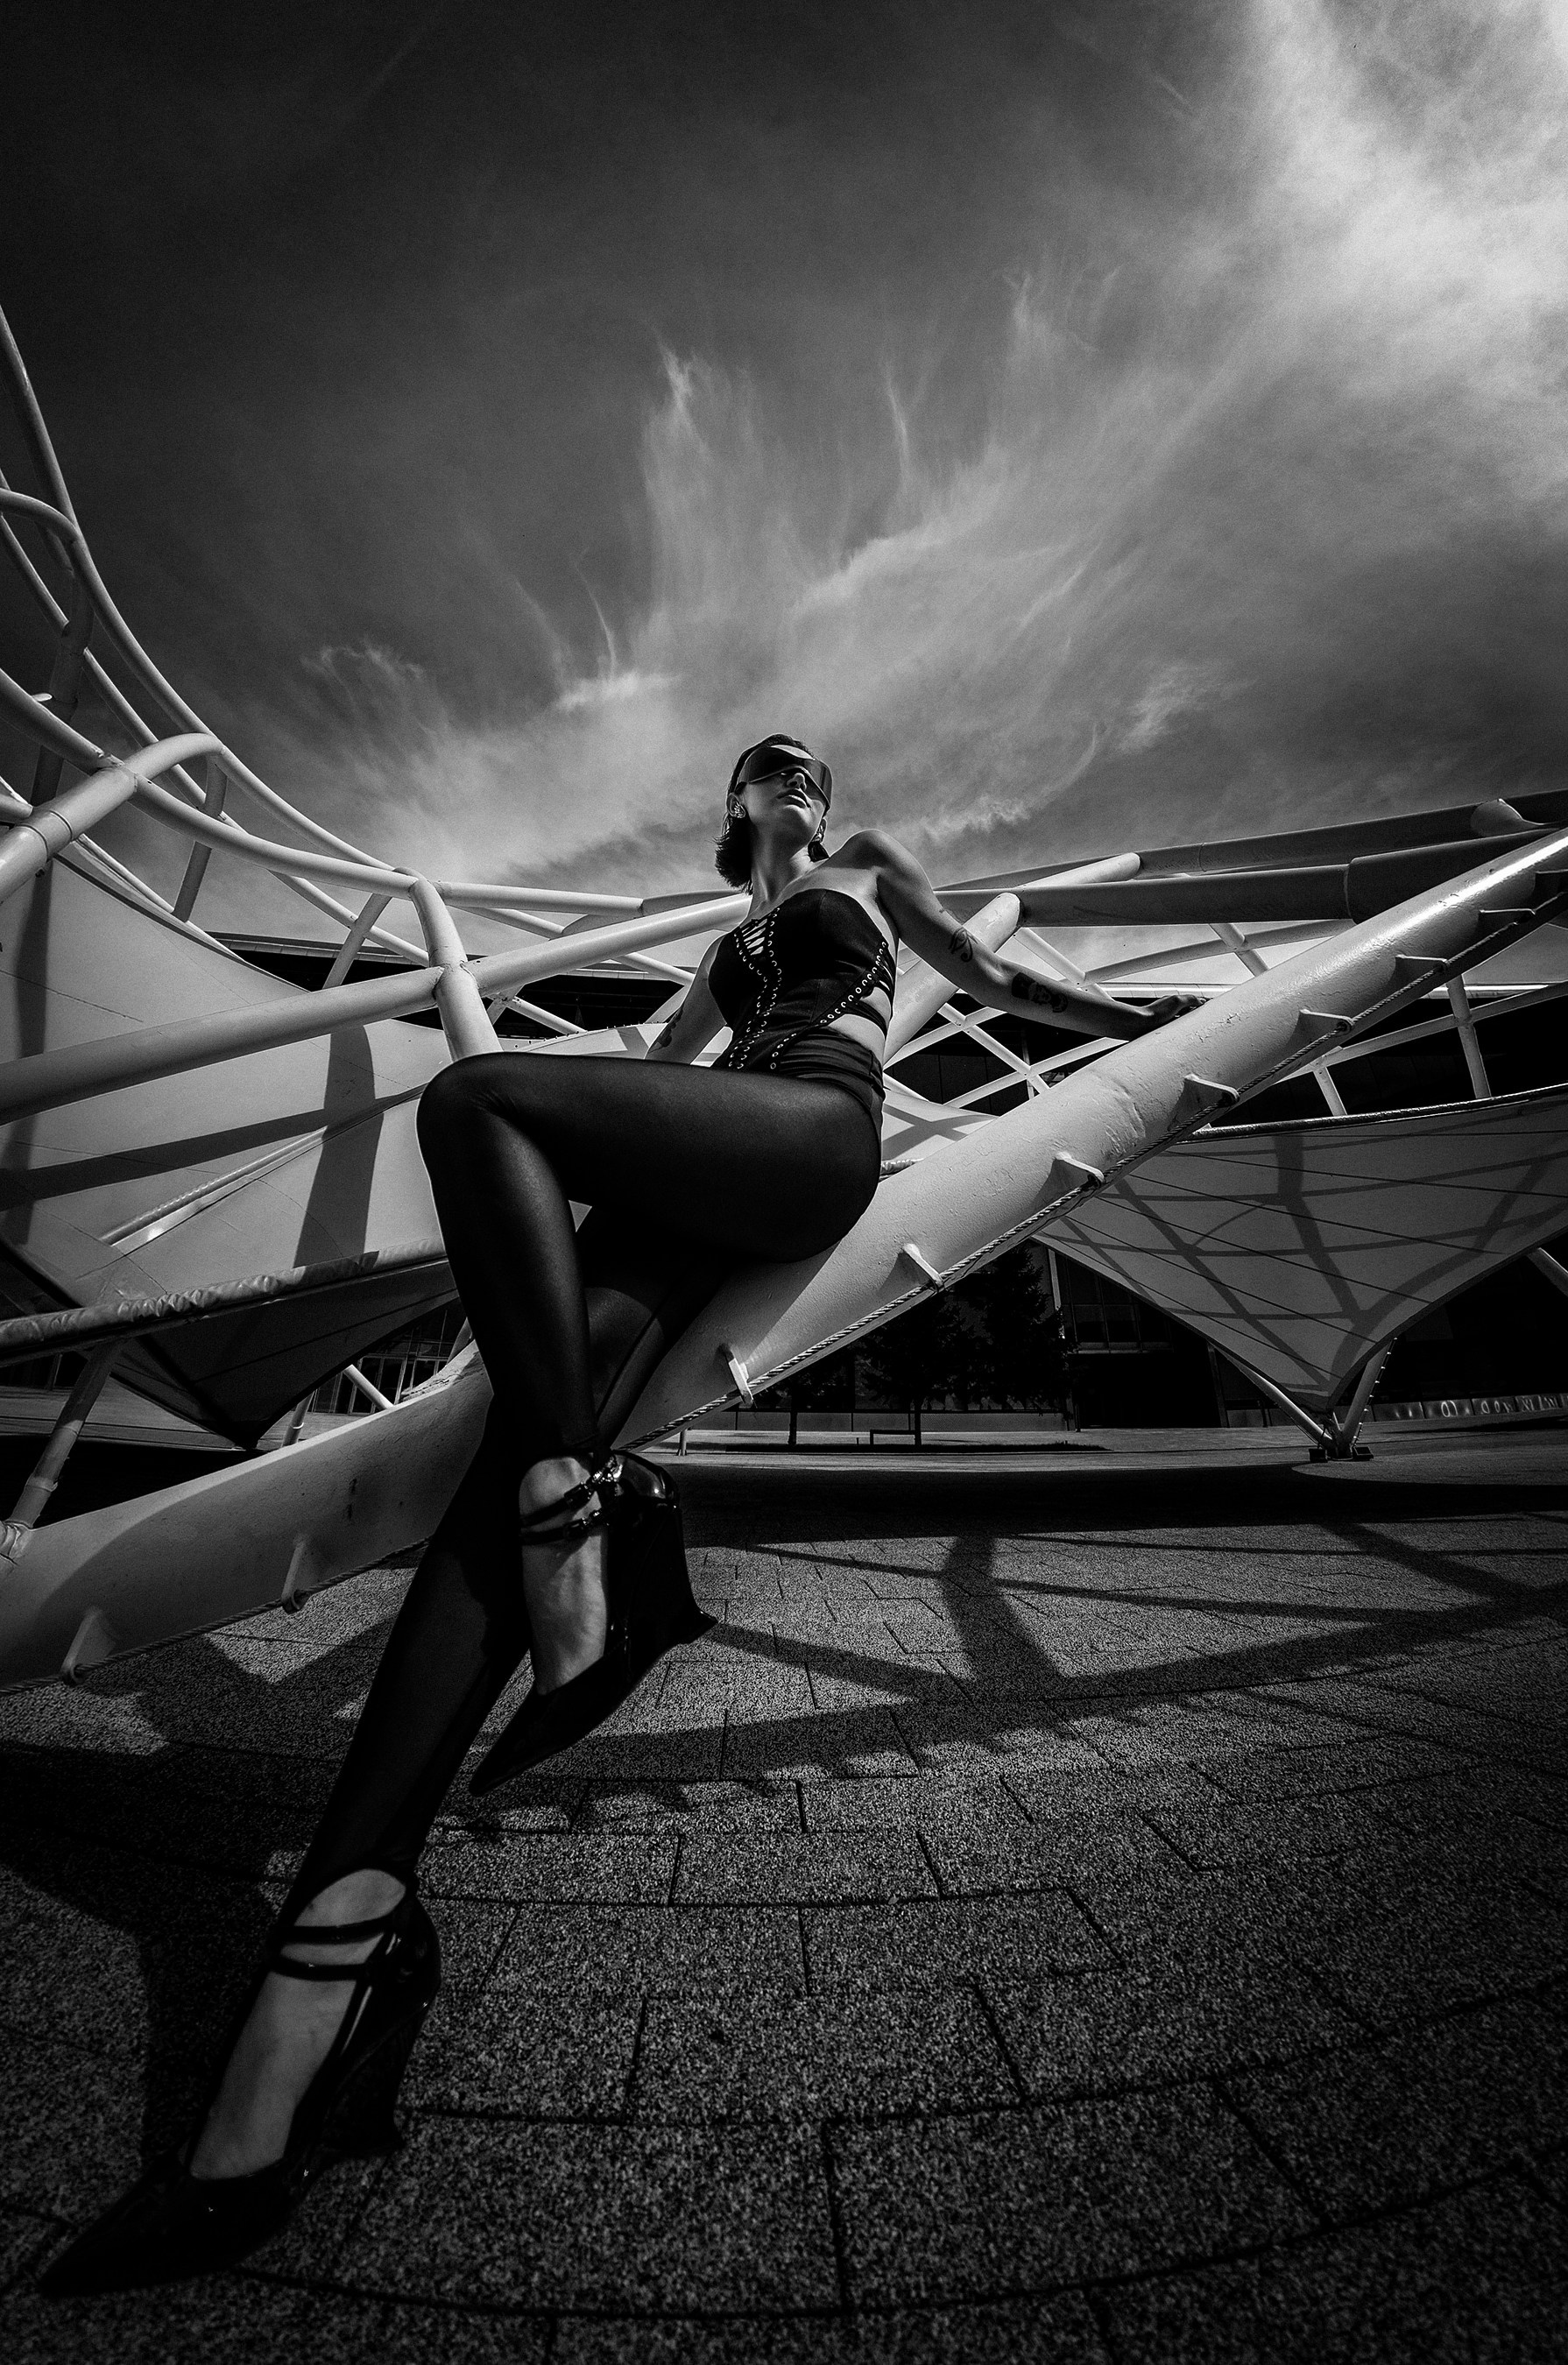
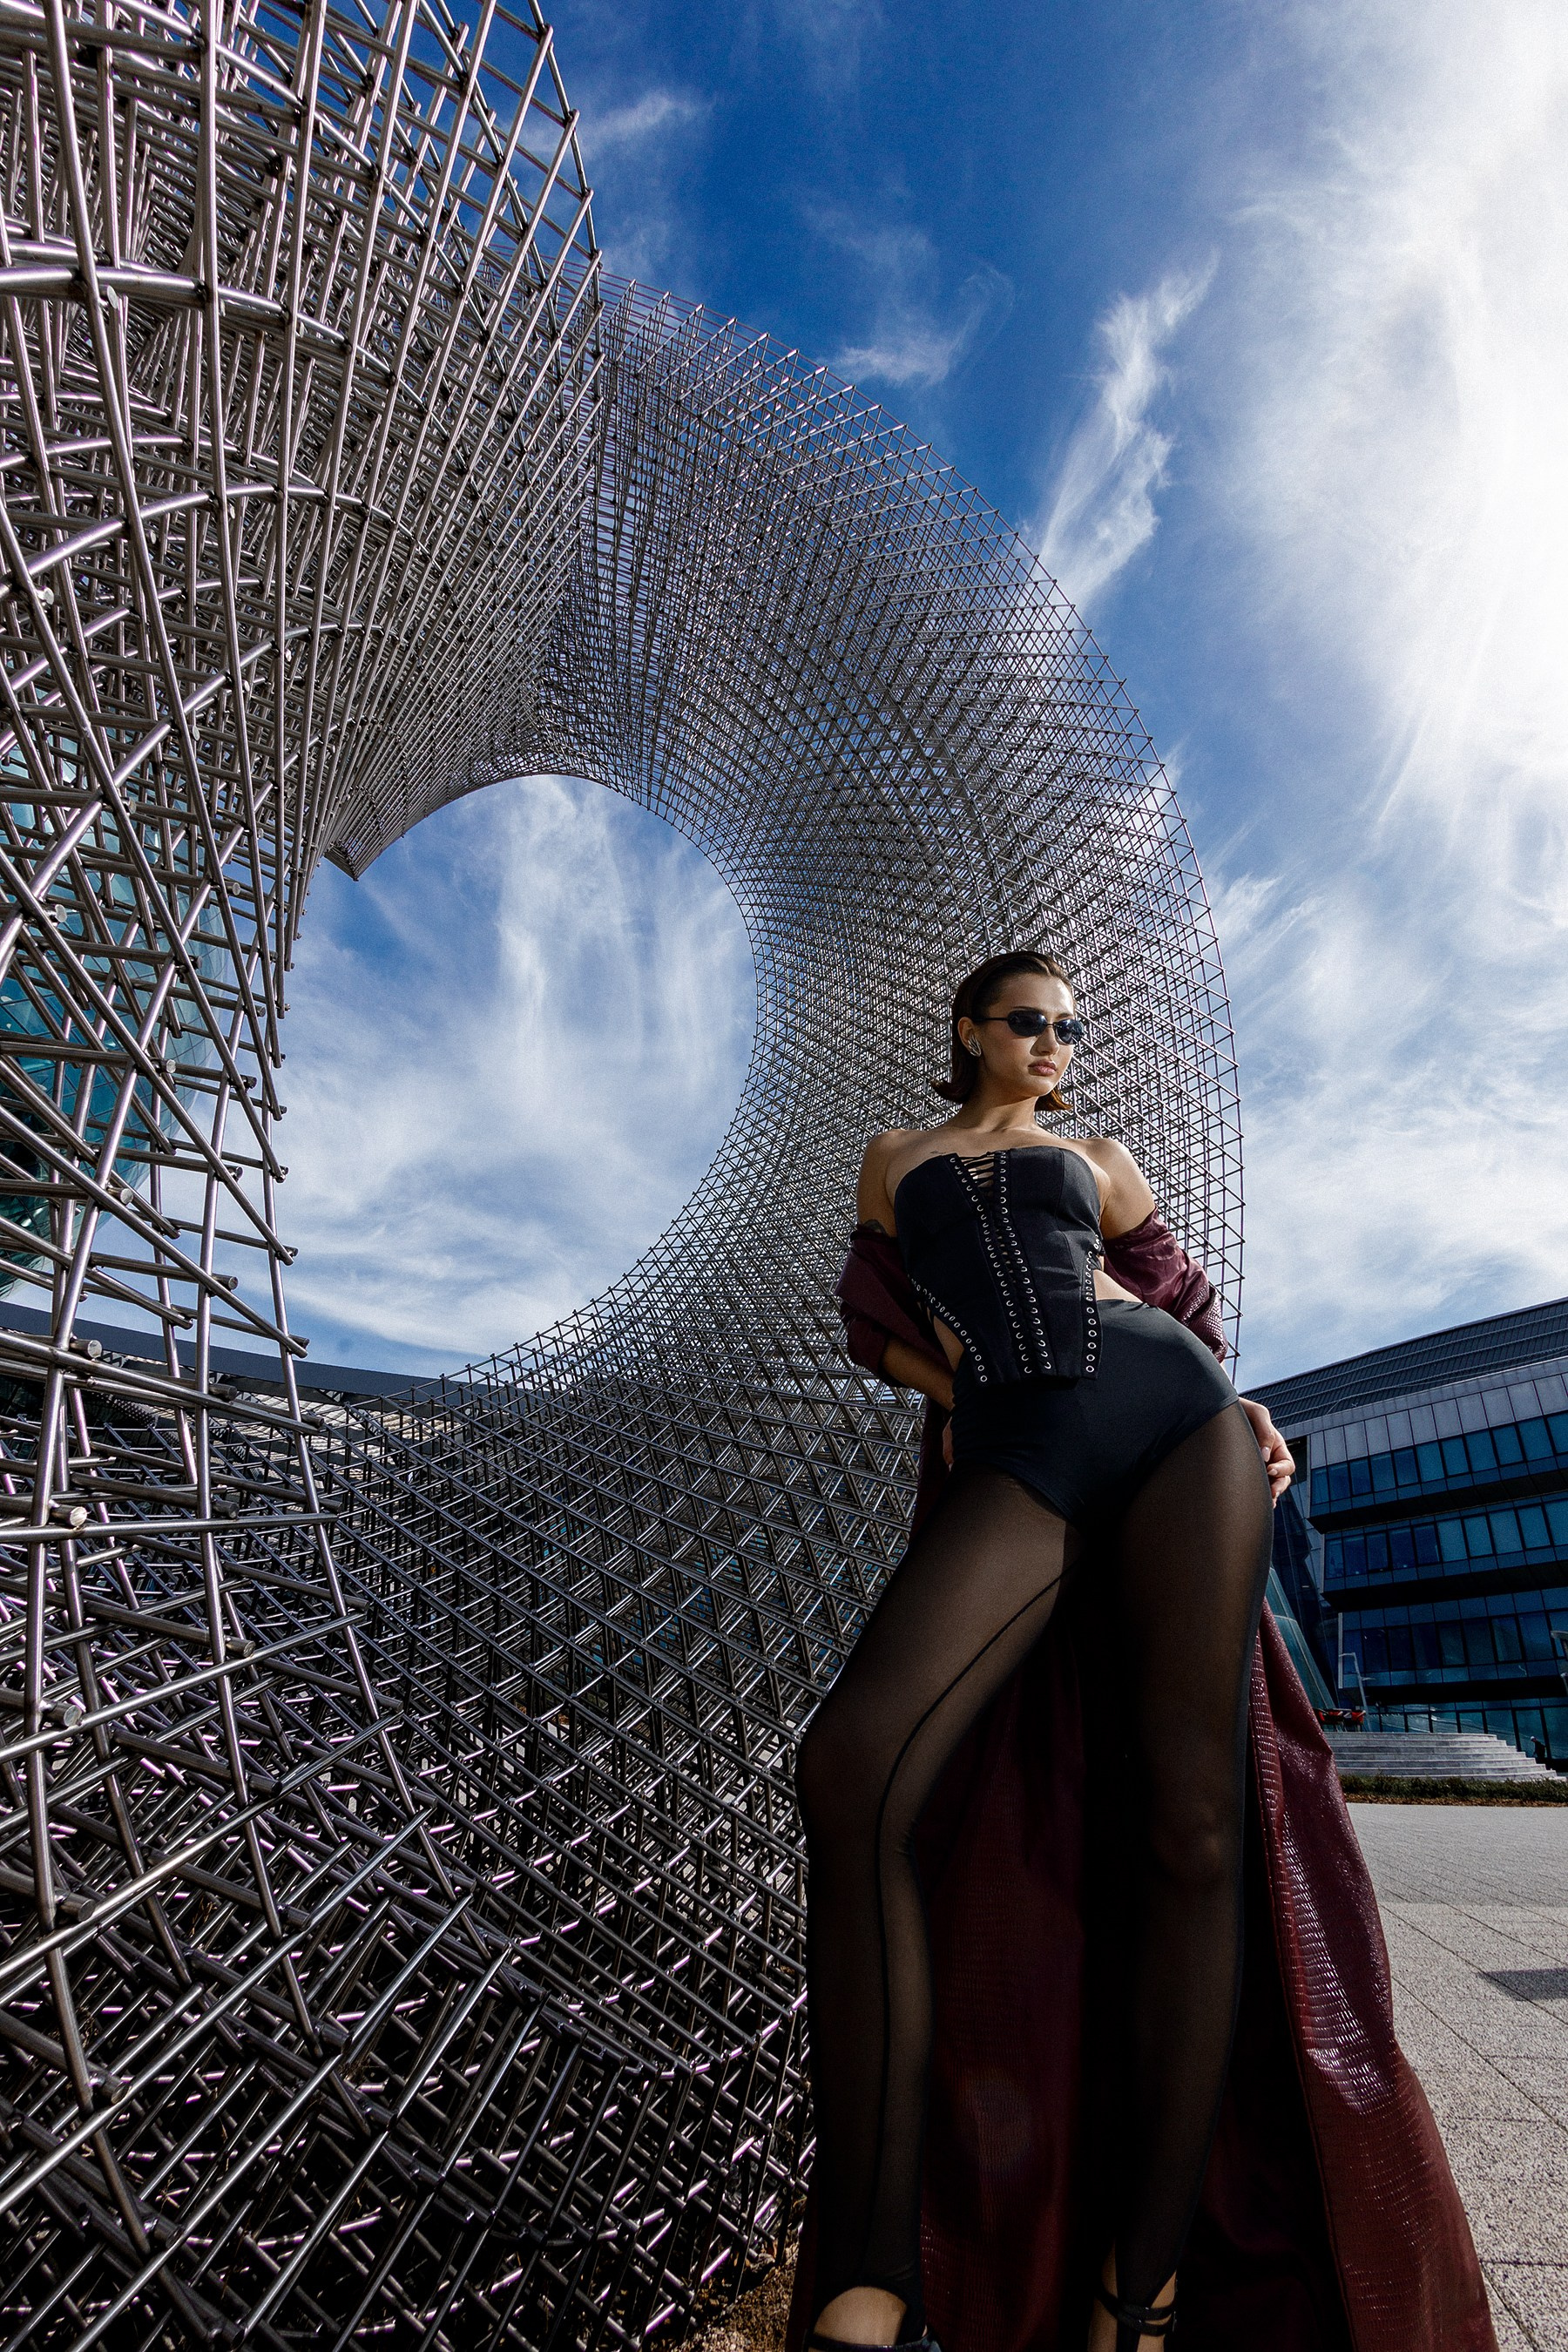
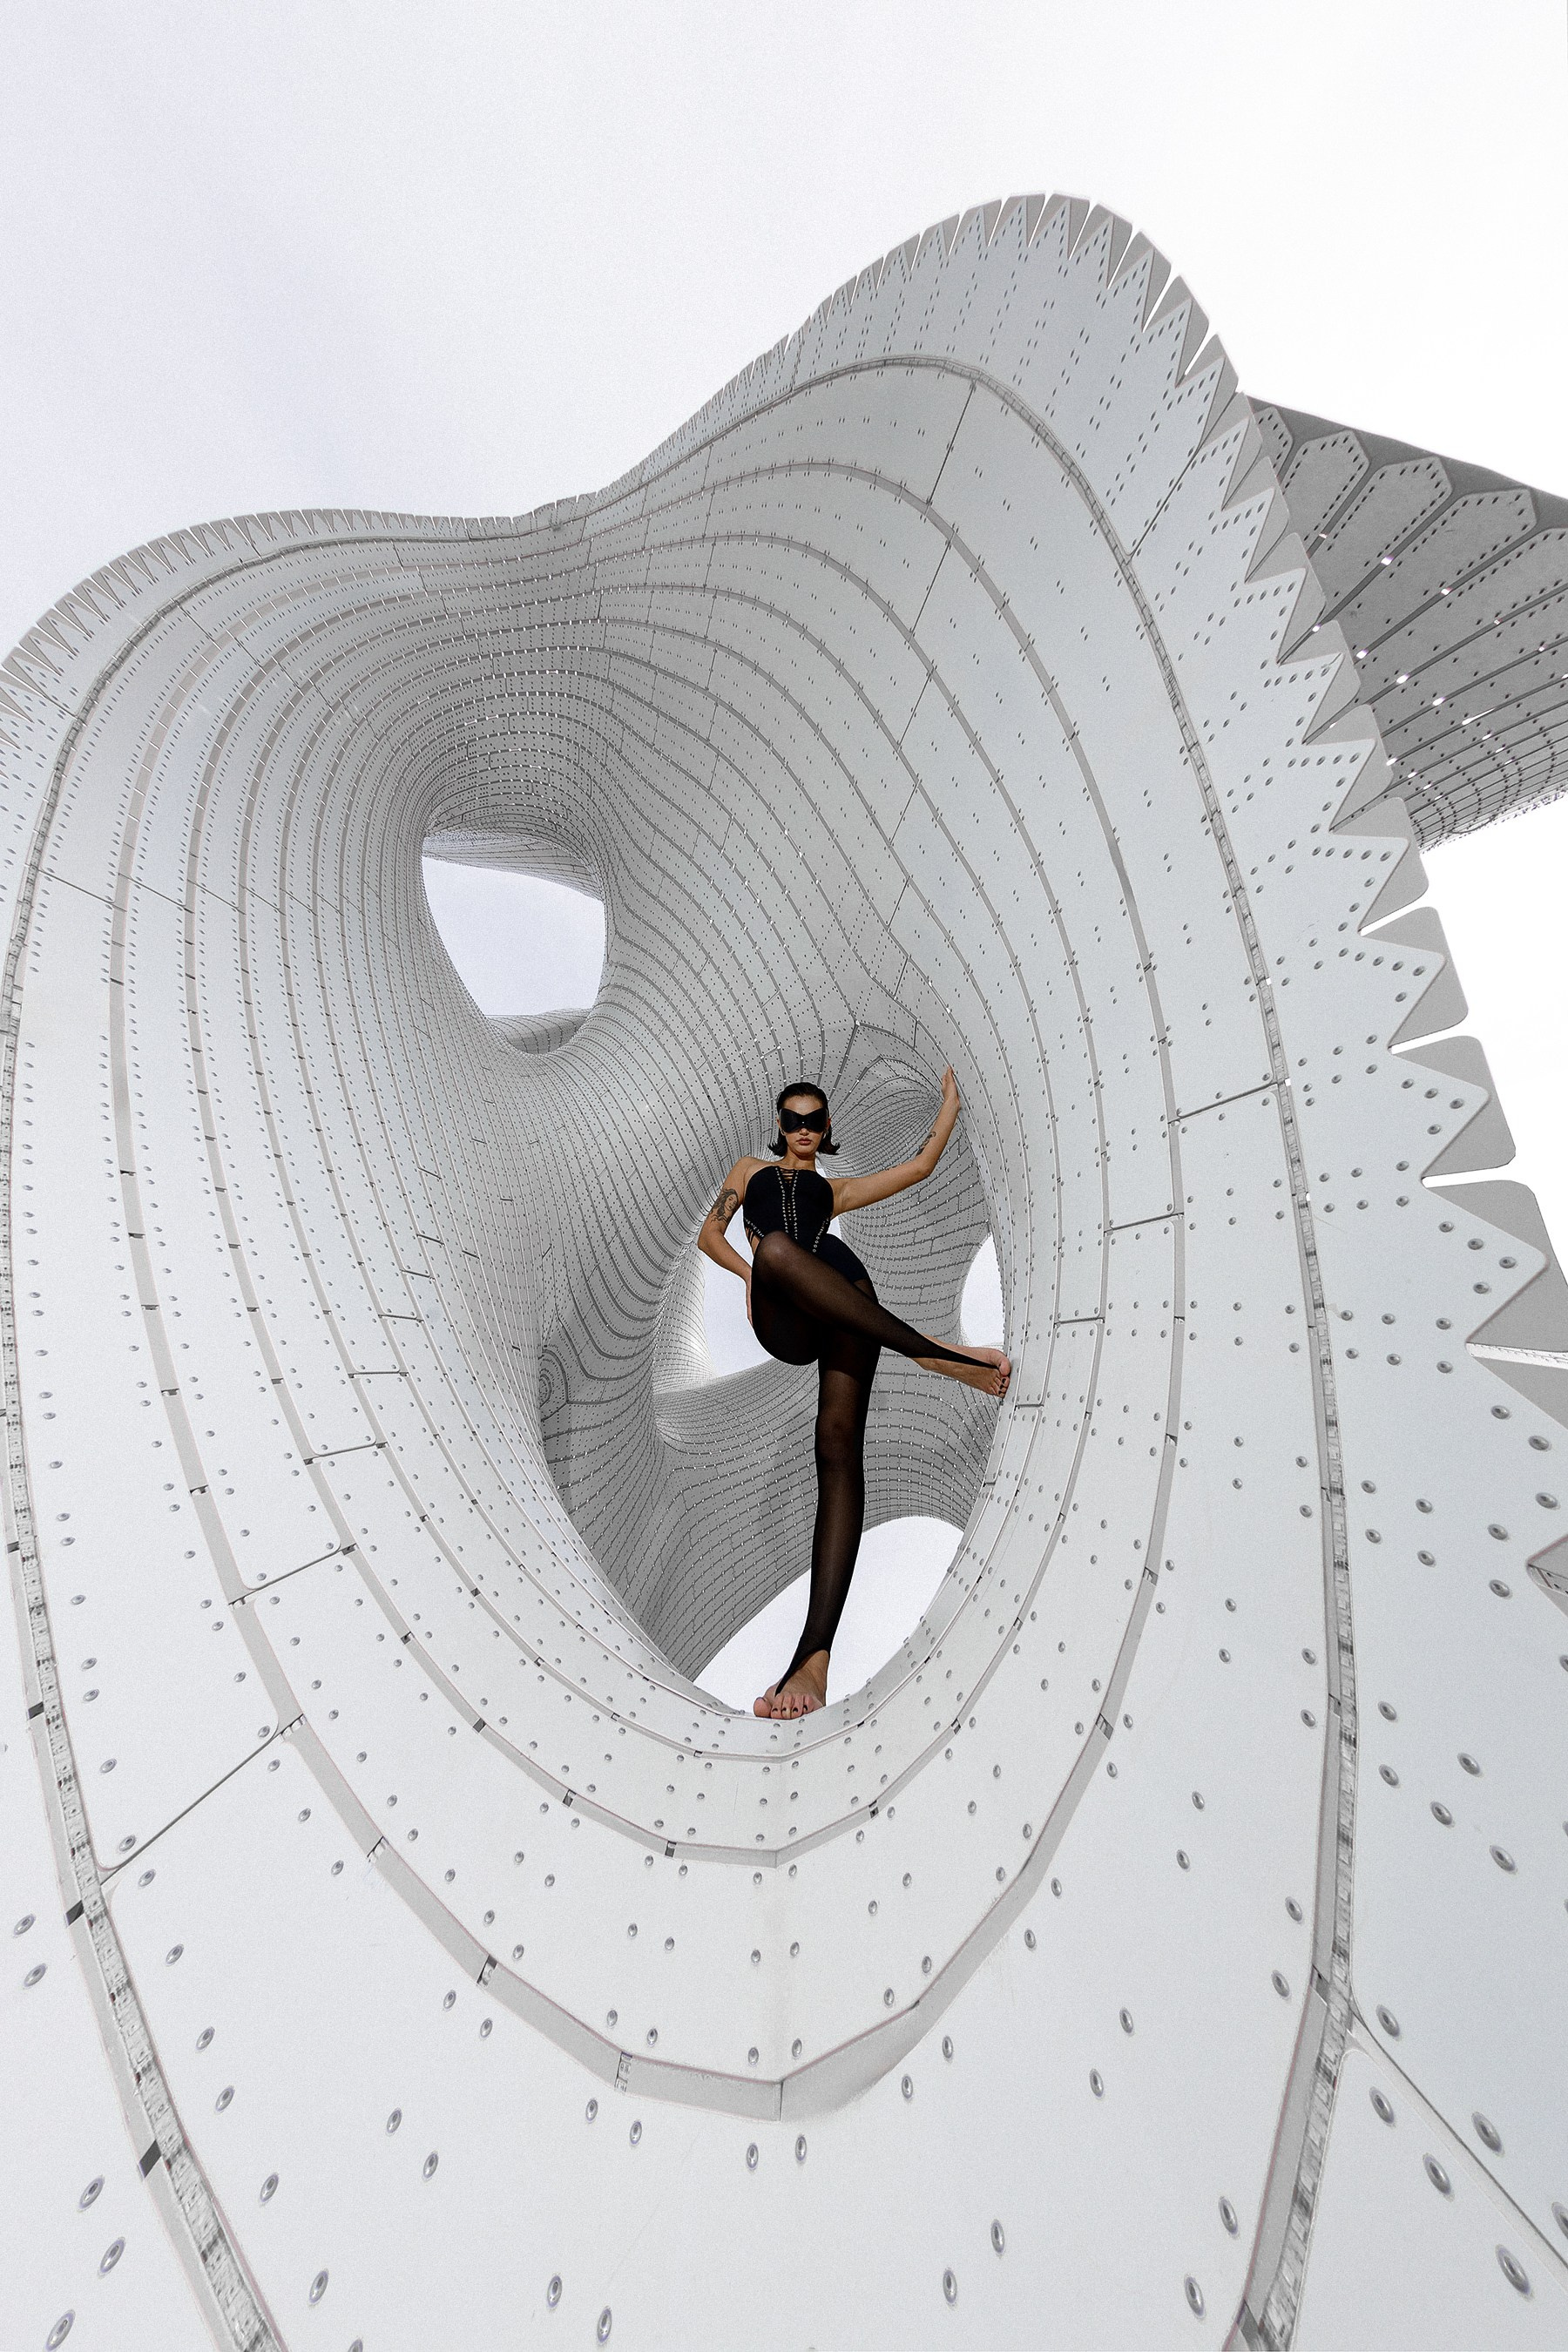
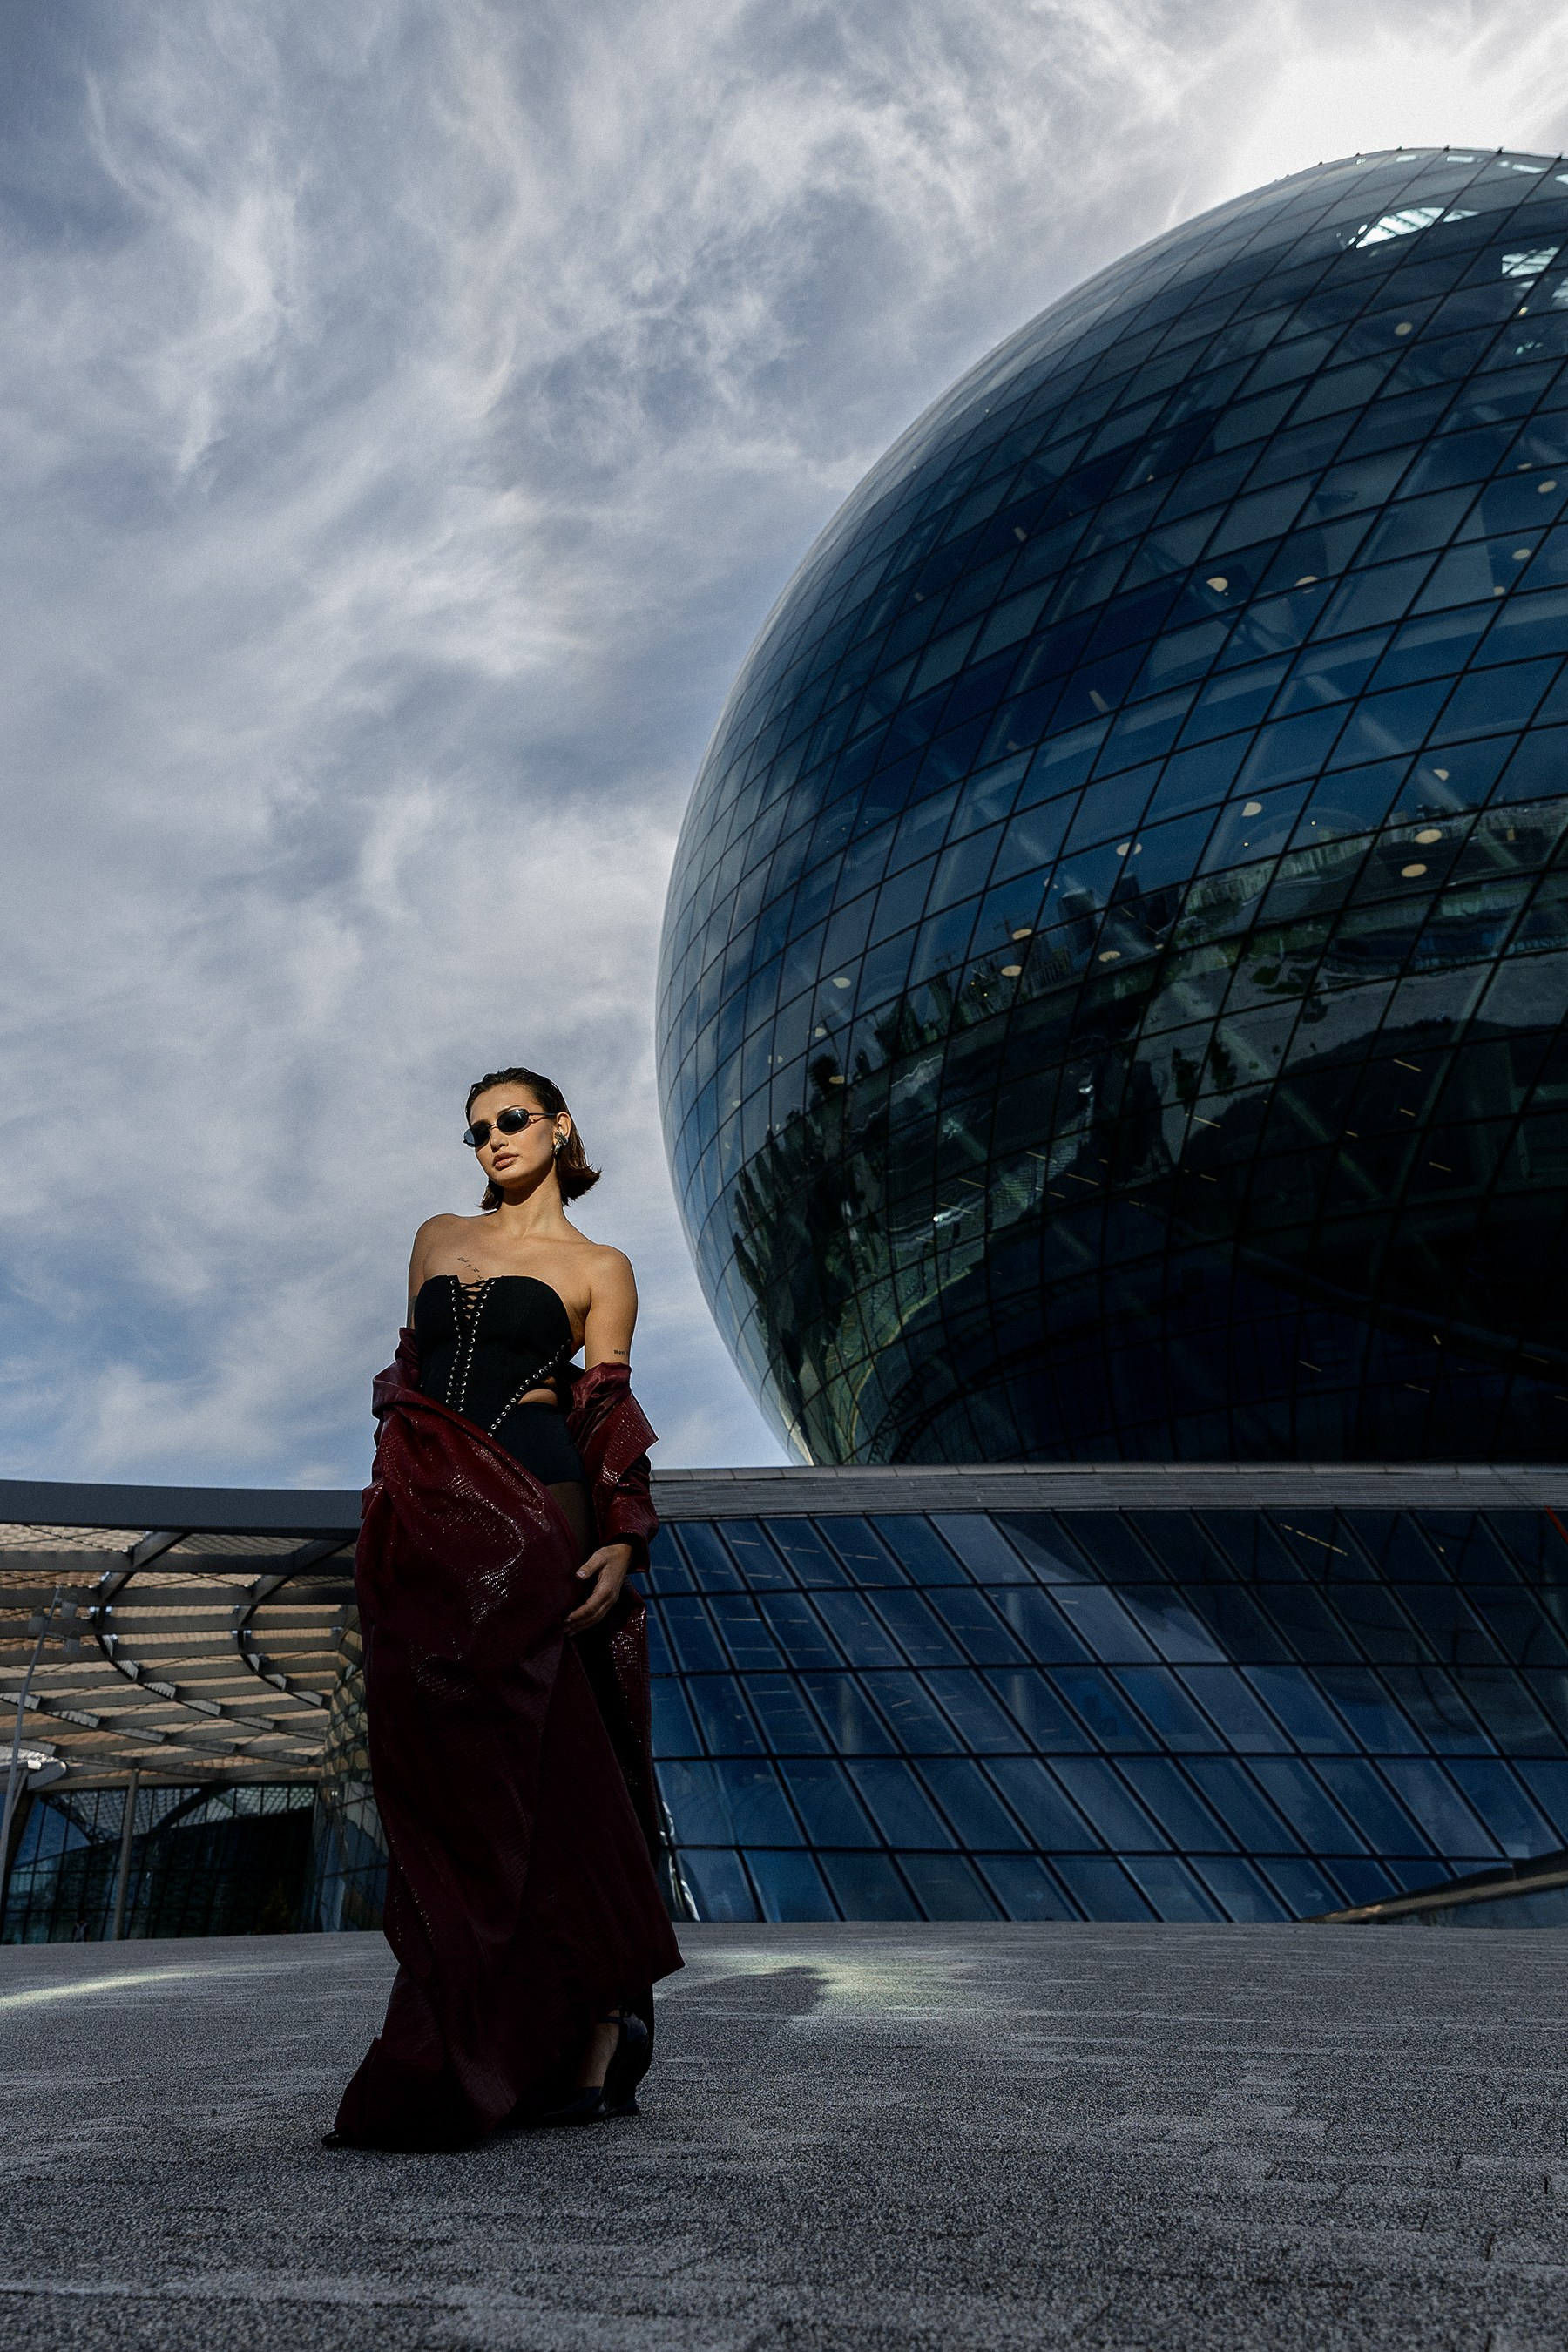
My Recommendation
Do not try to create one universal preset for every type of photo session.
Lighting, location, time of day, and photography genre are always different.
It is much more effective to create several presets for different shooting conditions and gradually expand your personal library as you gain experience.
Over time, your presets will become part of your signature visual style, and editing large photo series will take only a few minutes instead of several hours.
Chapter 5. Portrait Retouching
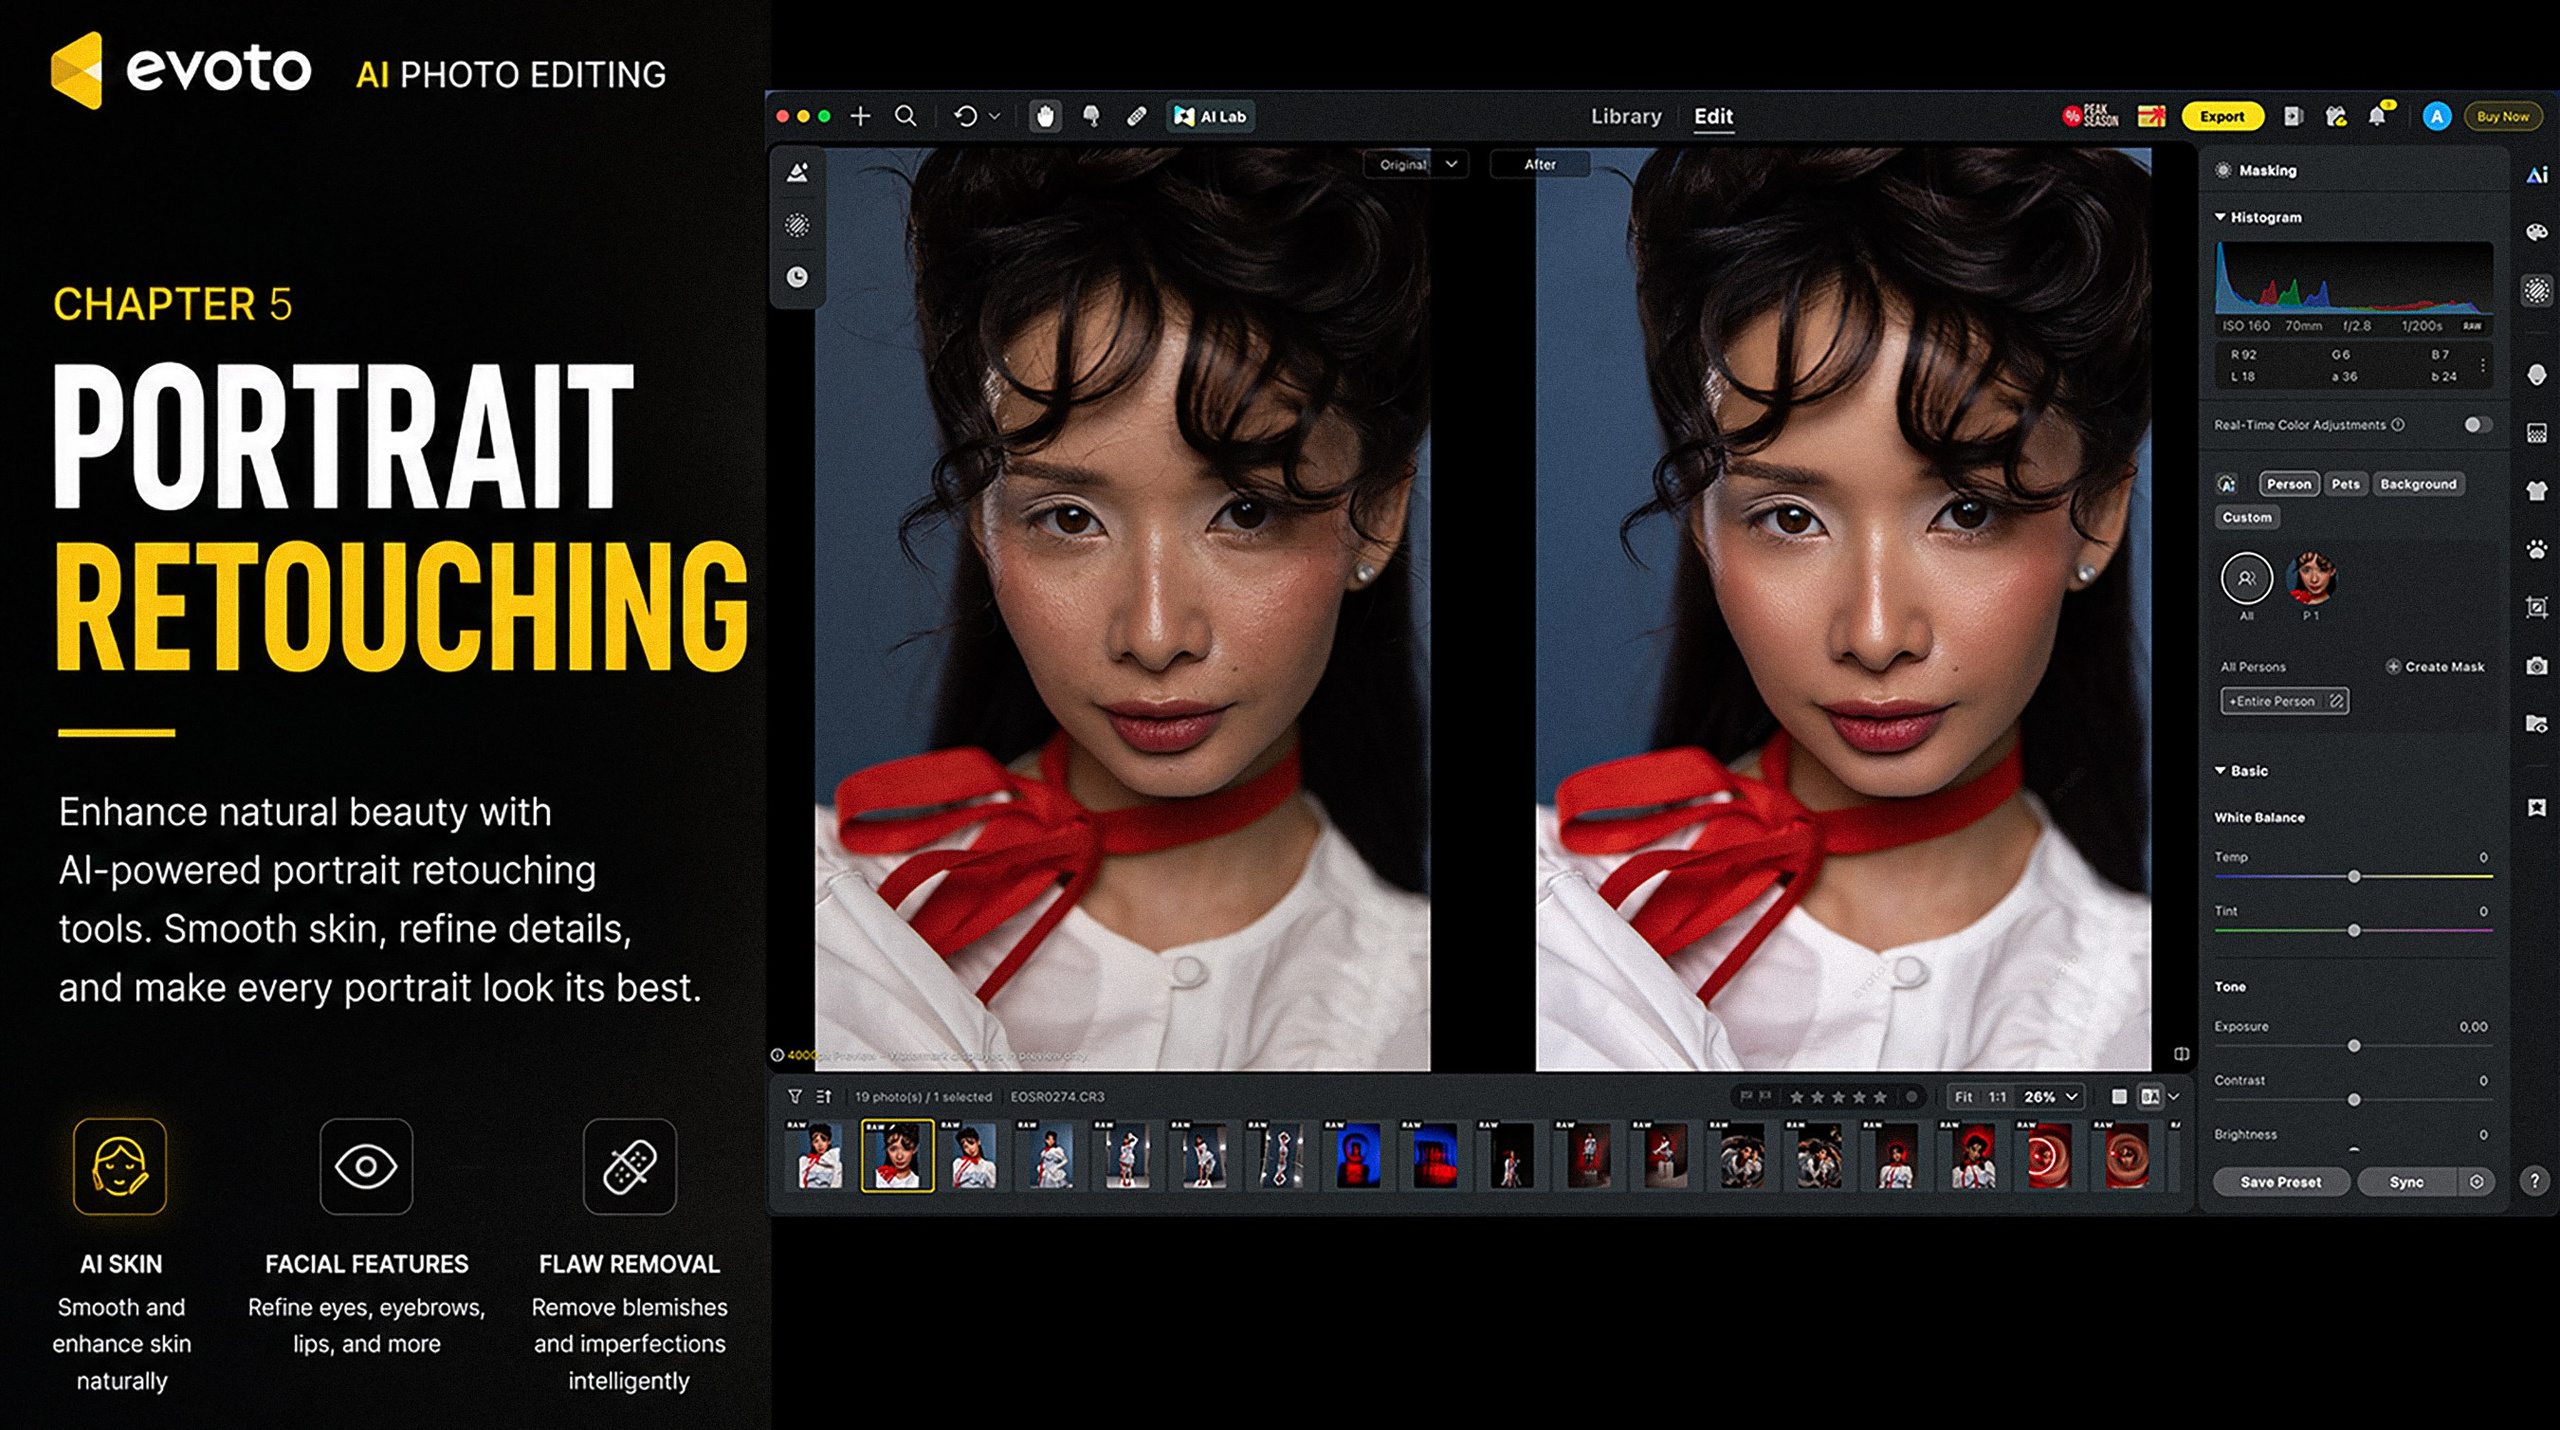
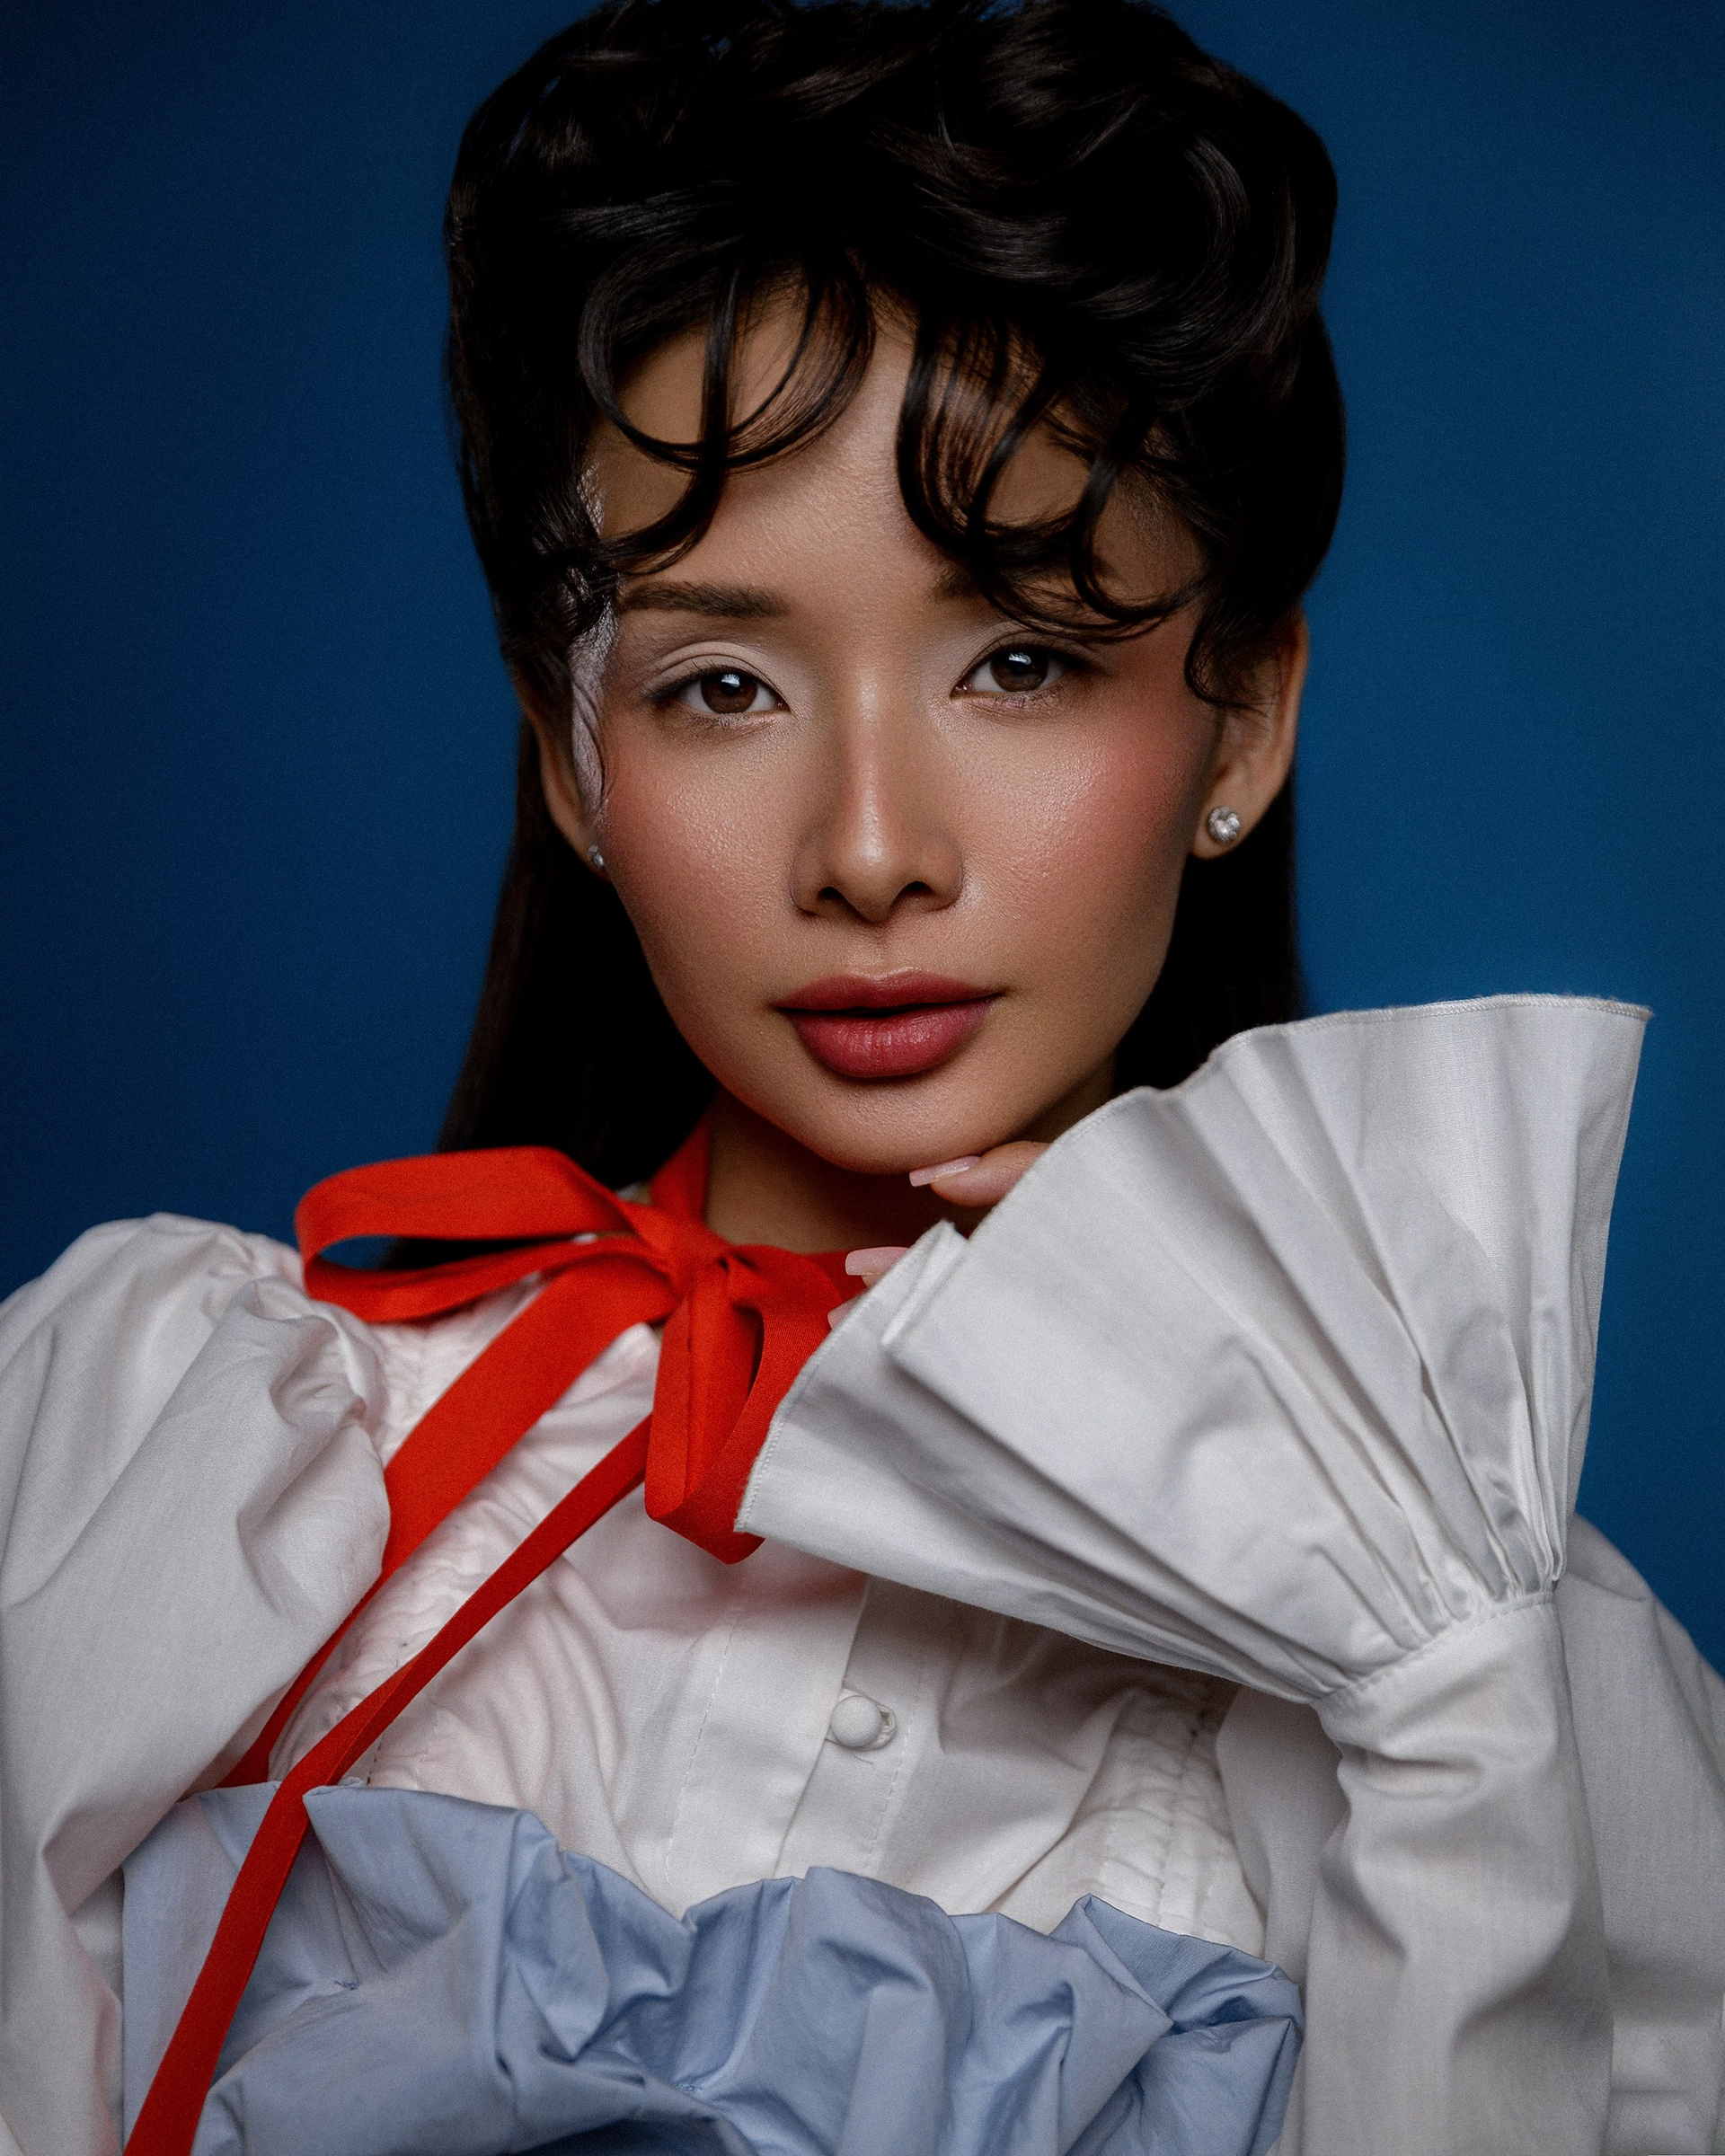
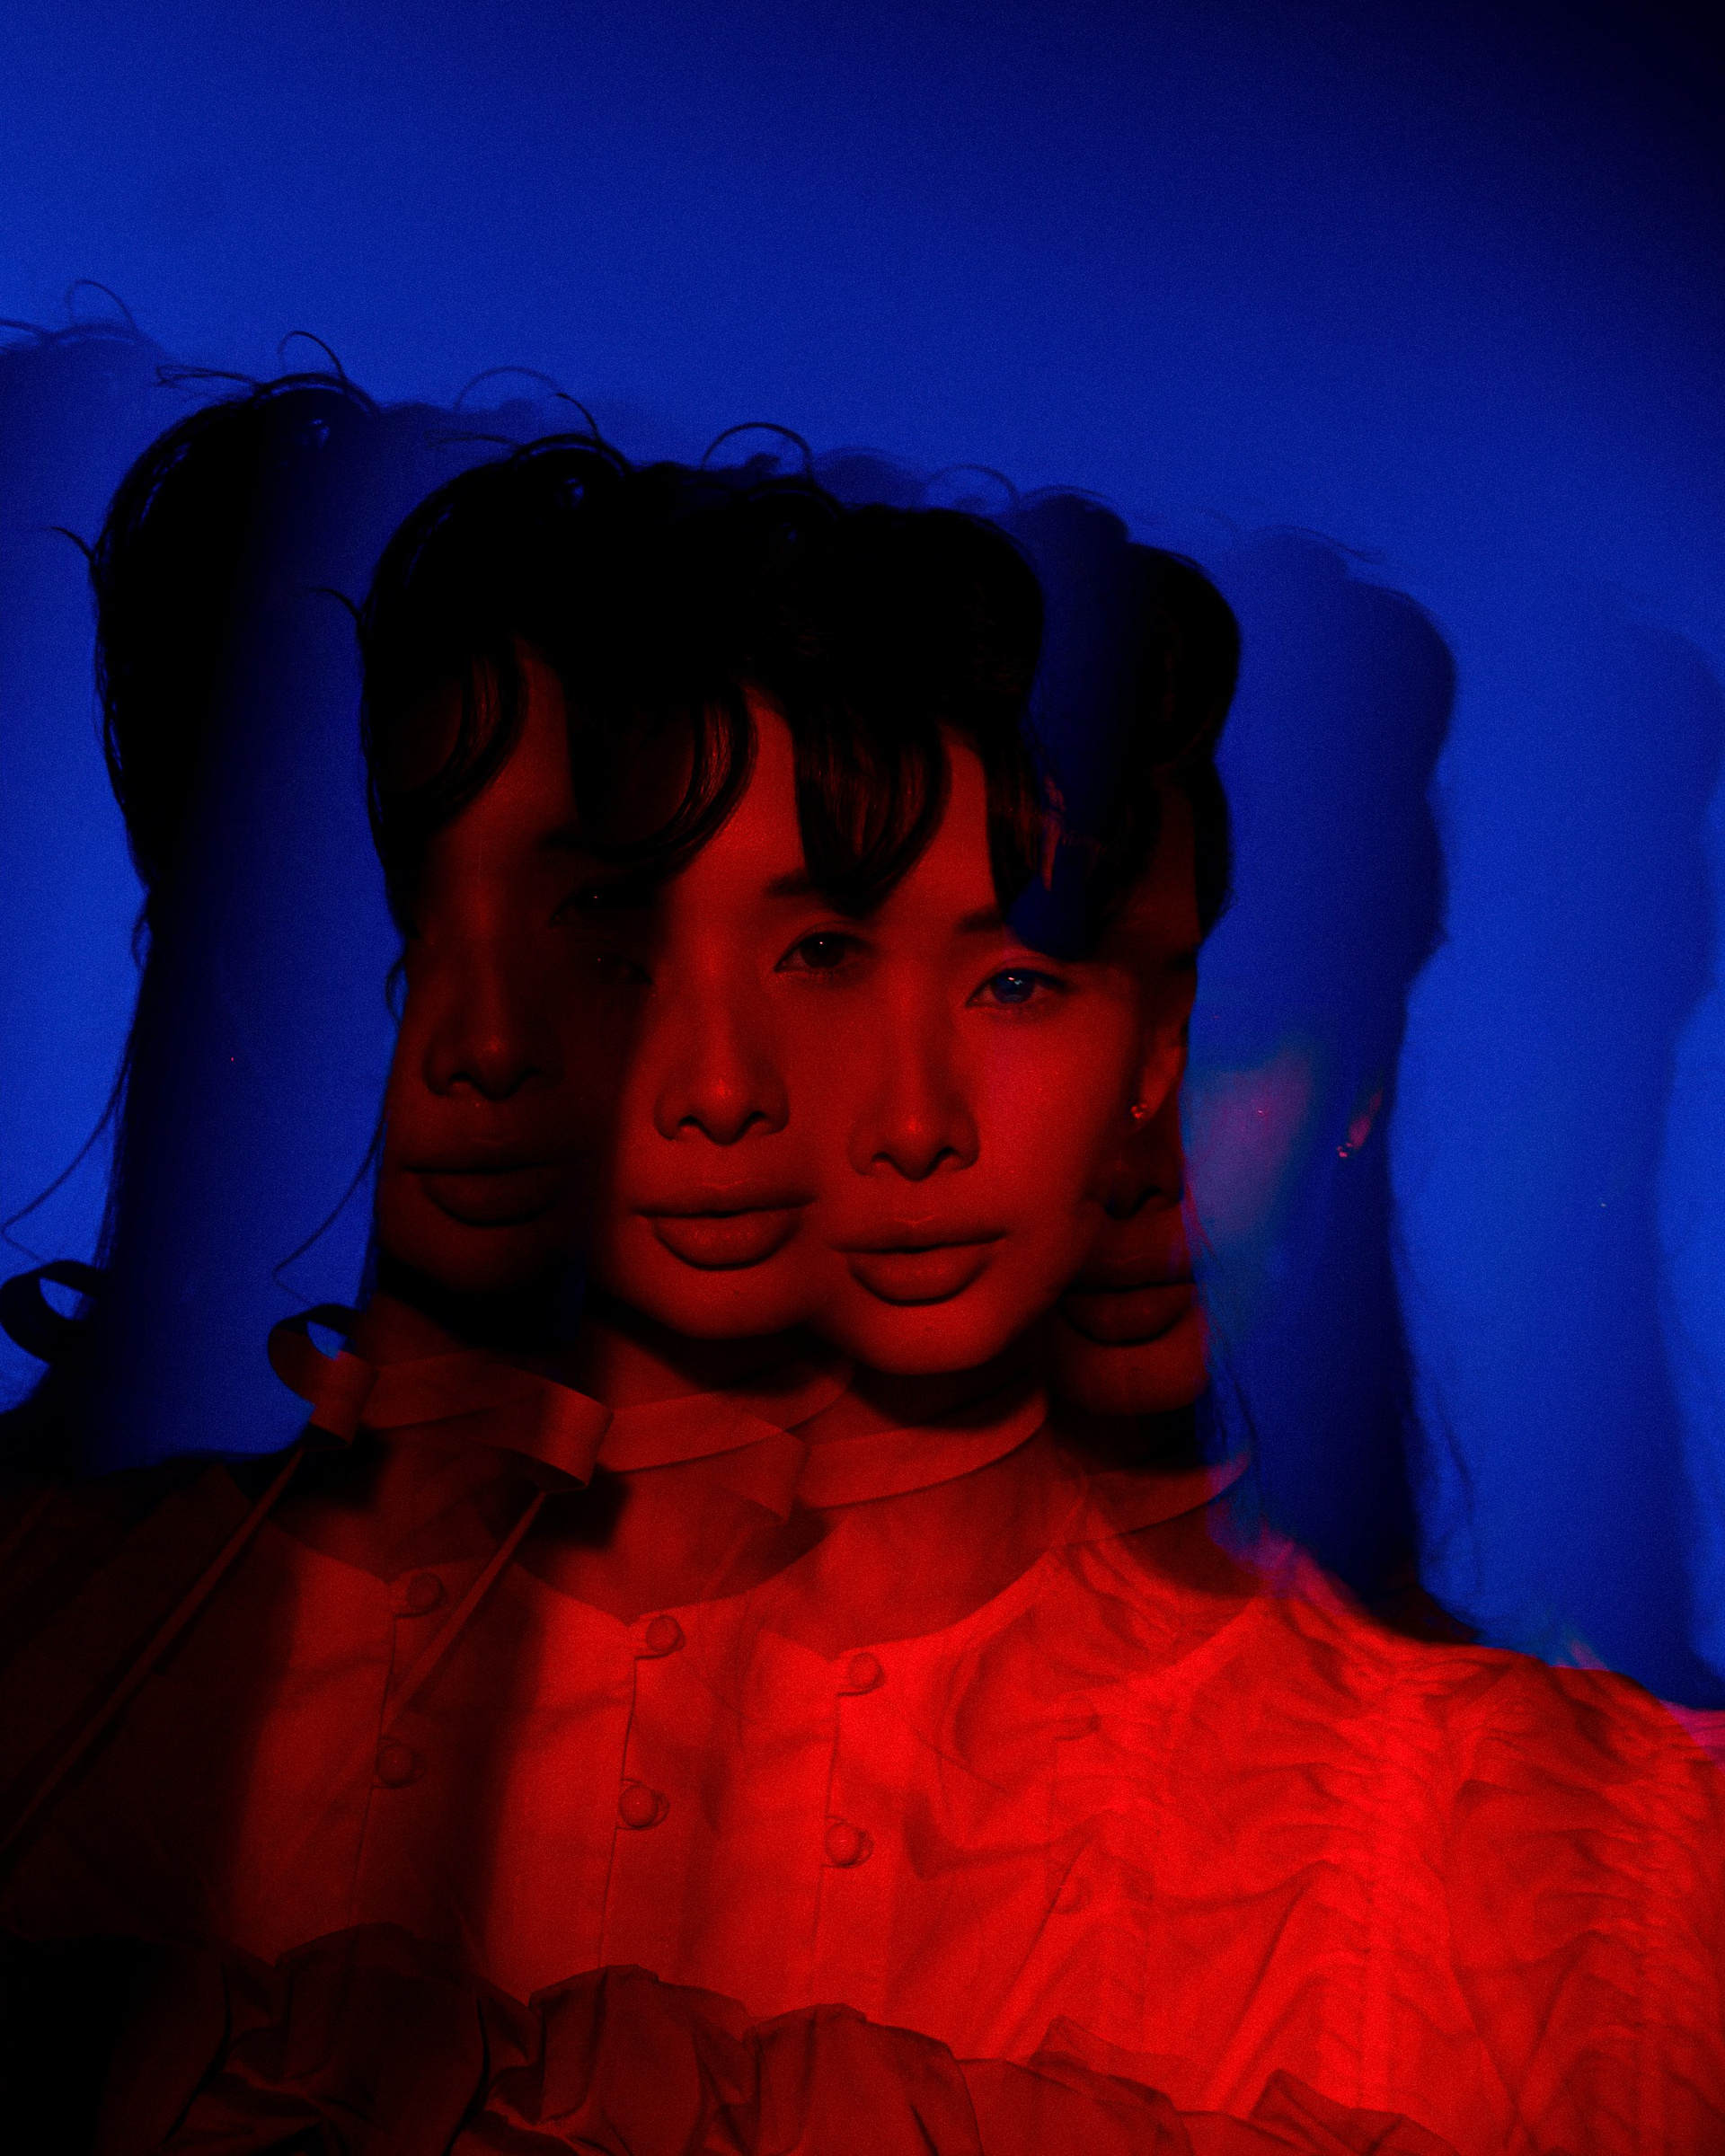
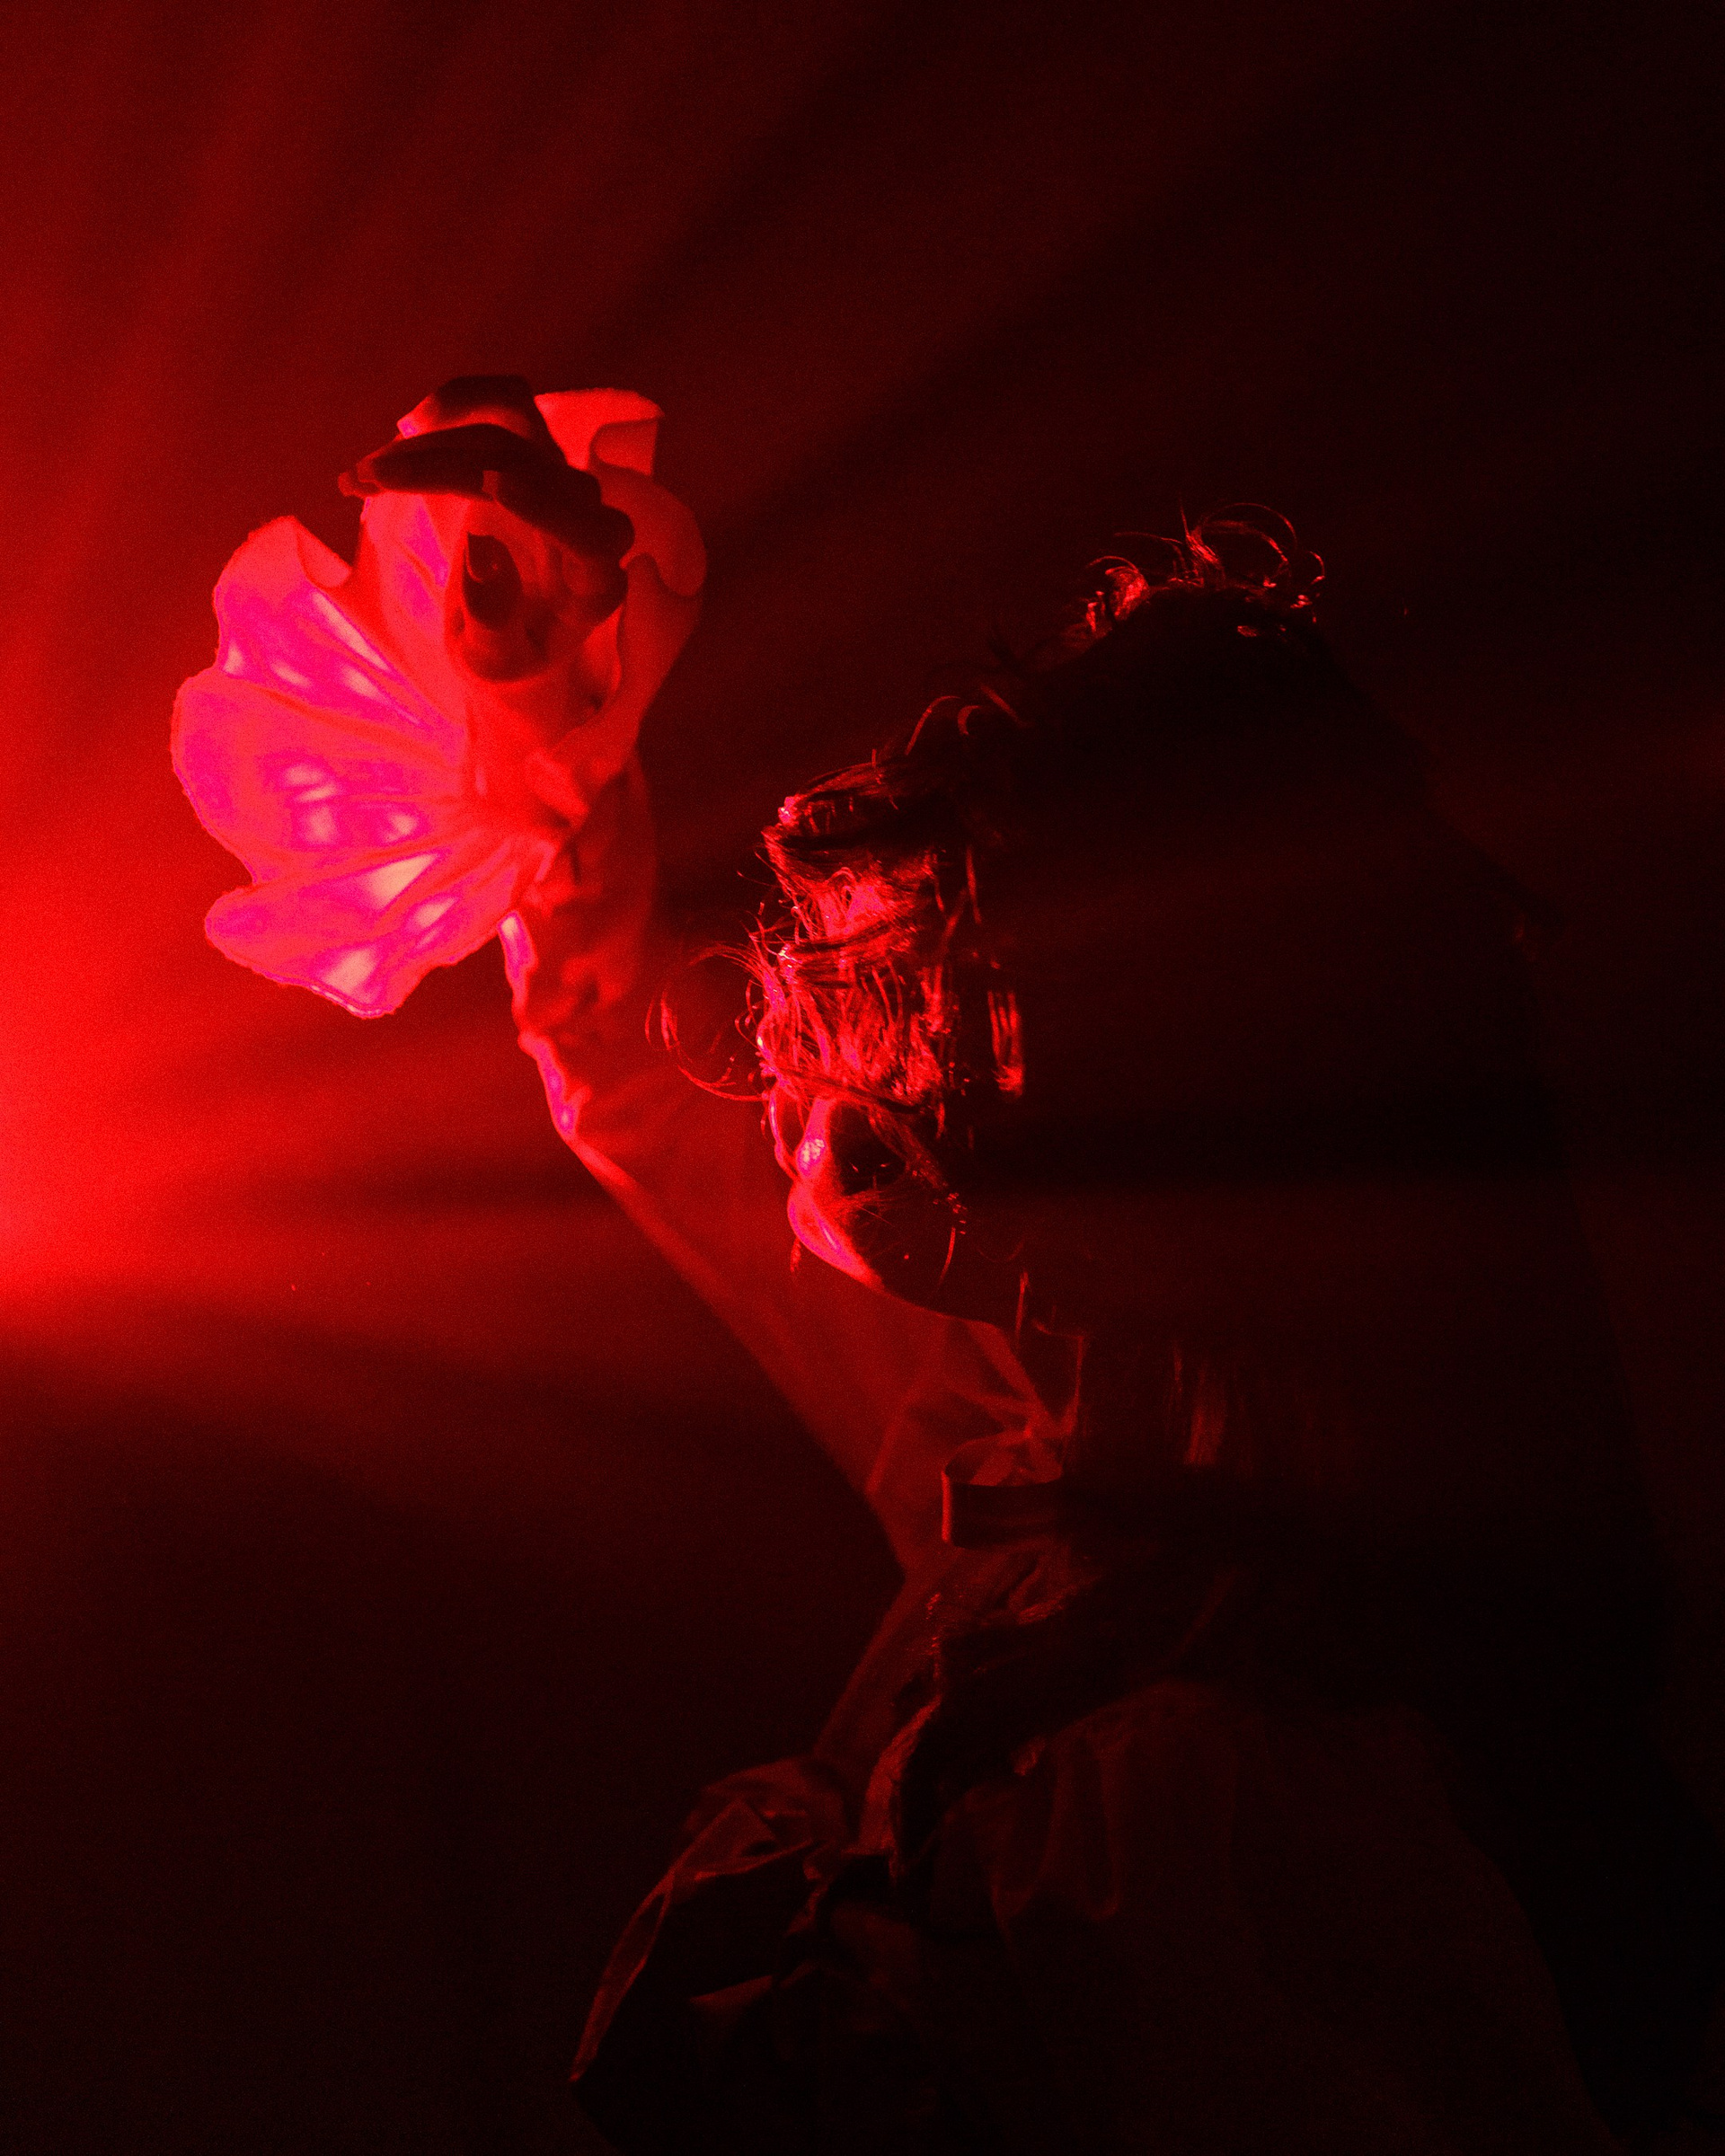
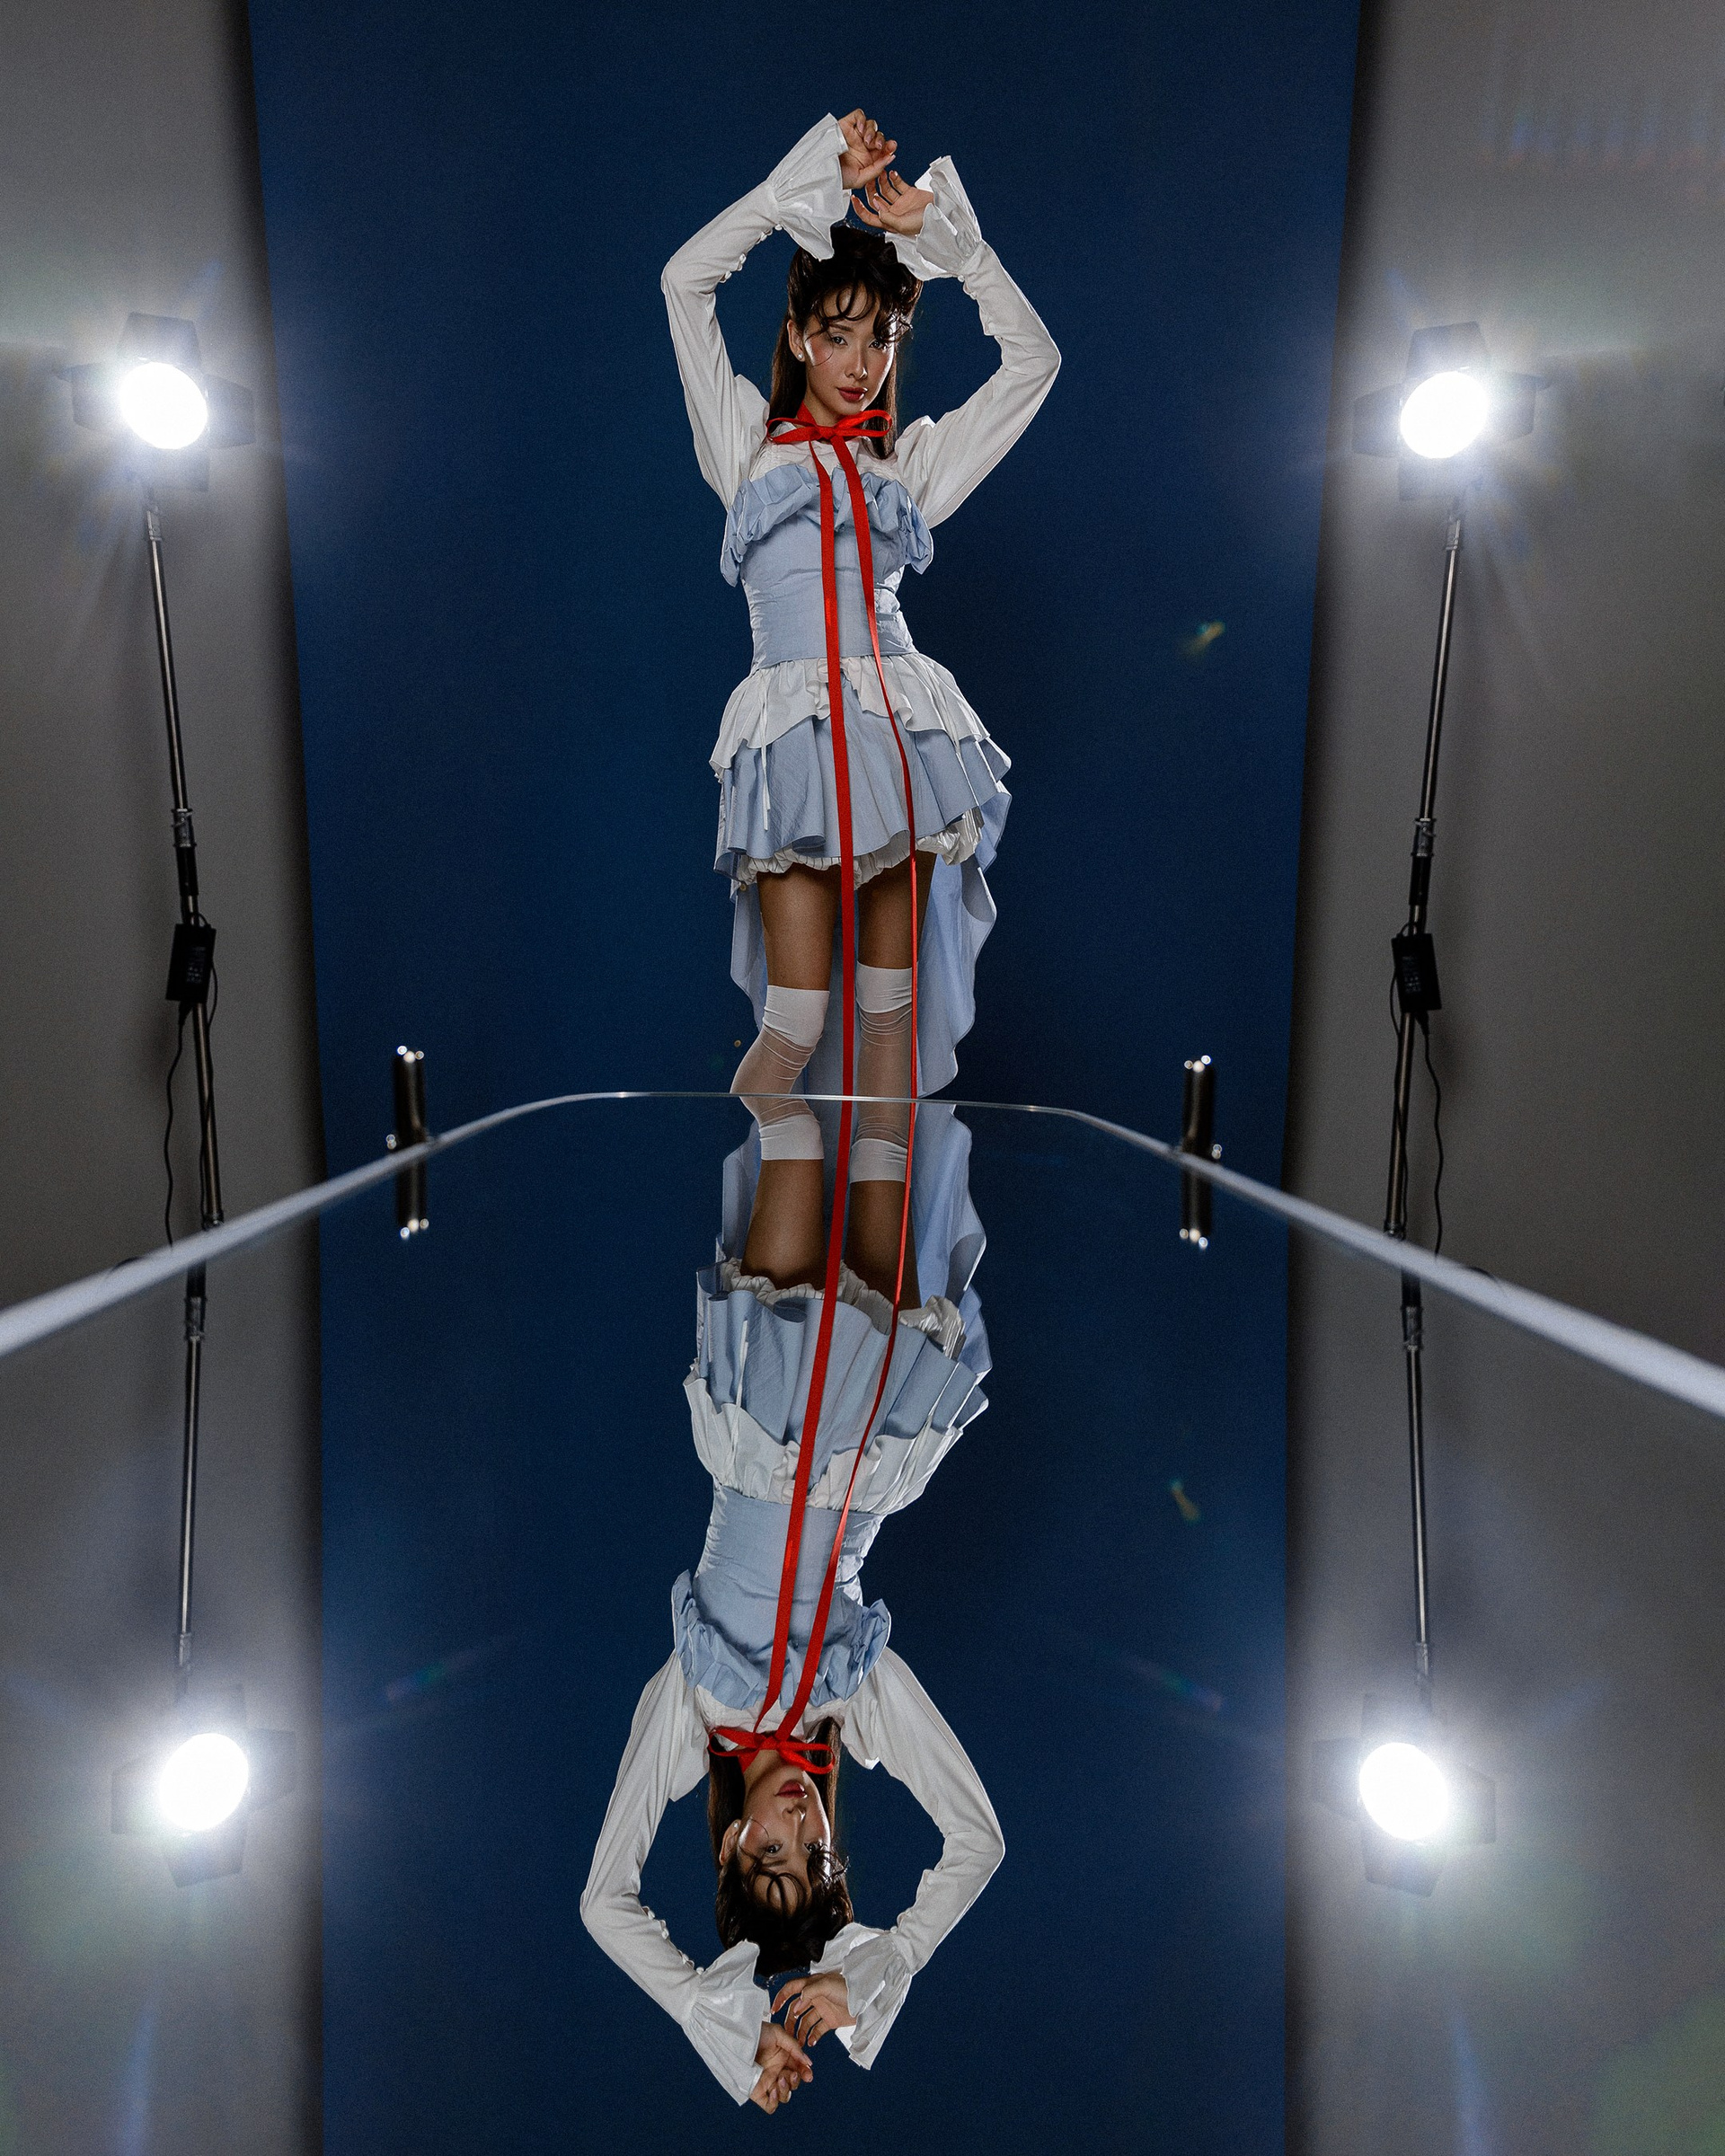
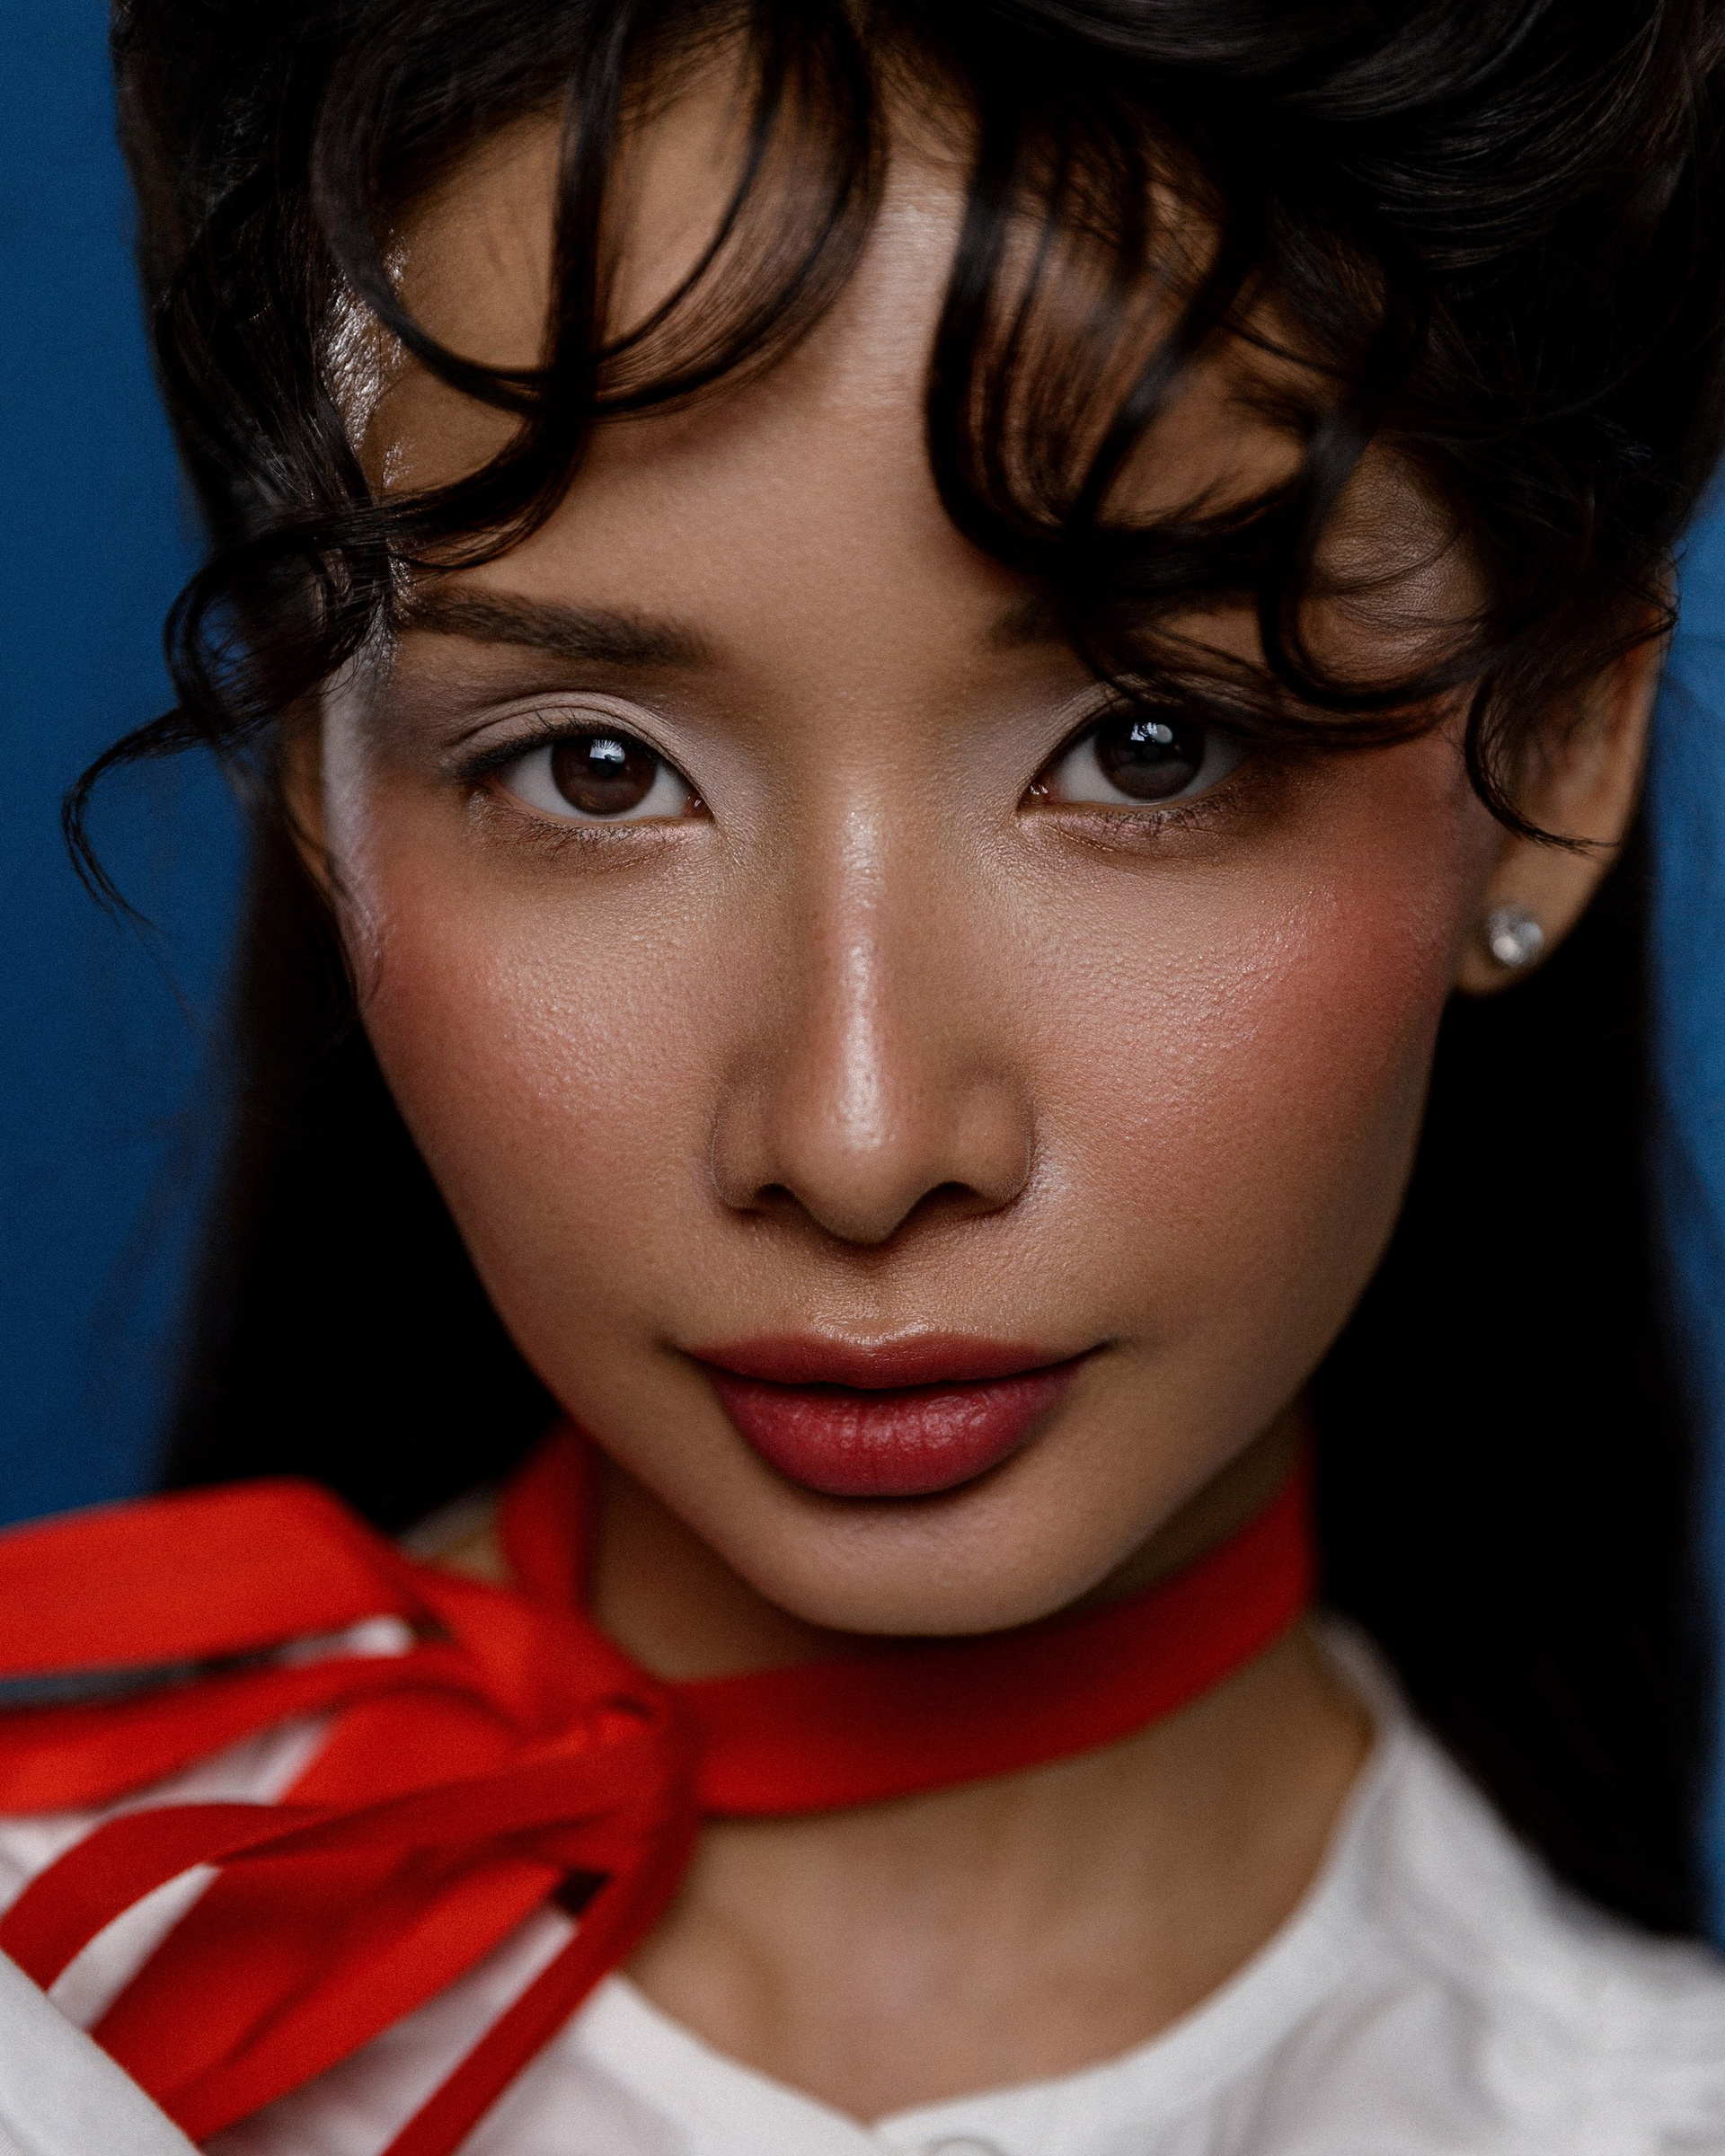
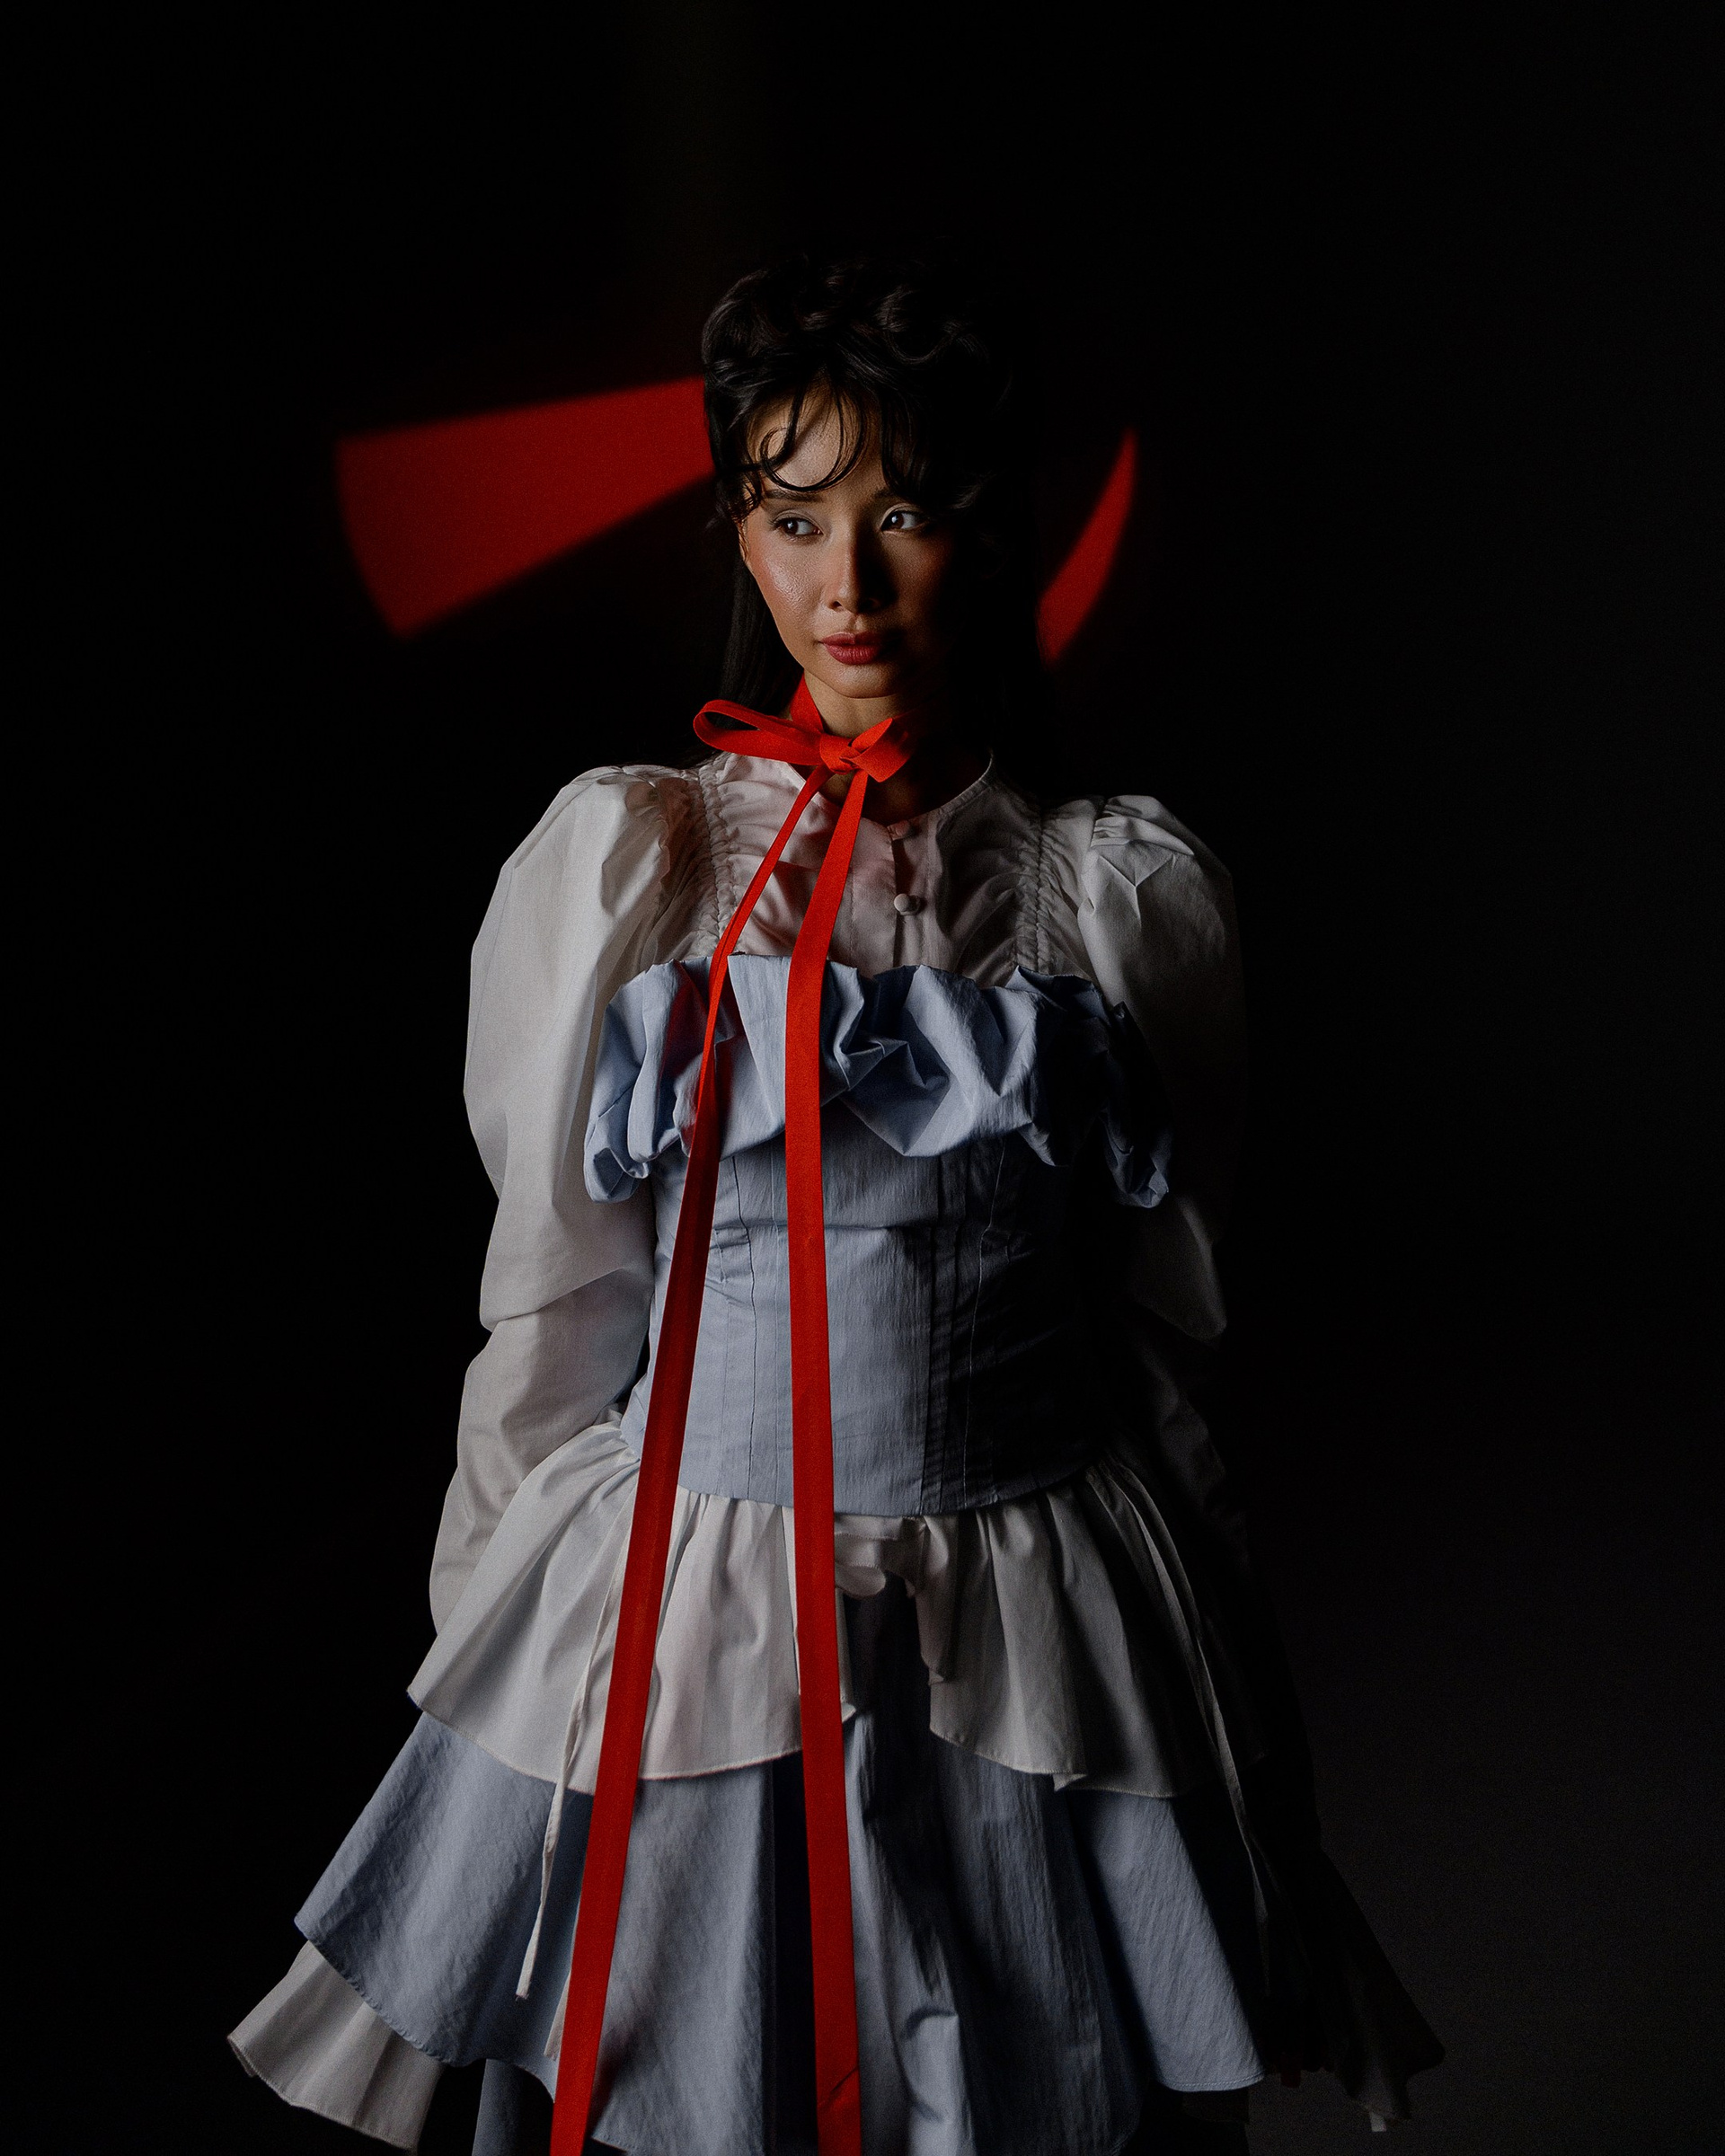
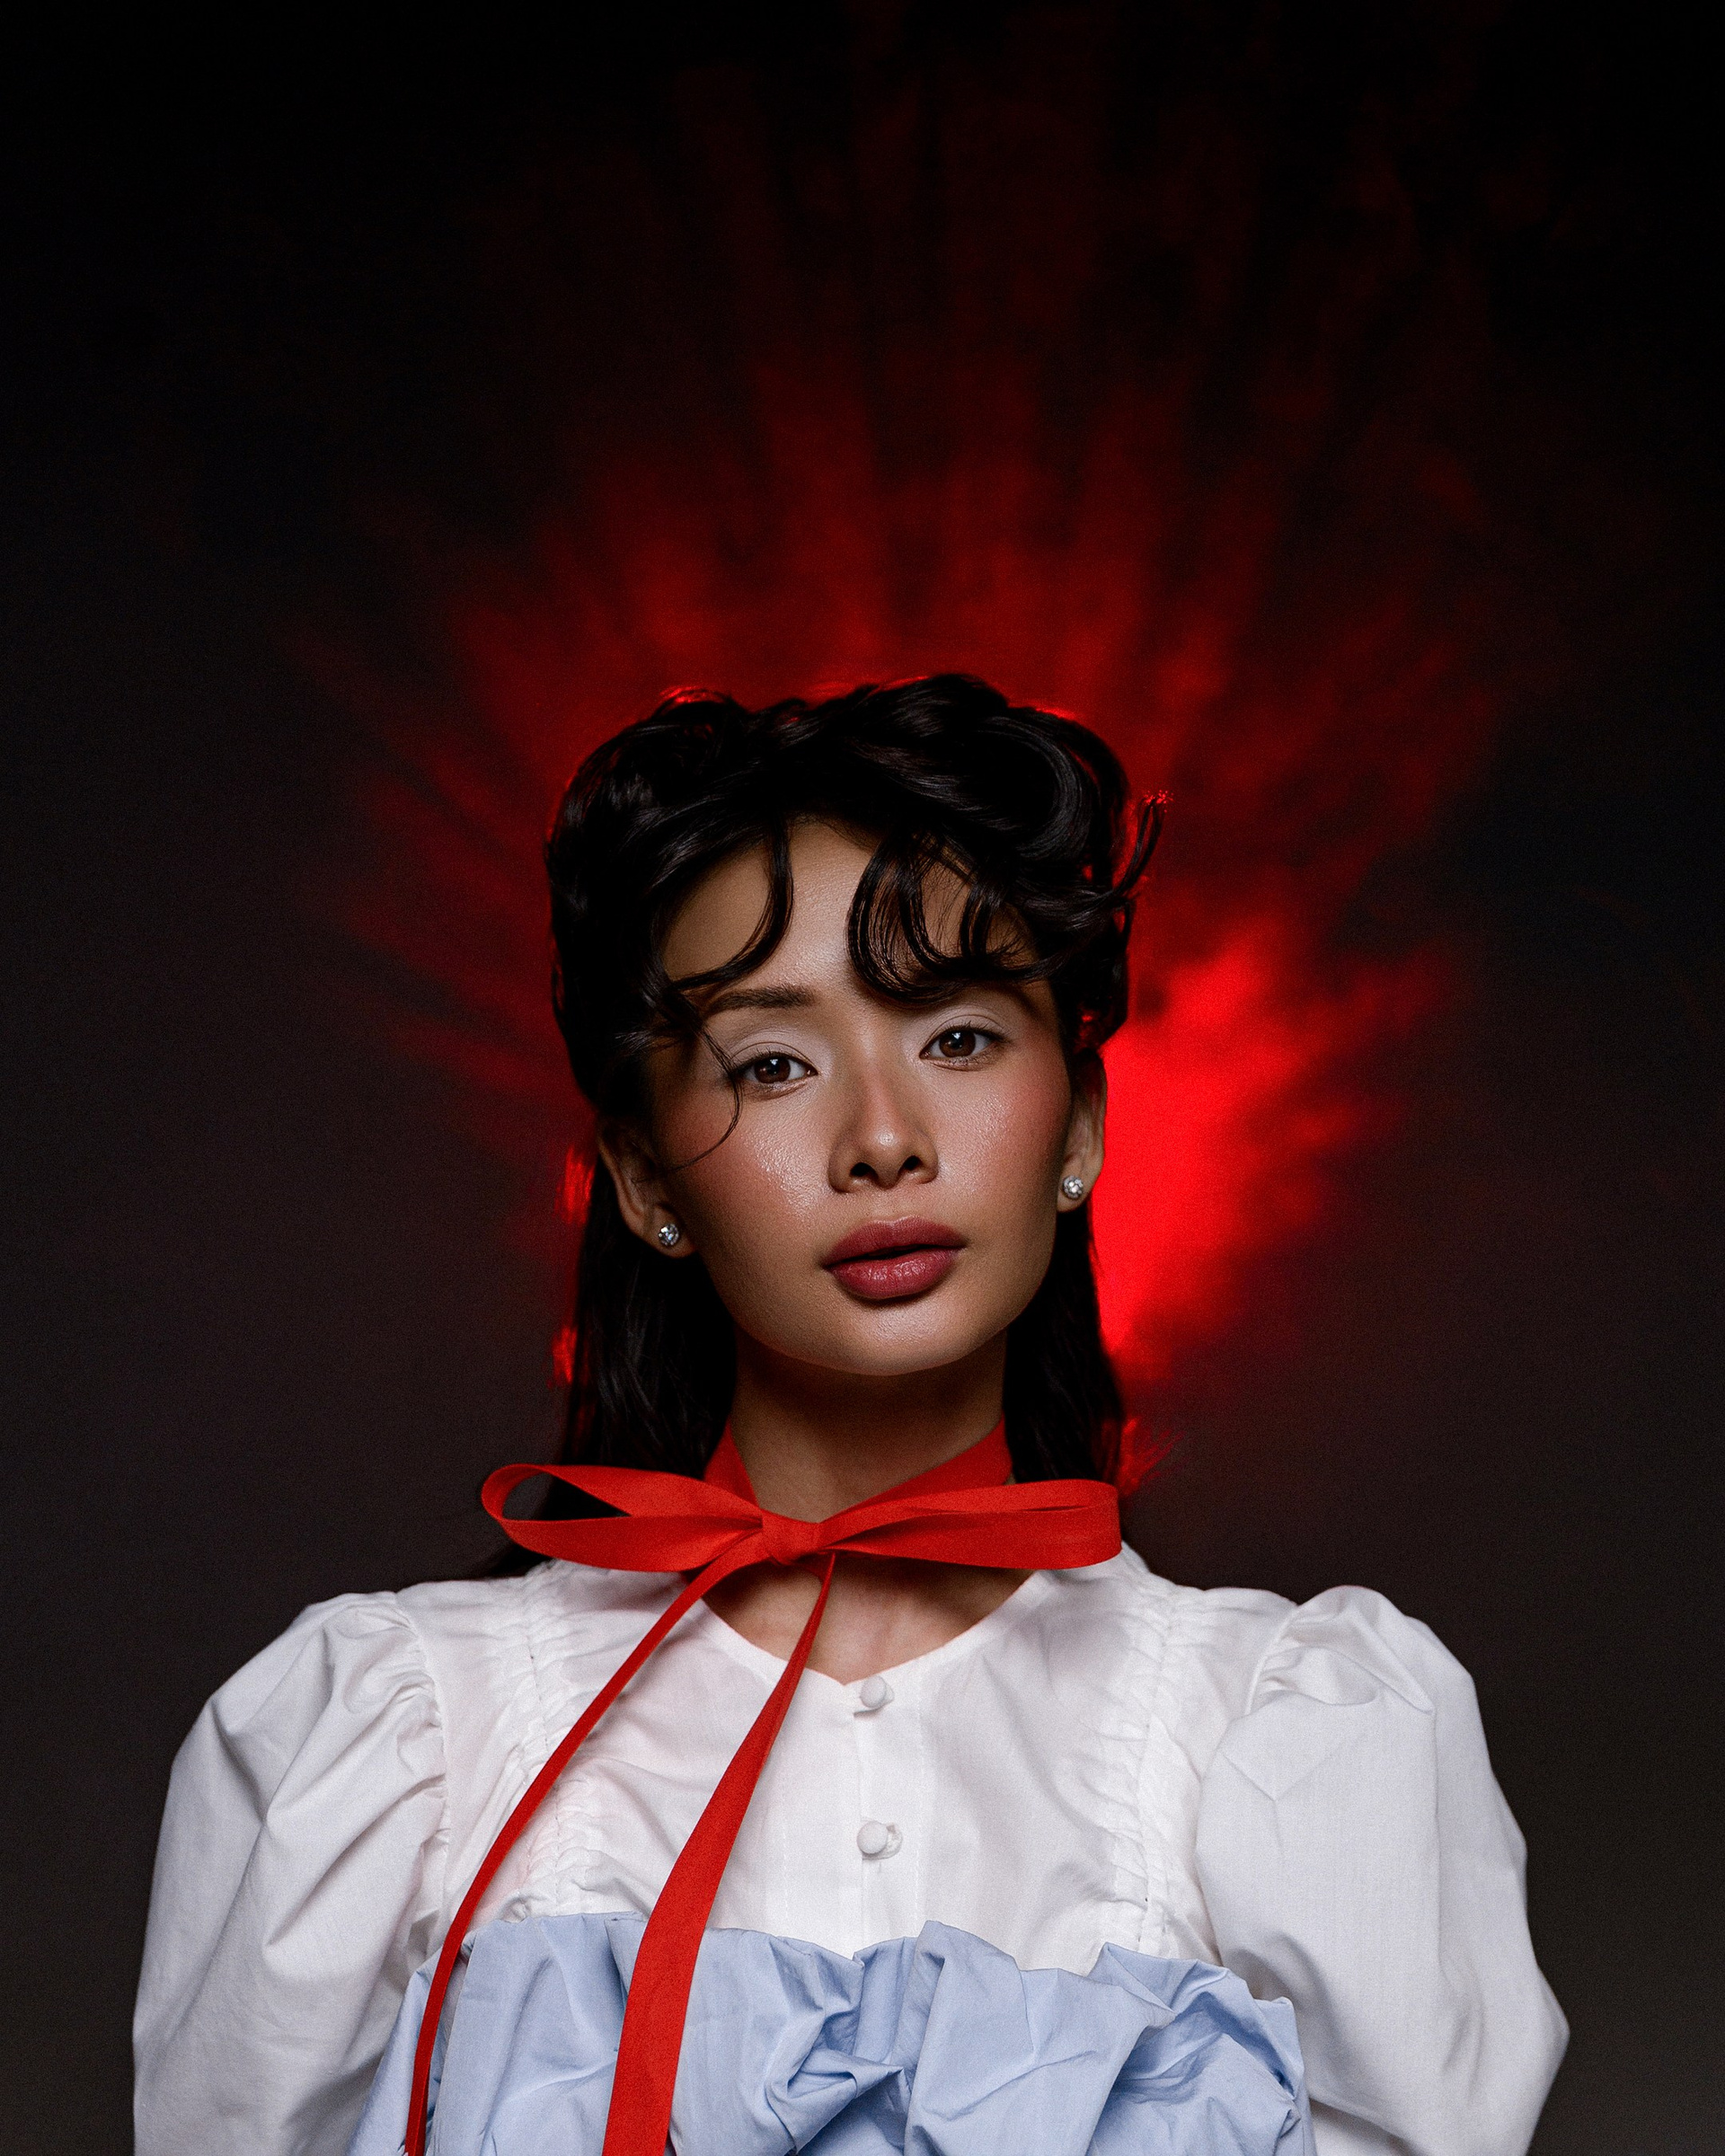
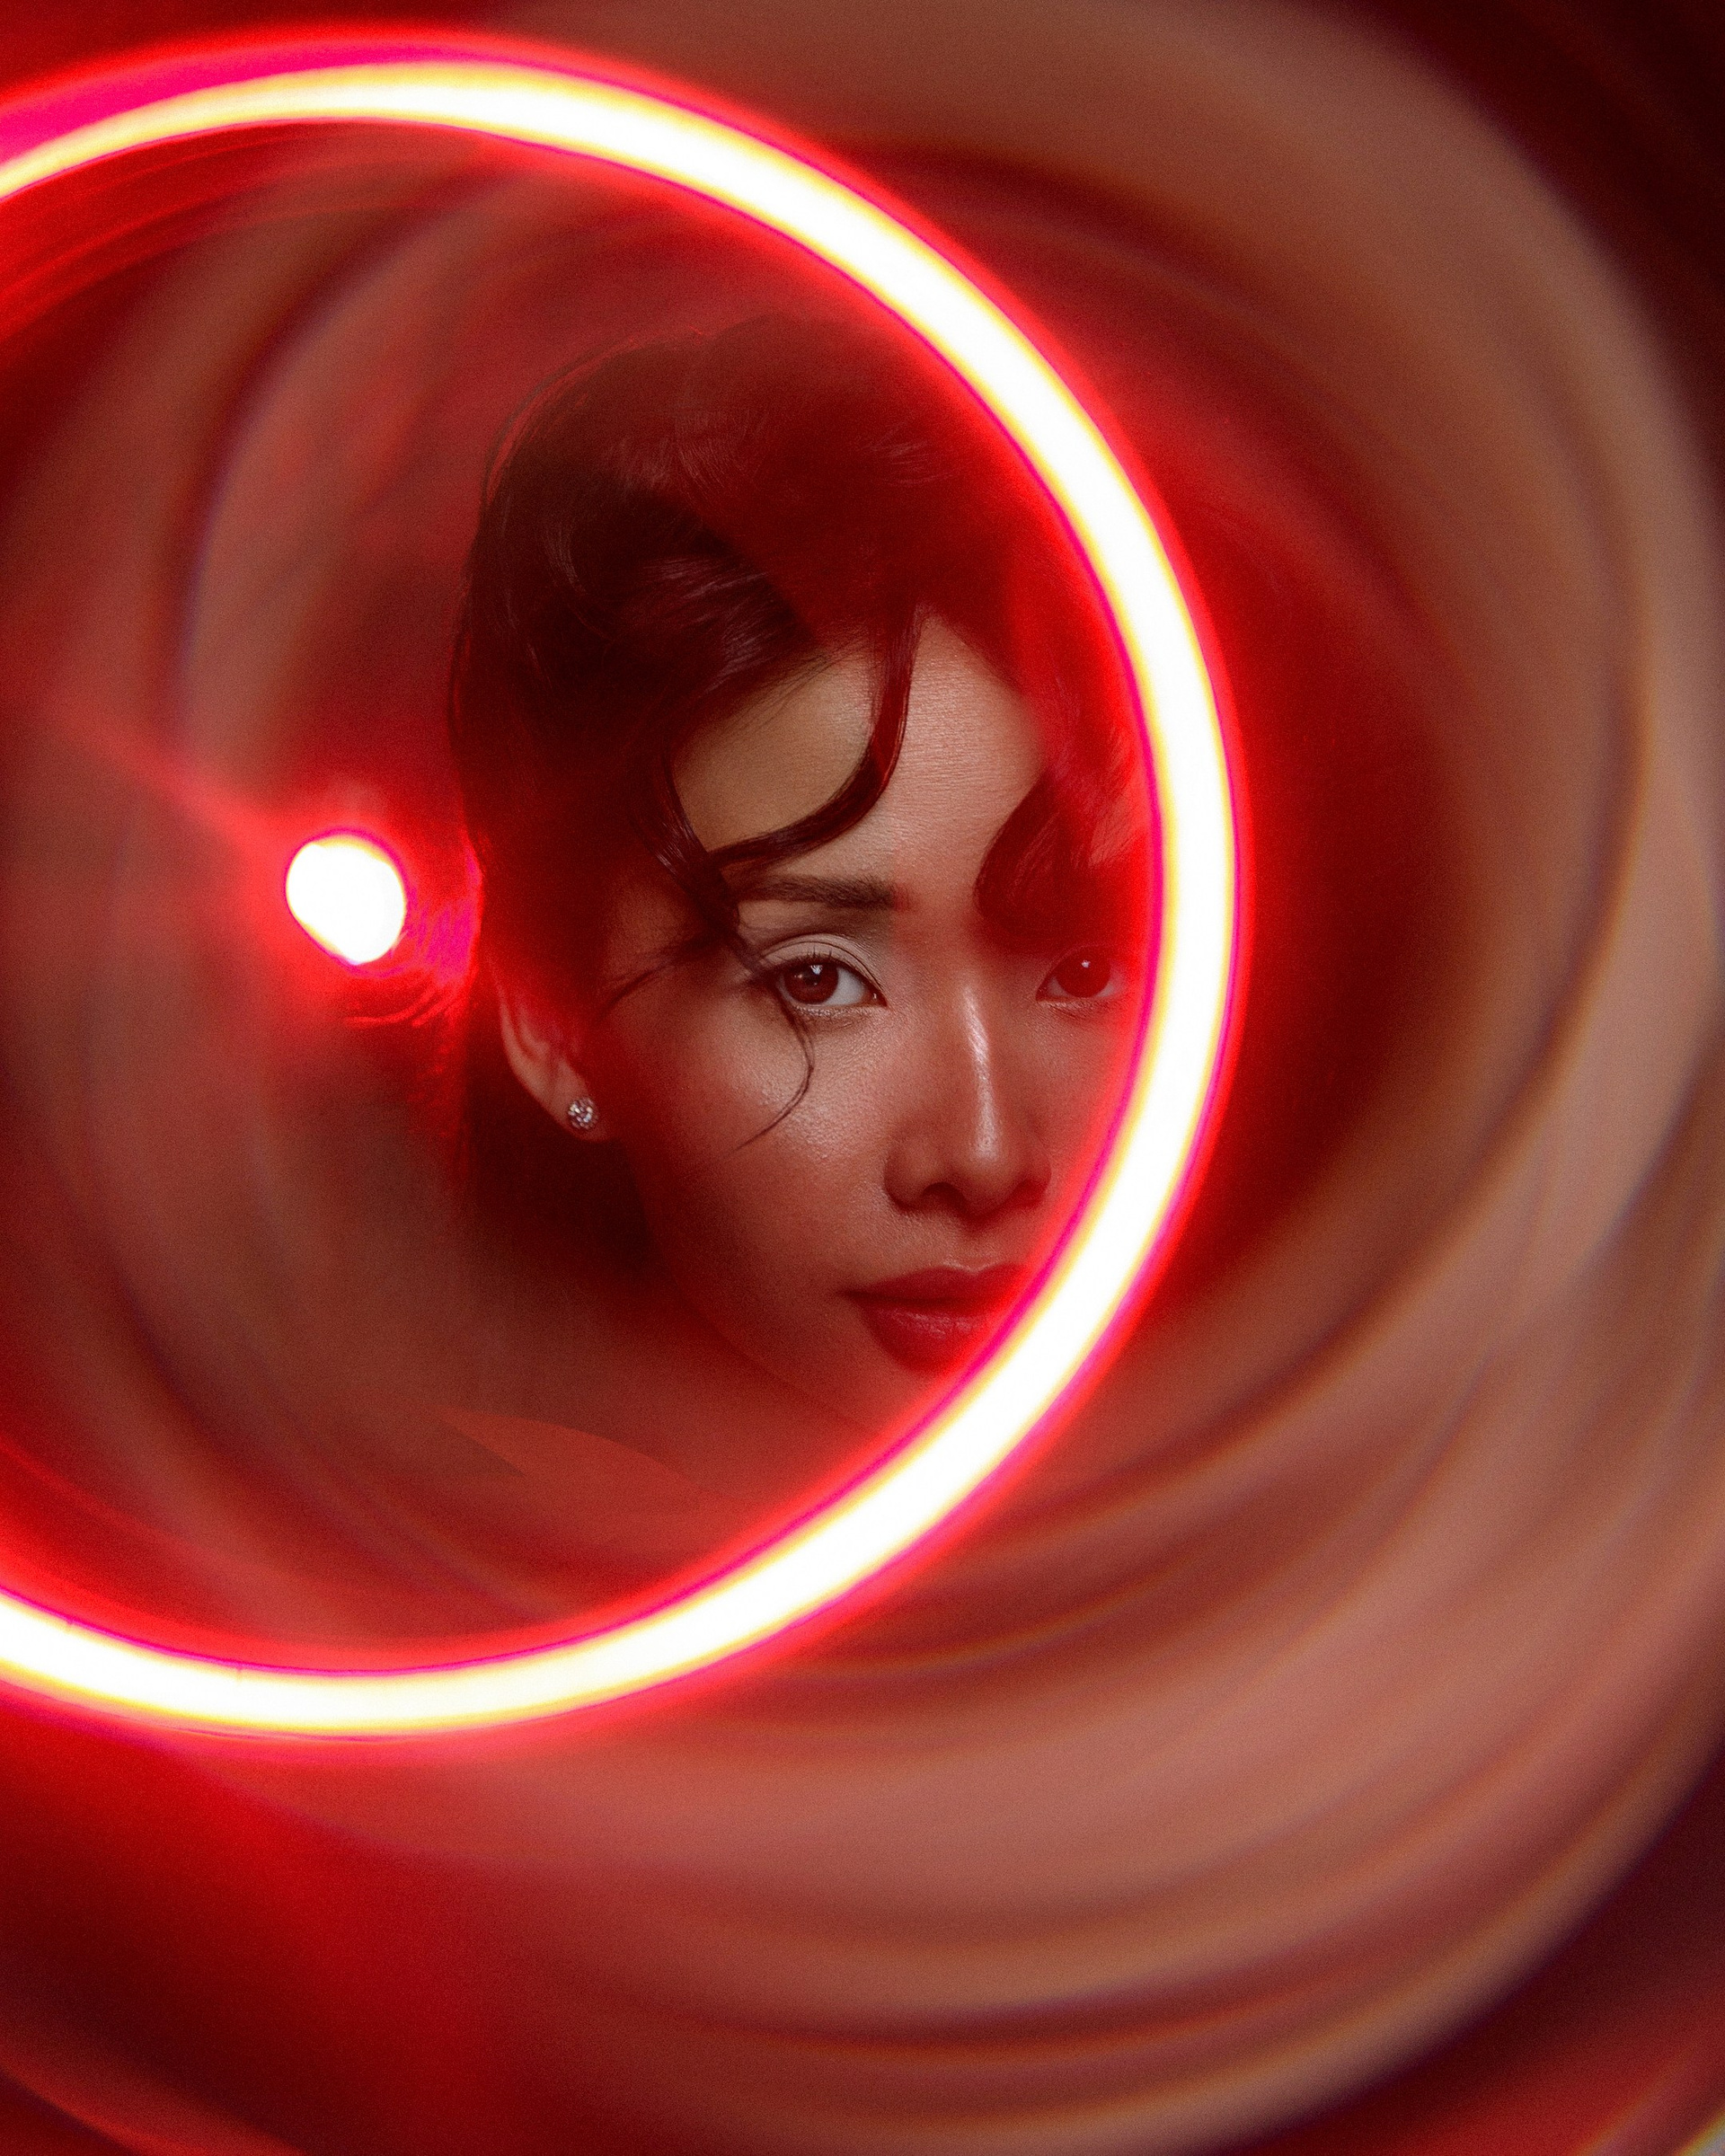
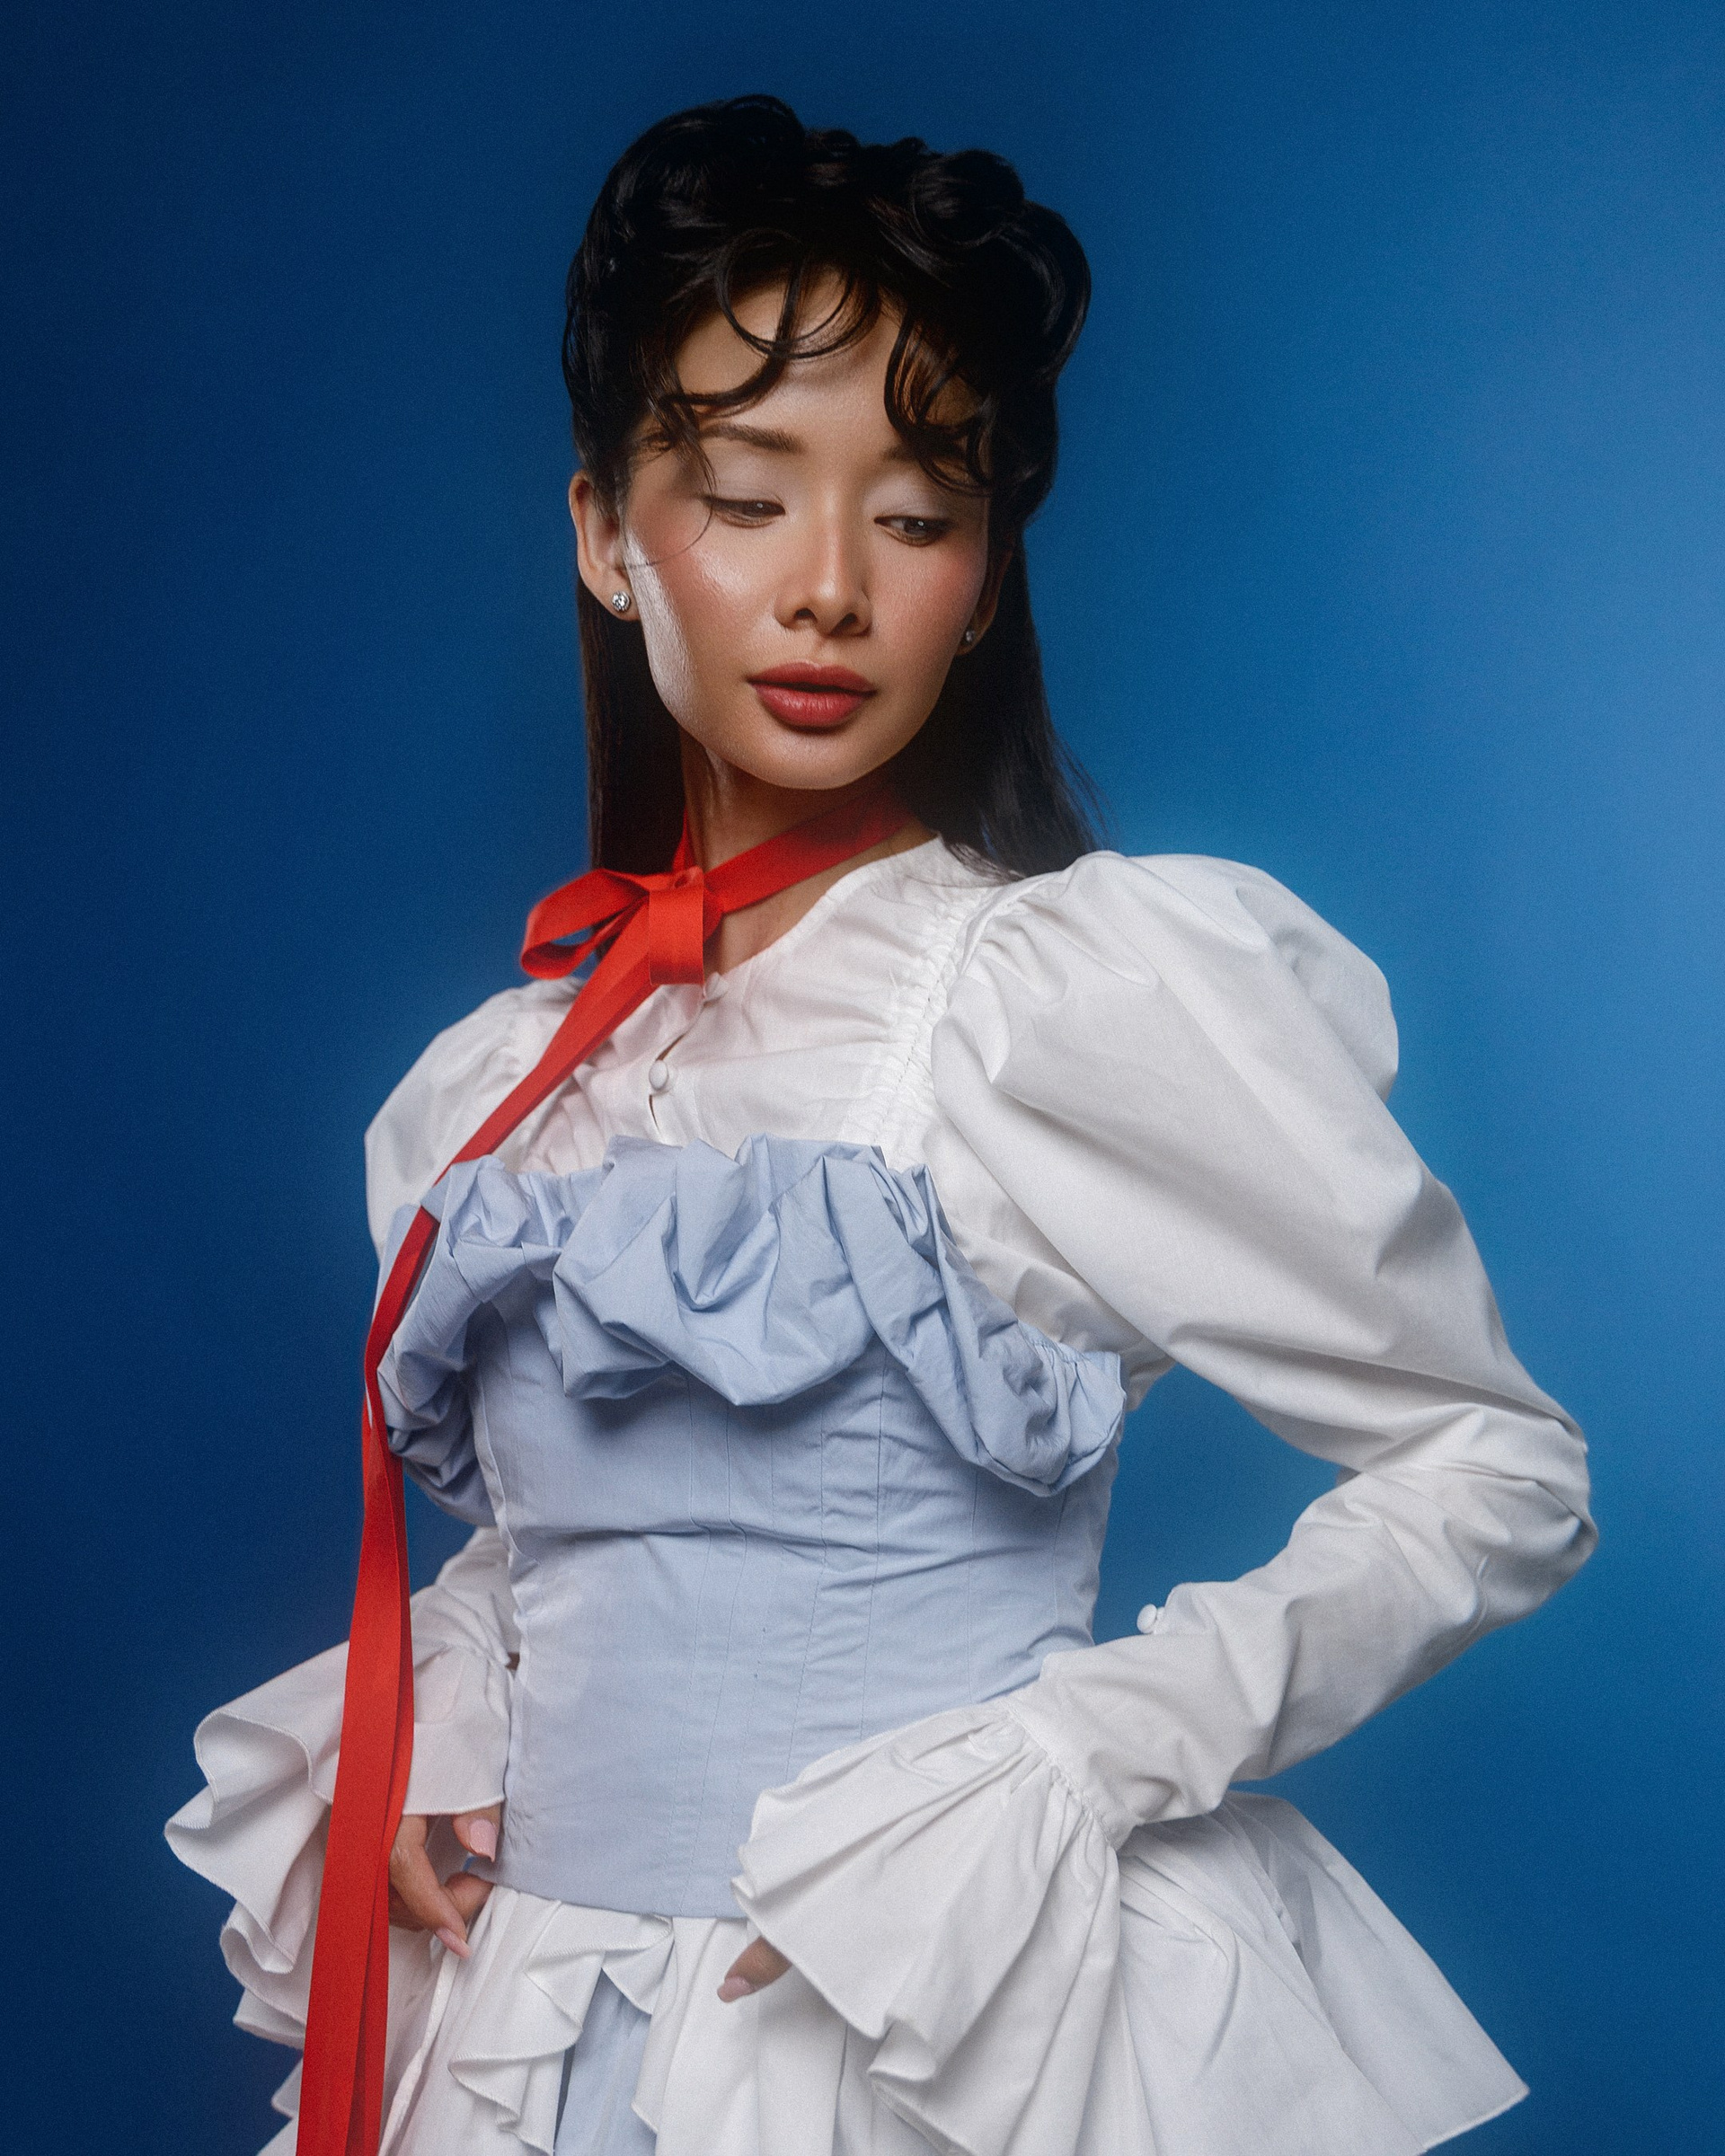
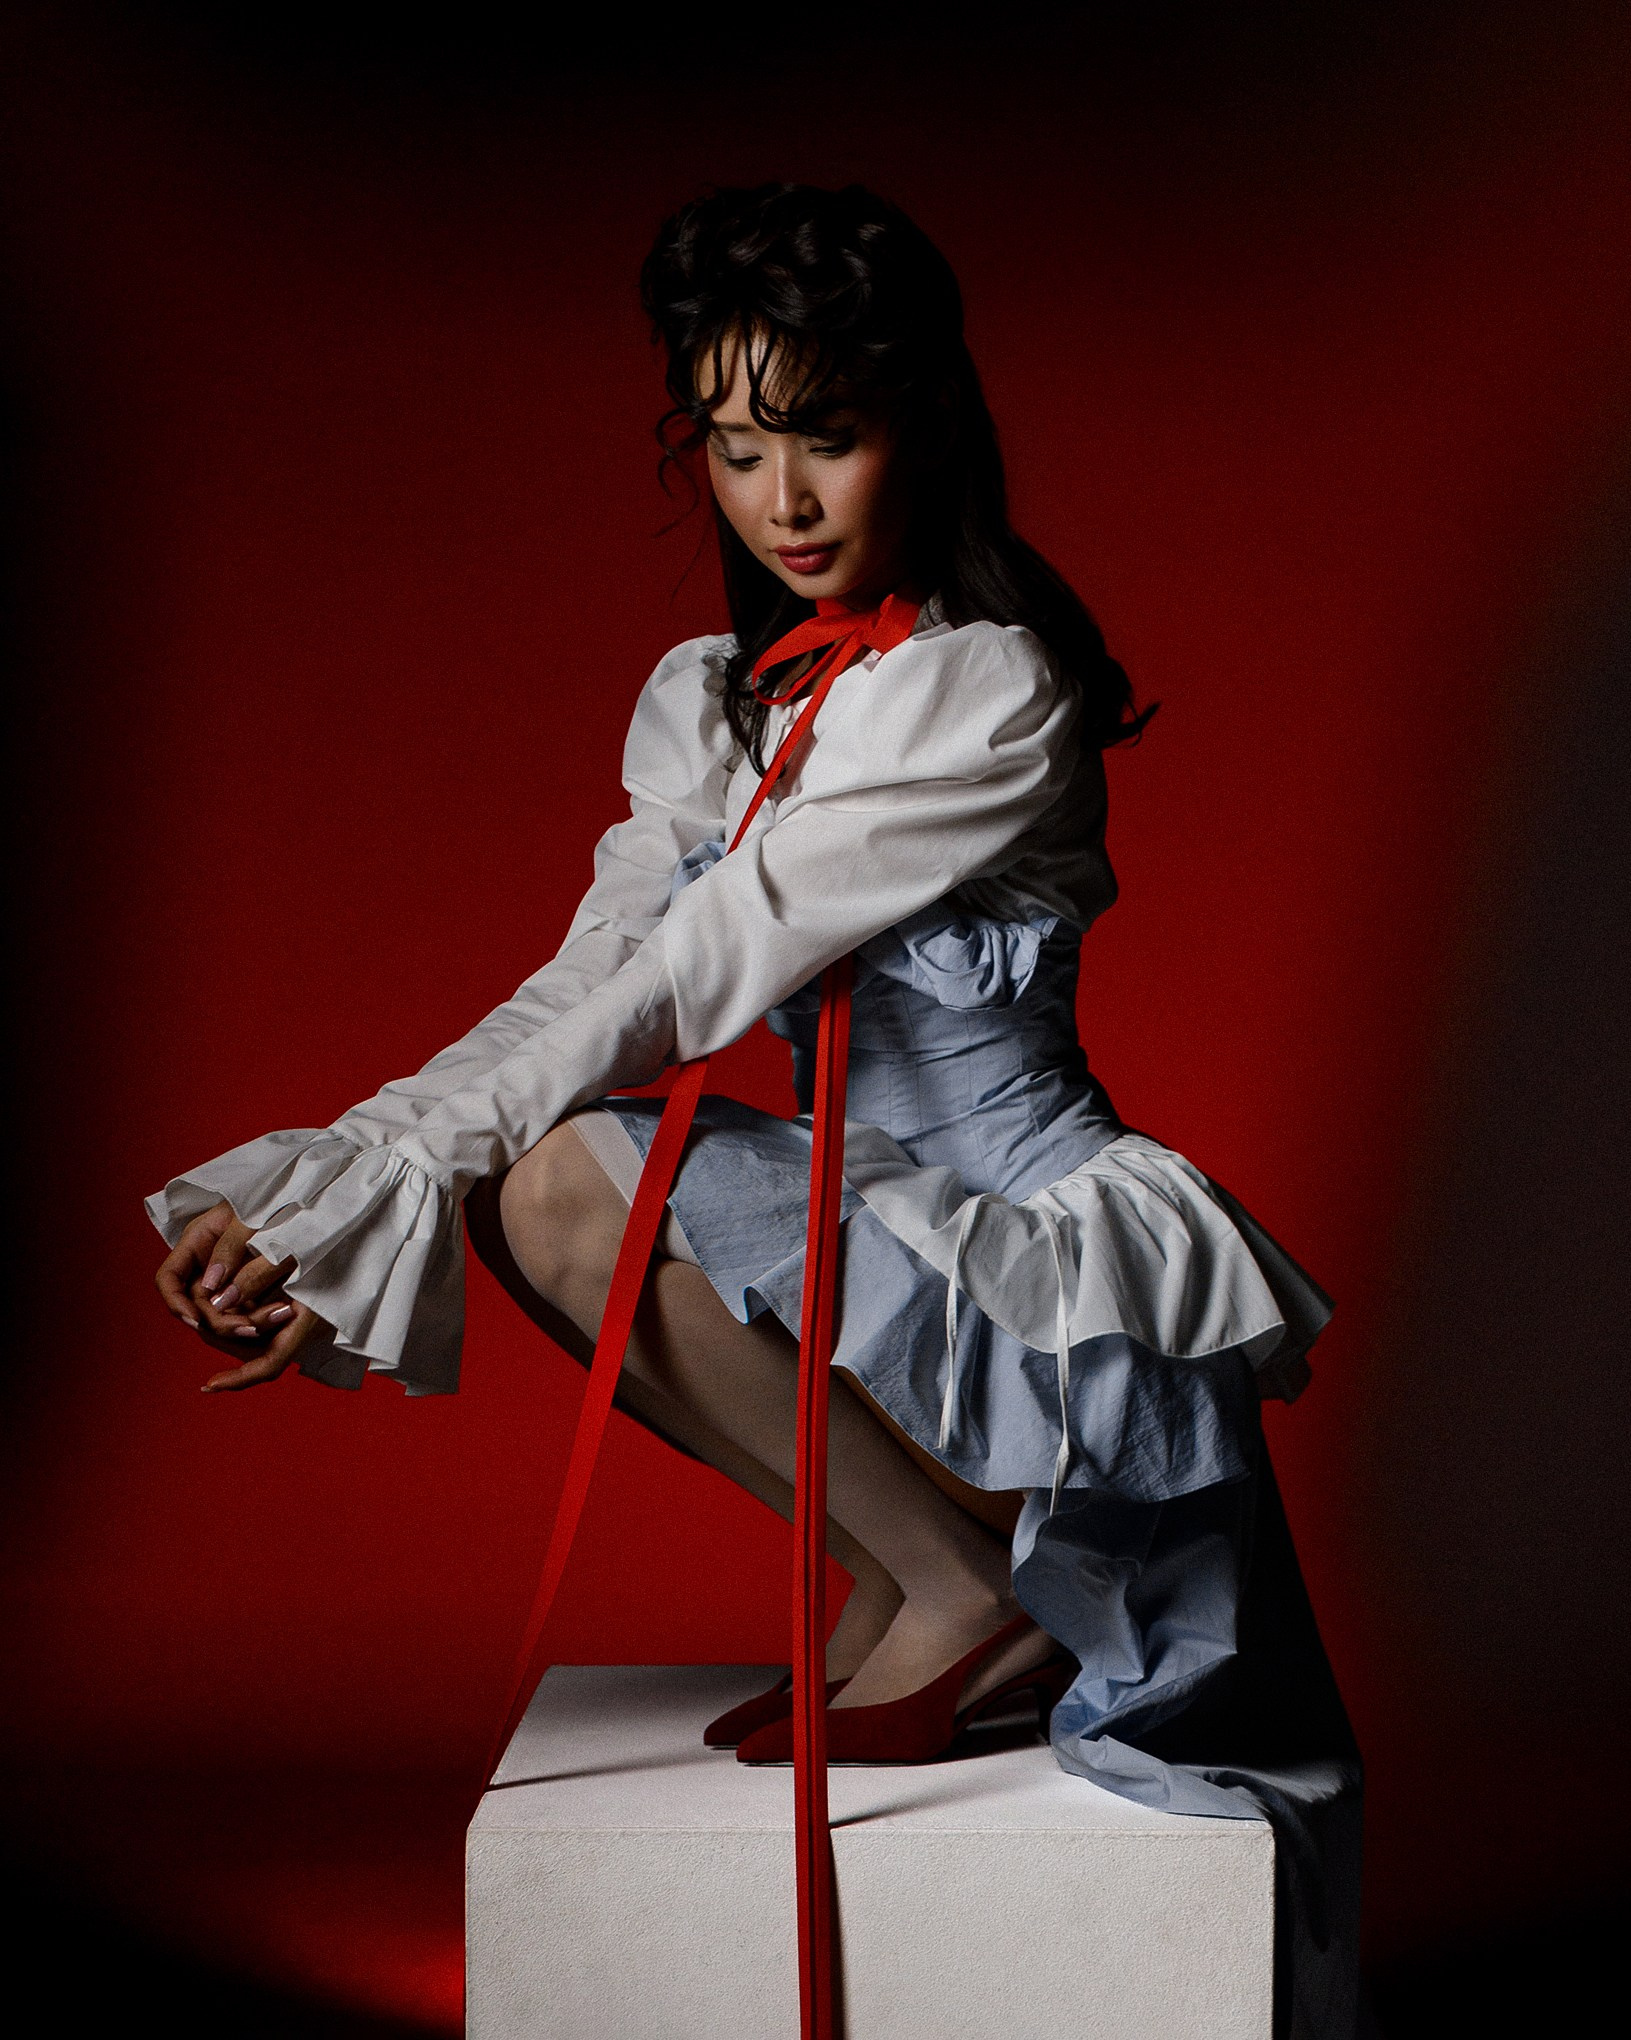
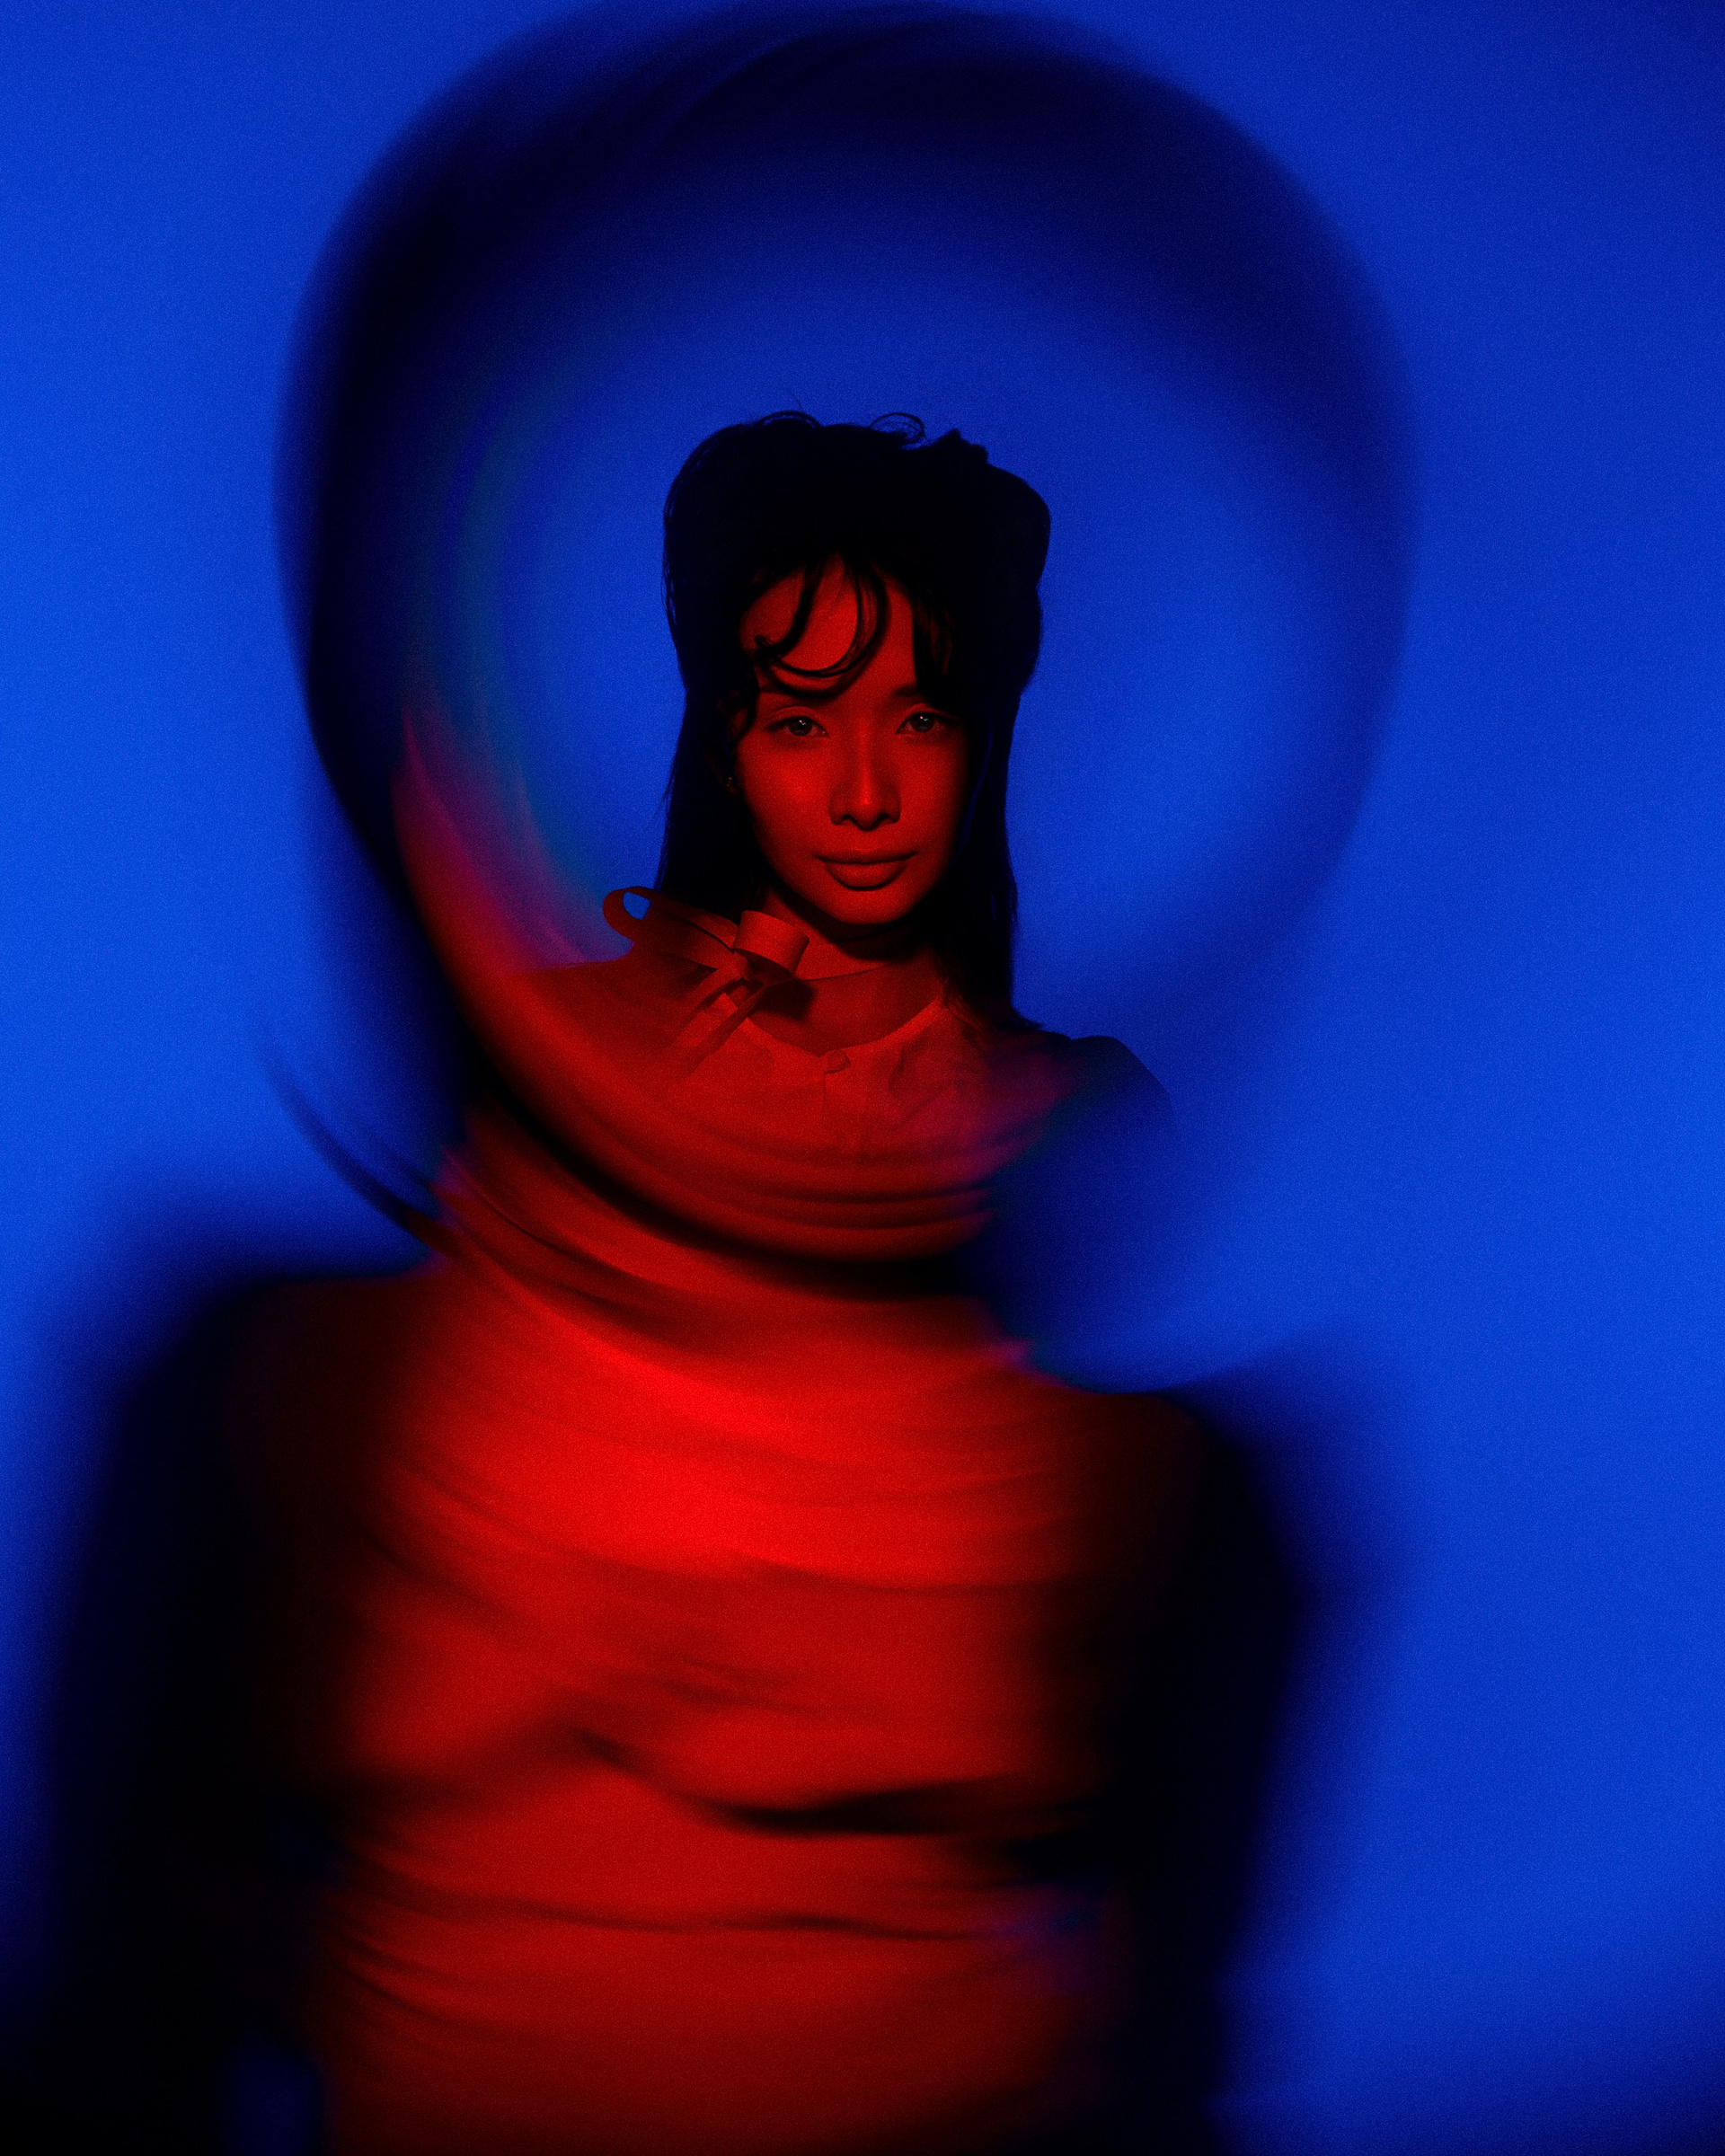
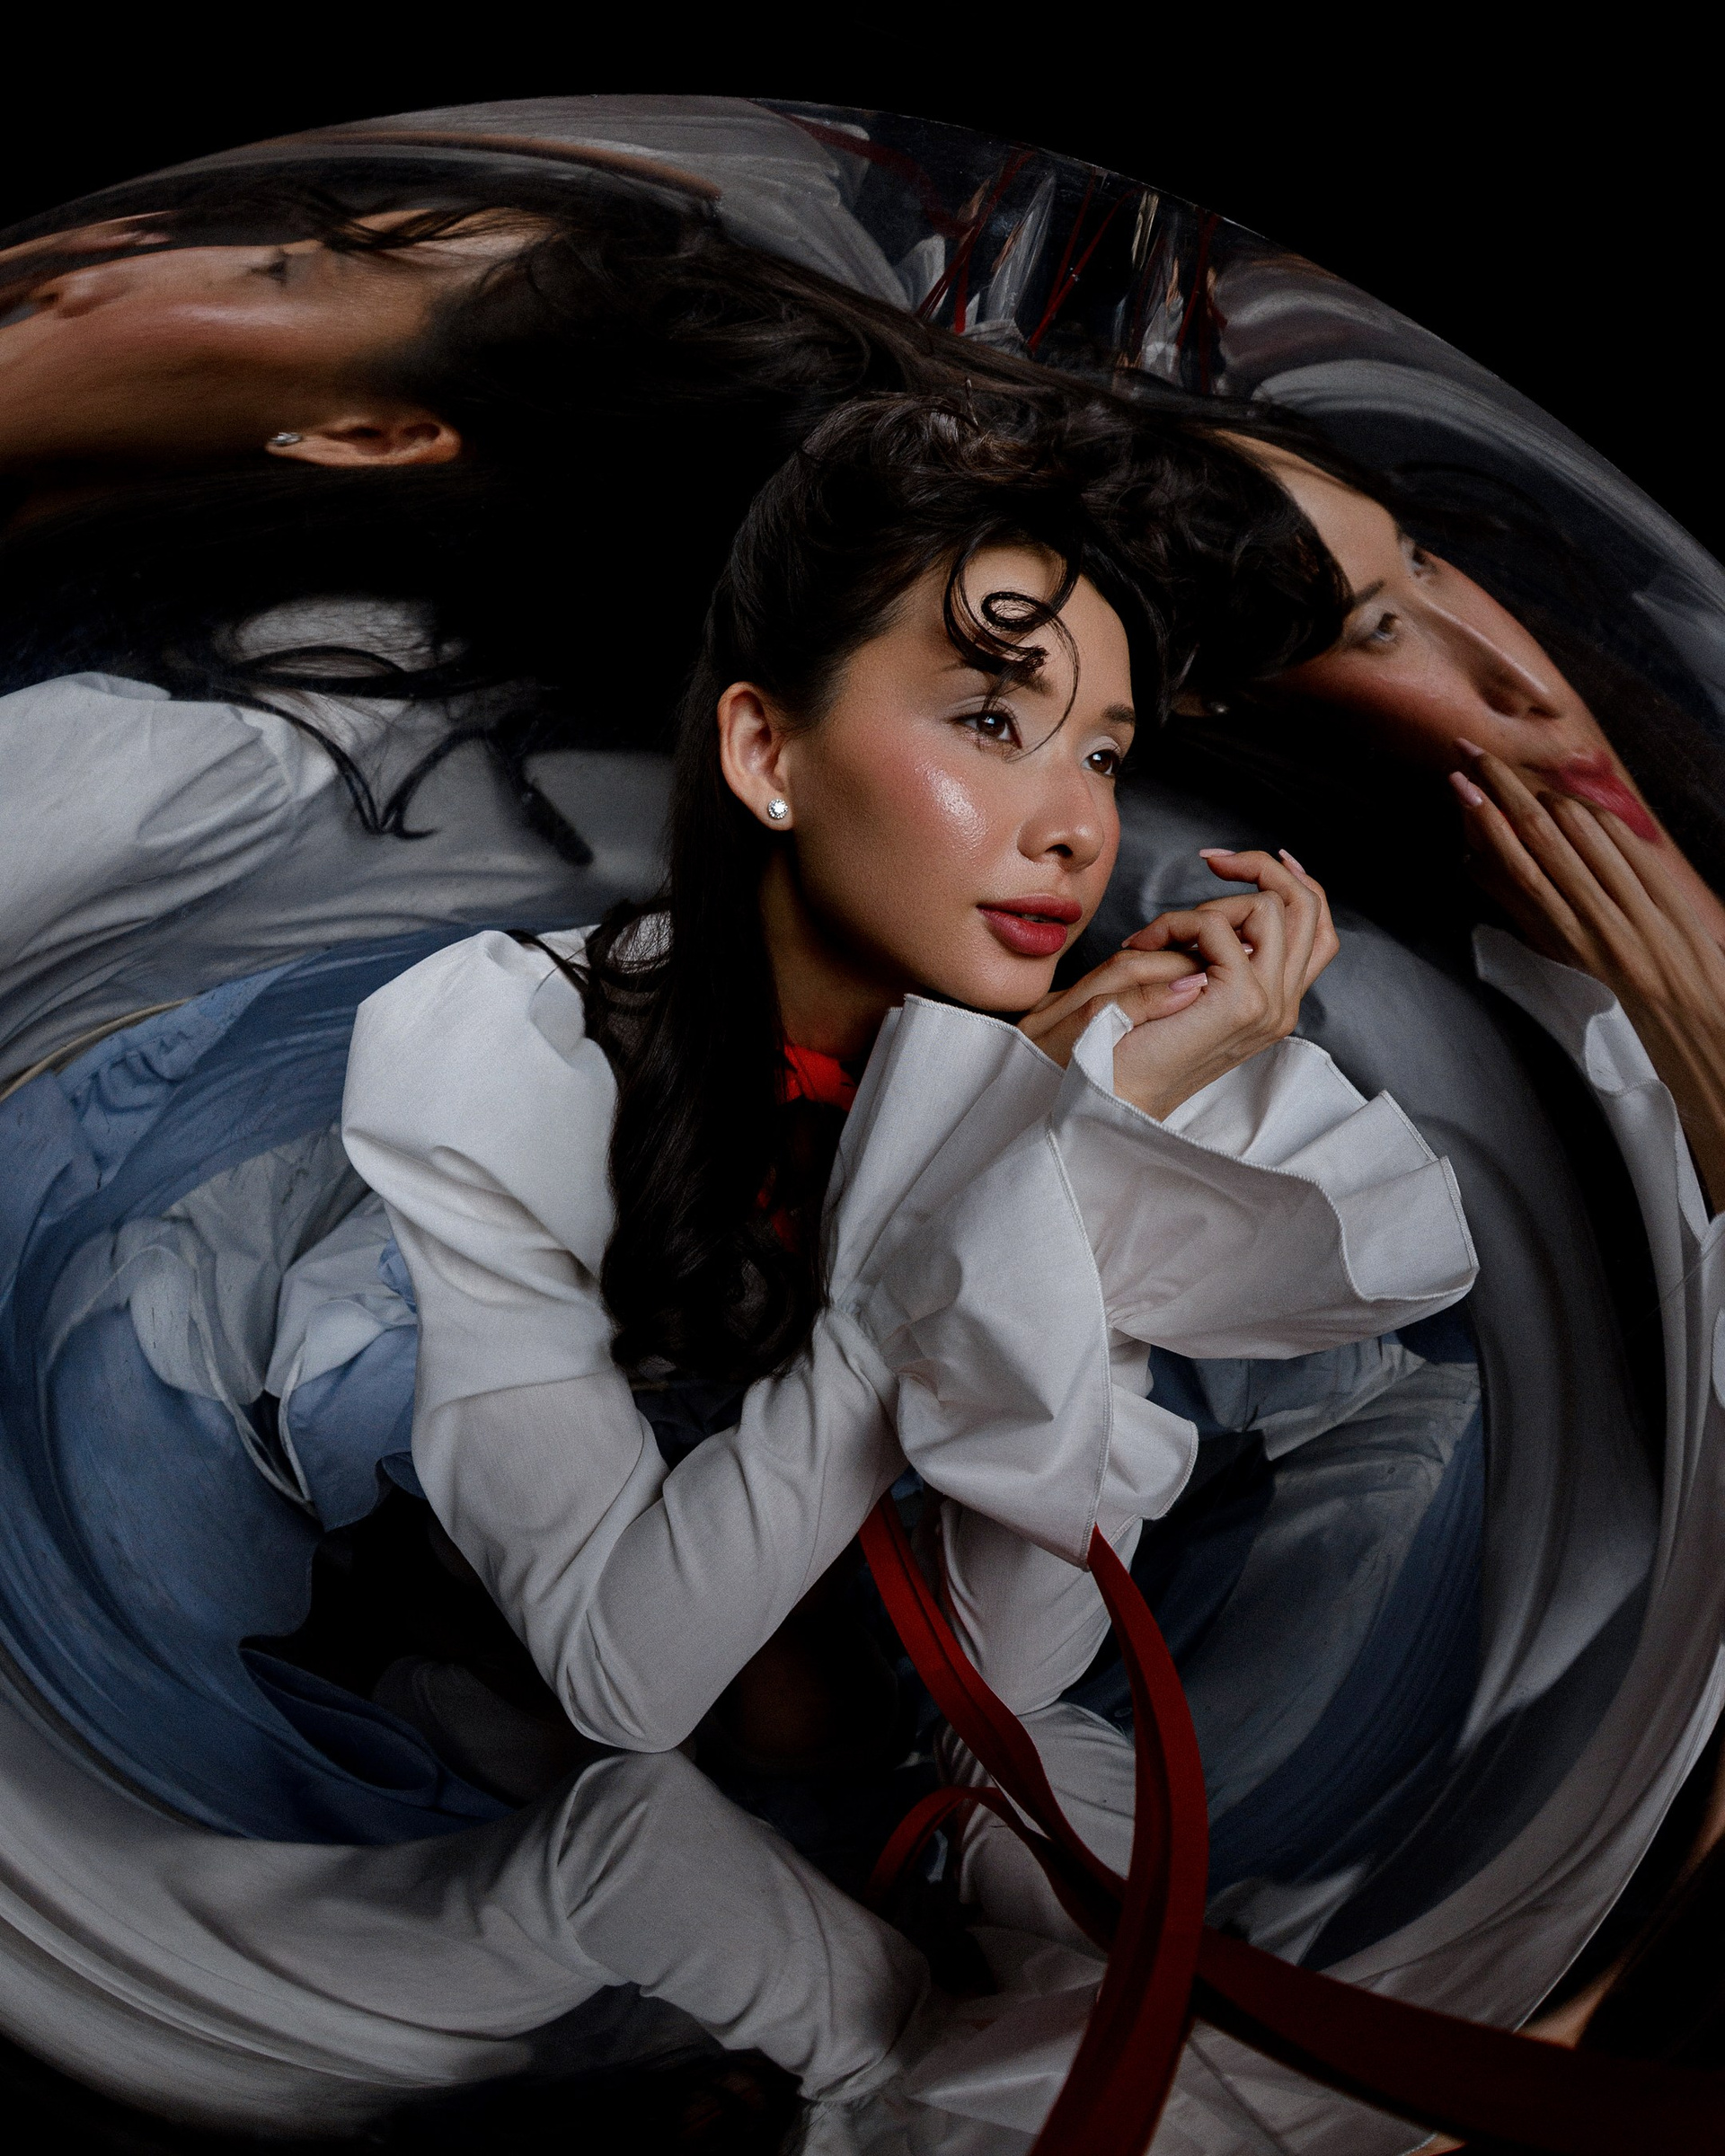
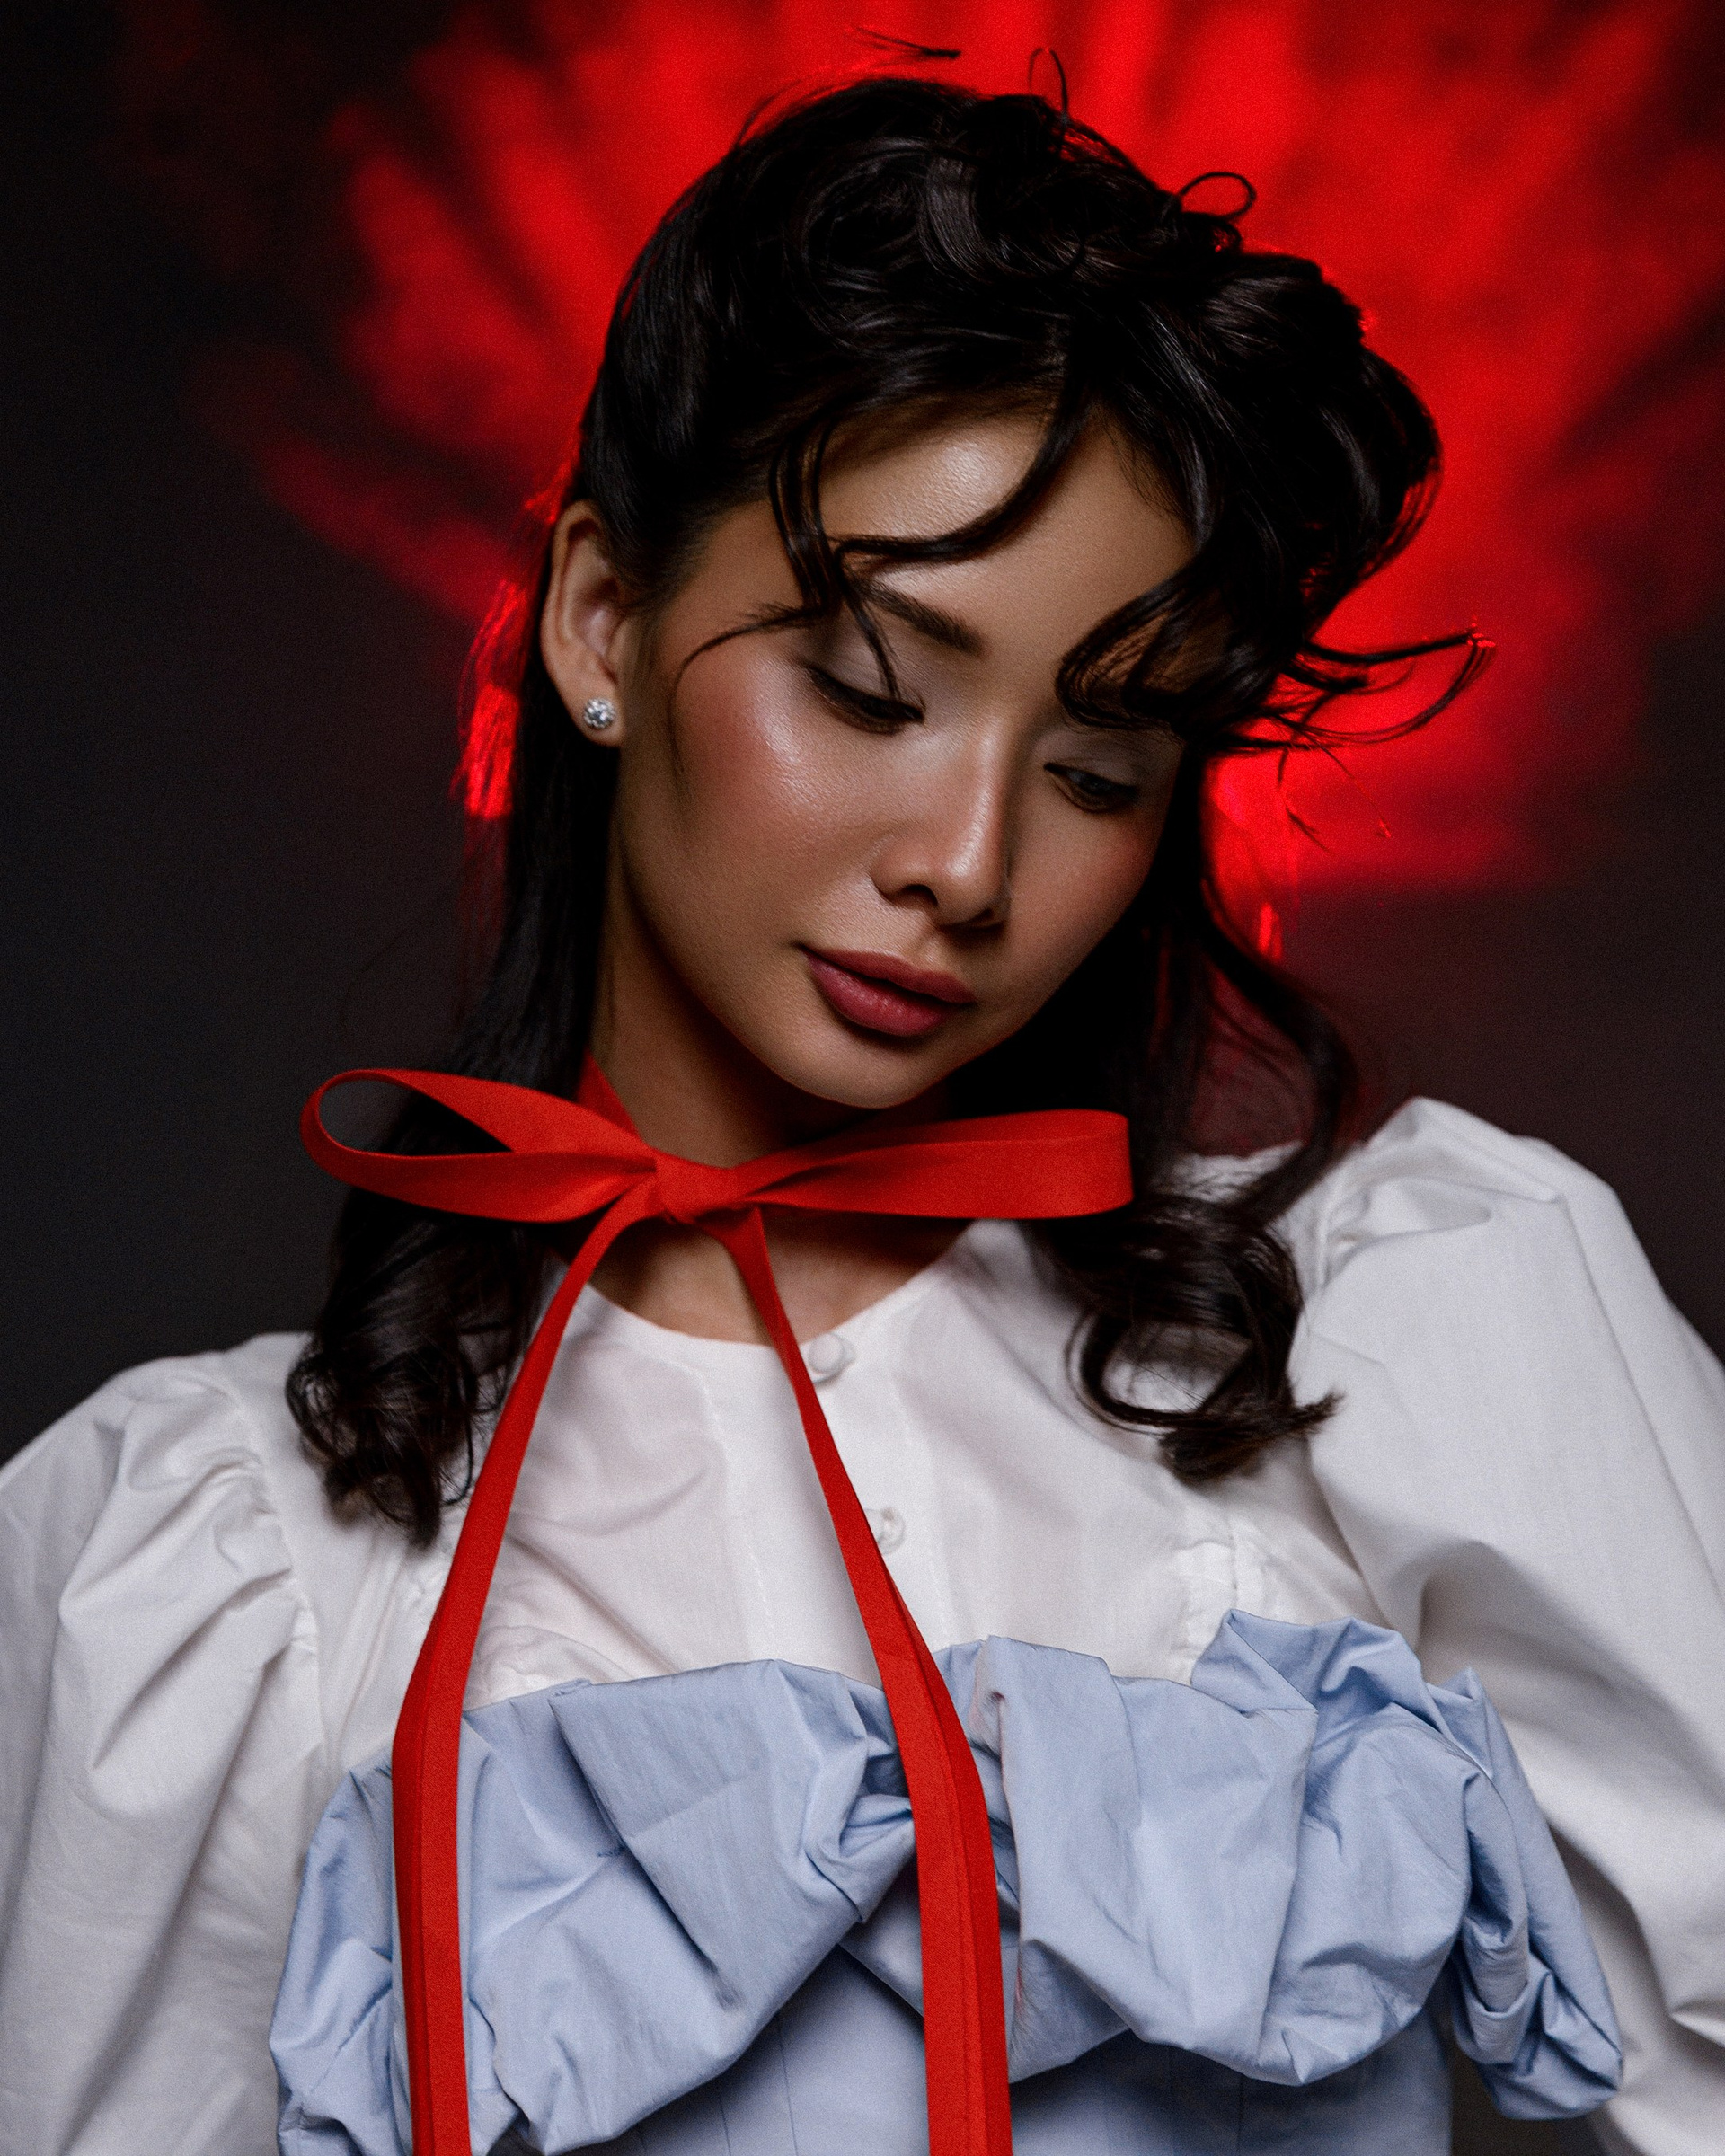
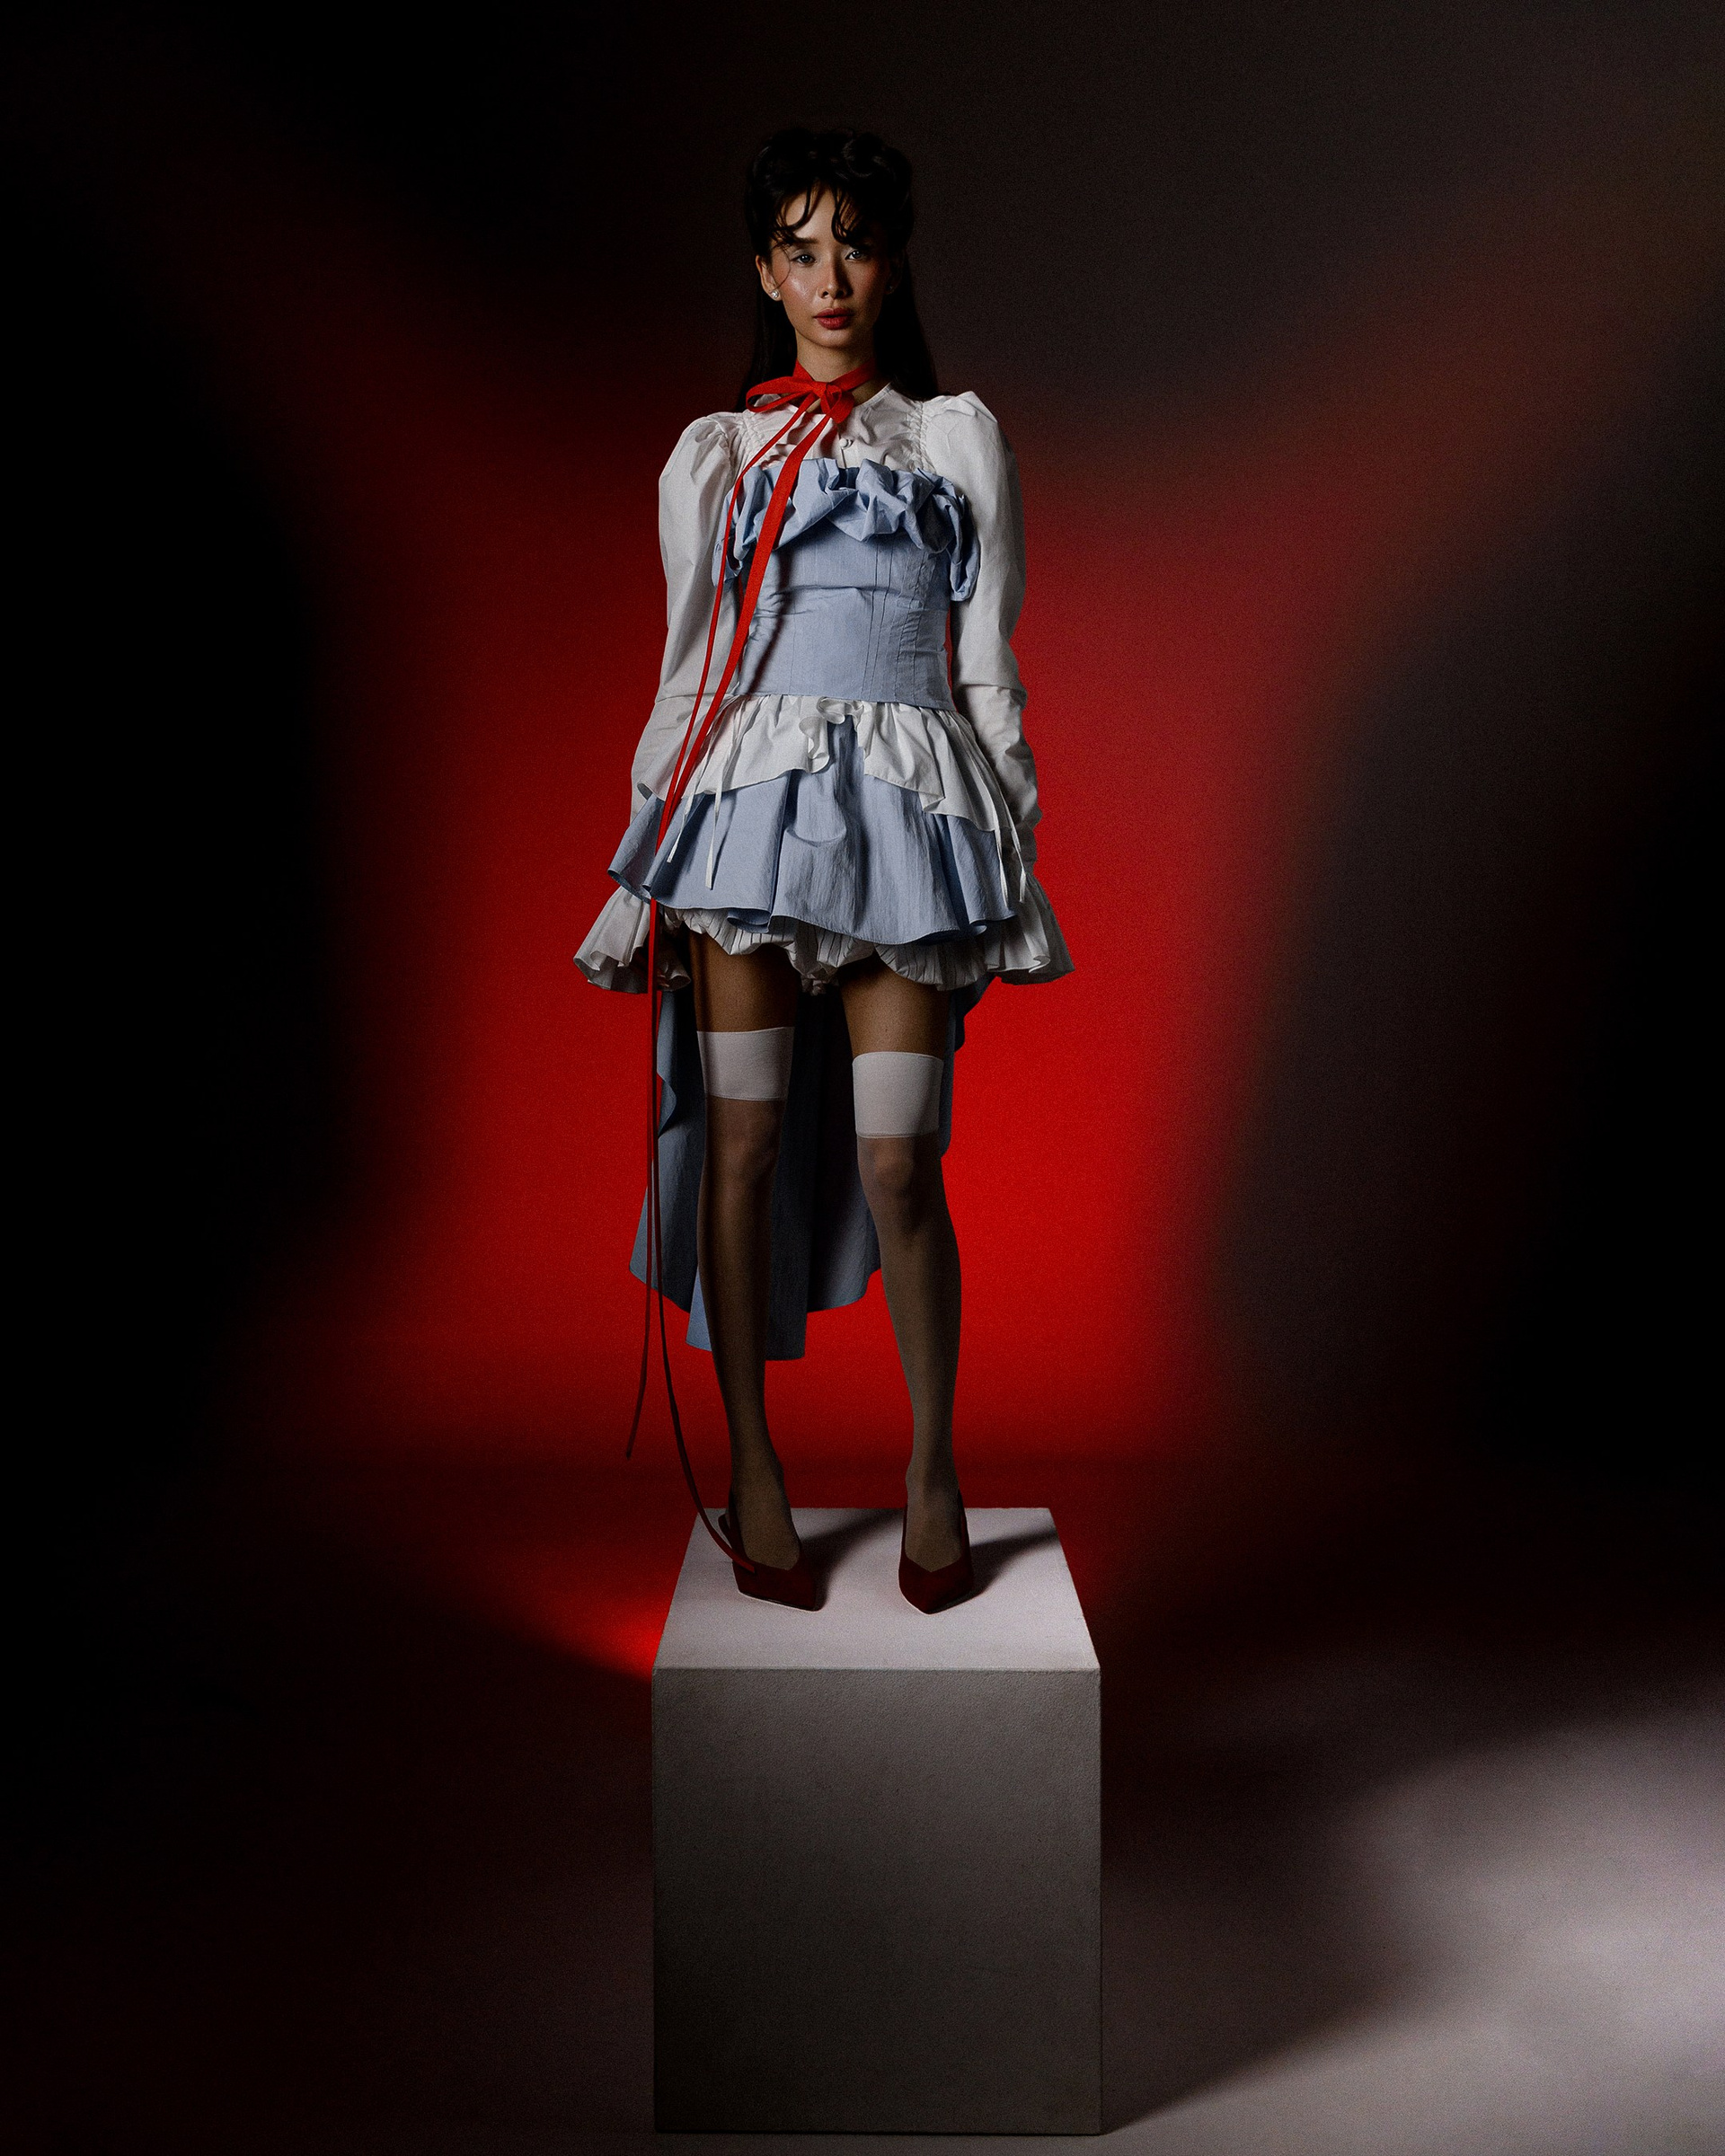
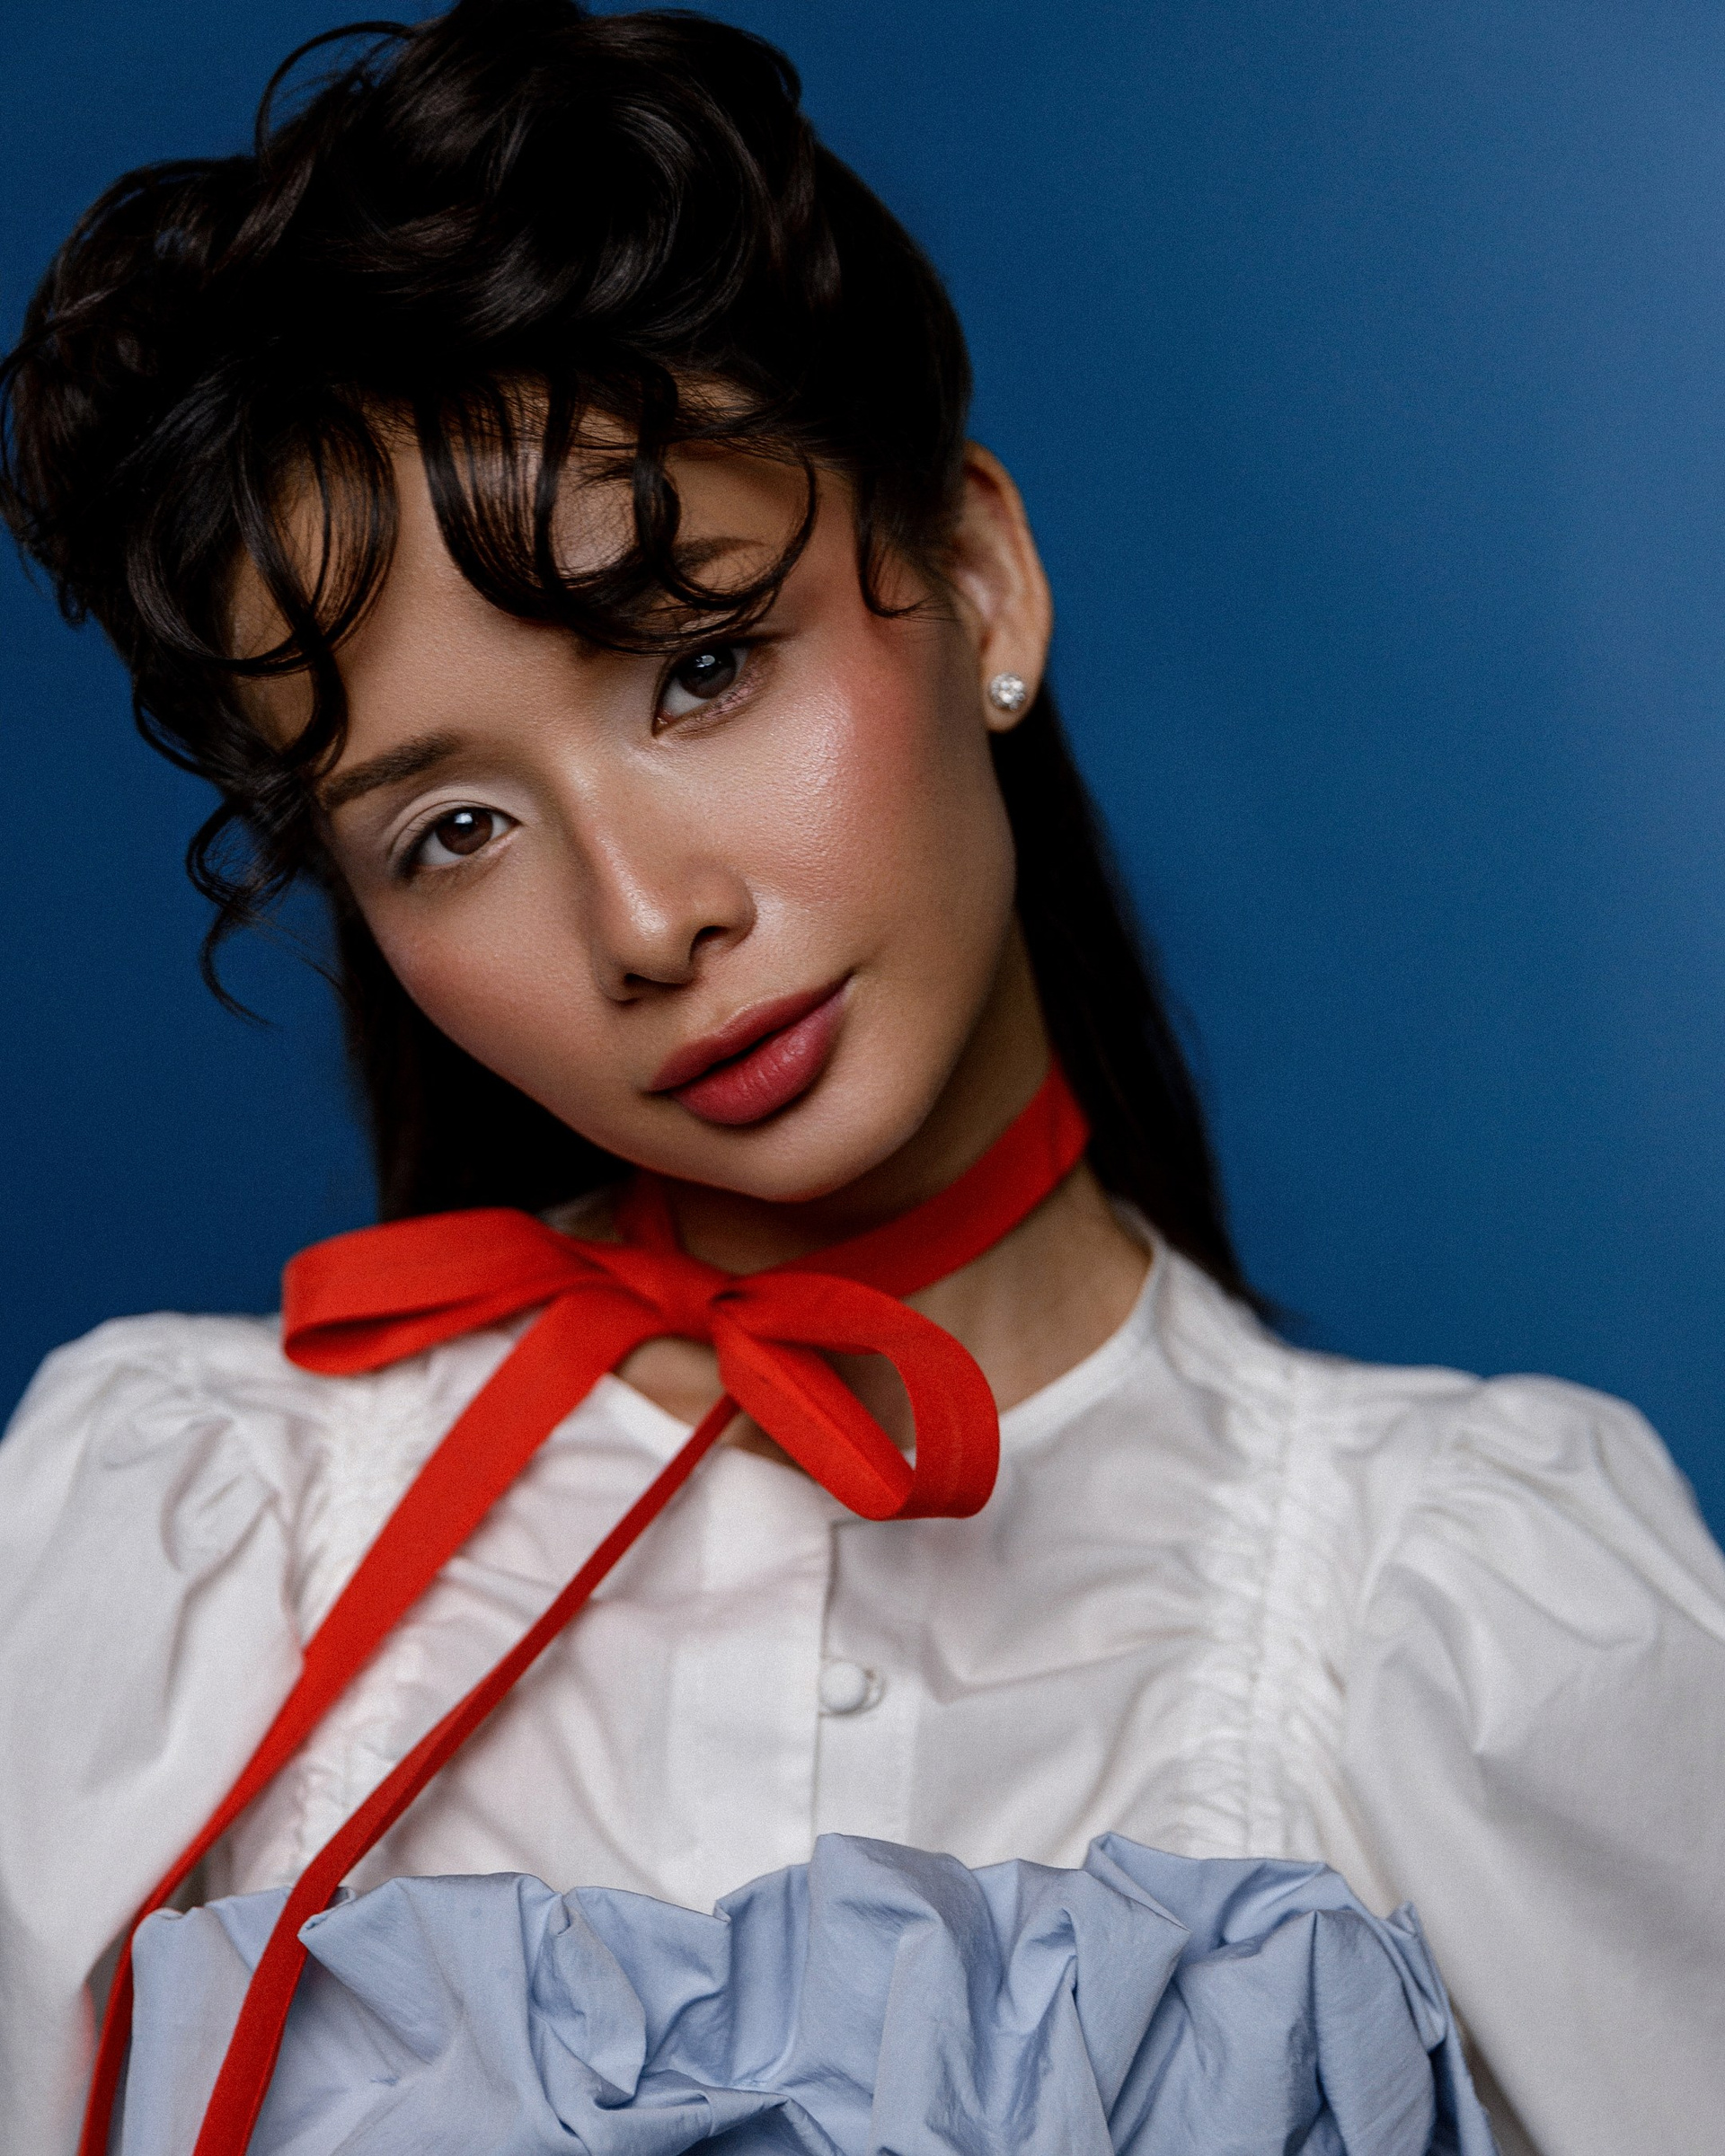
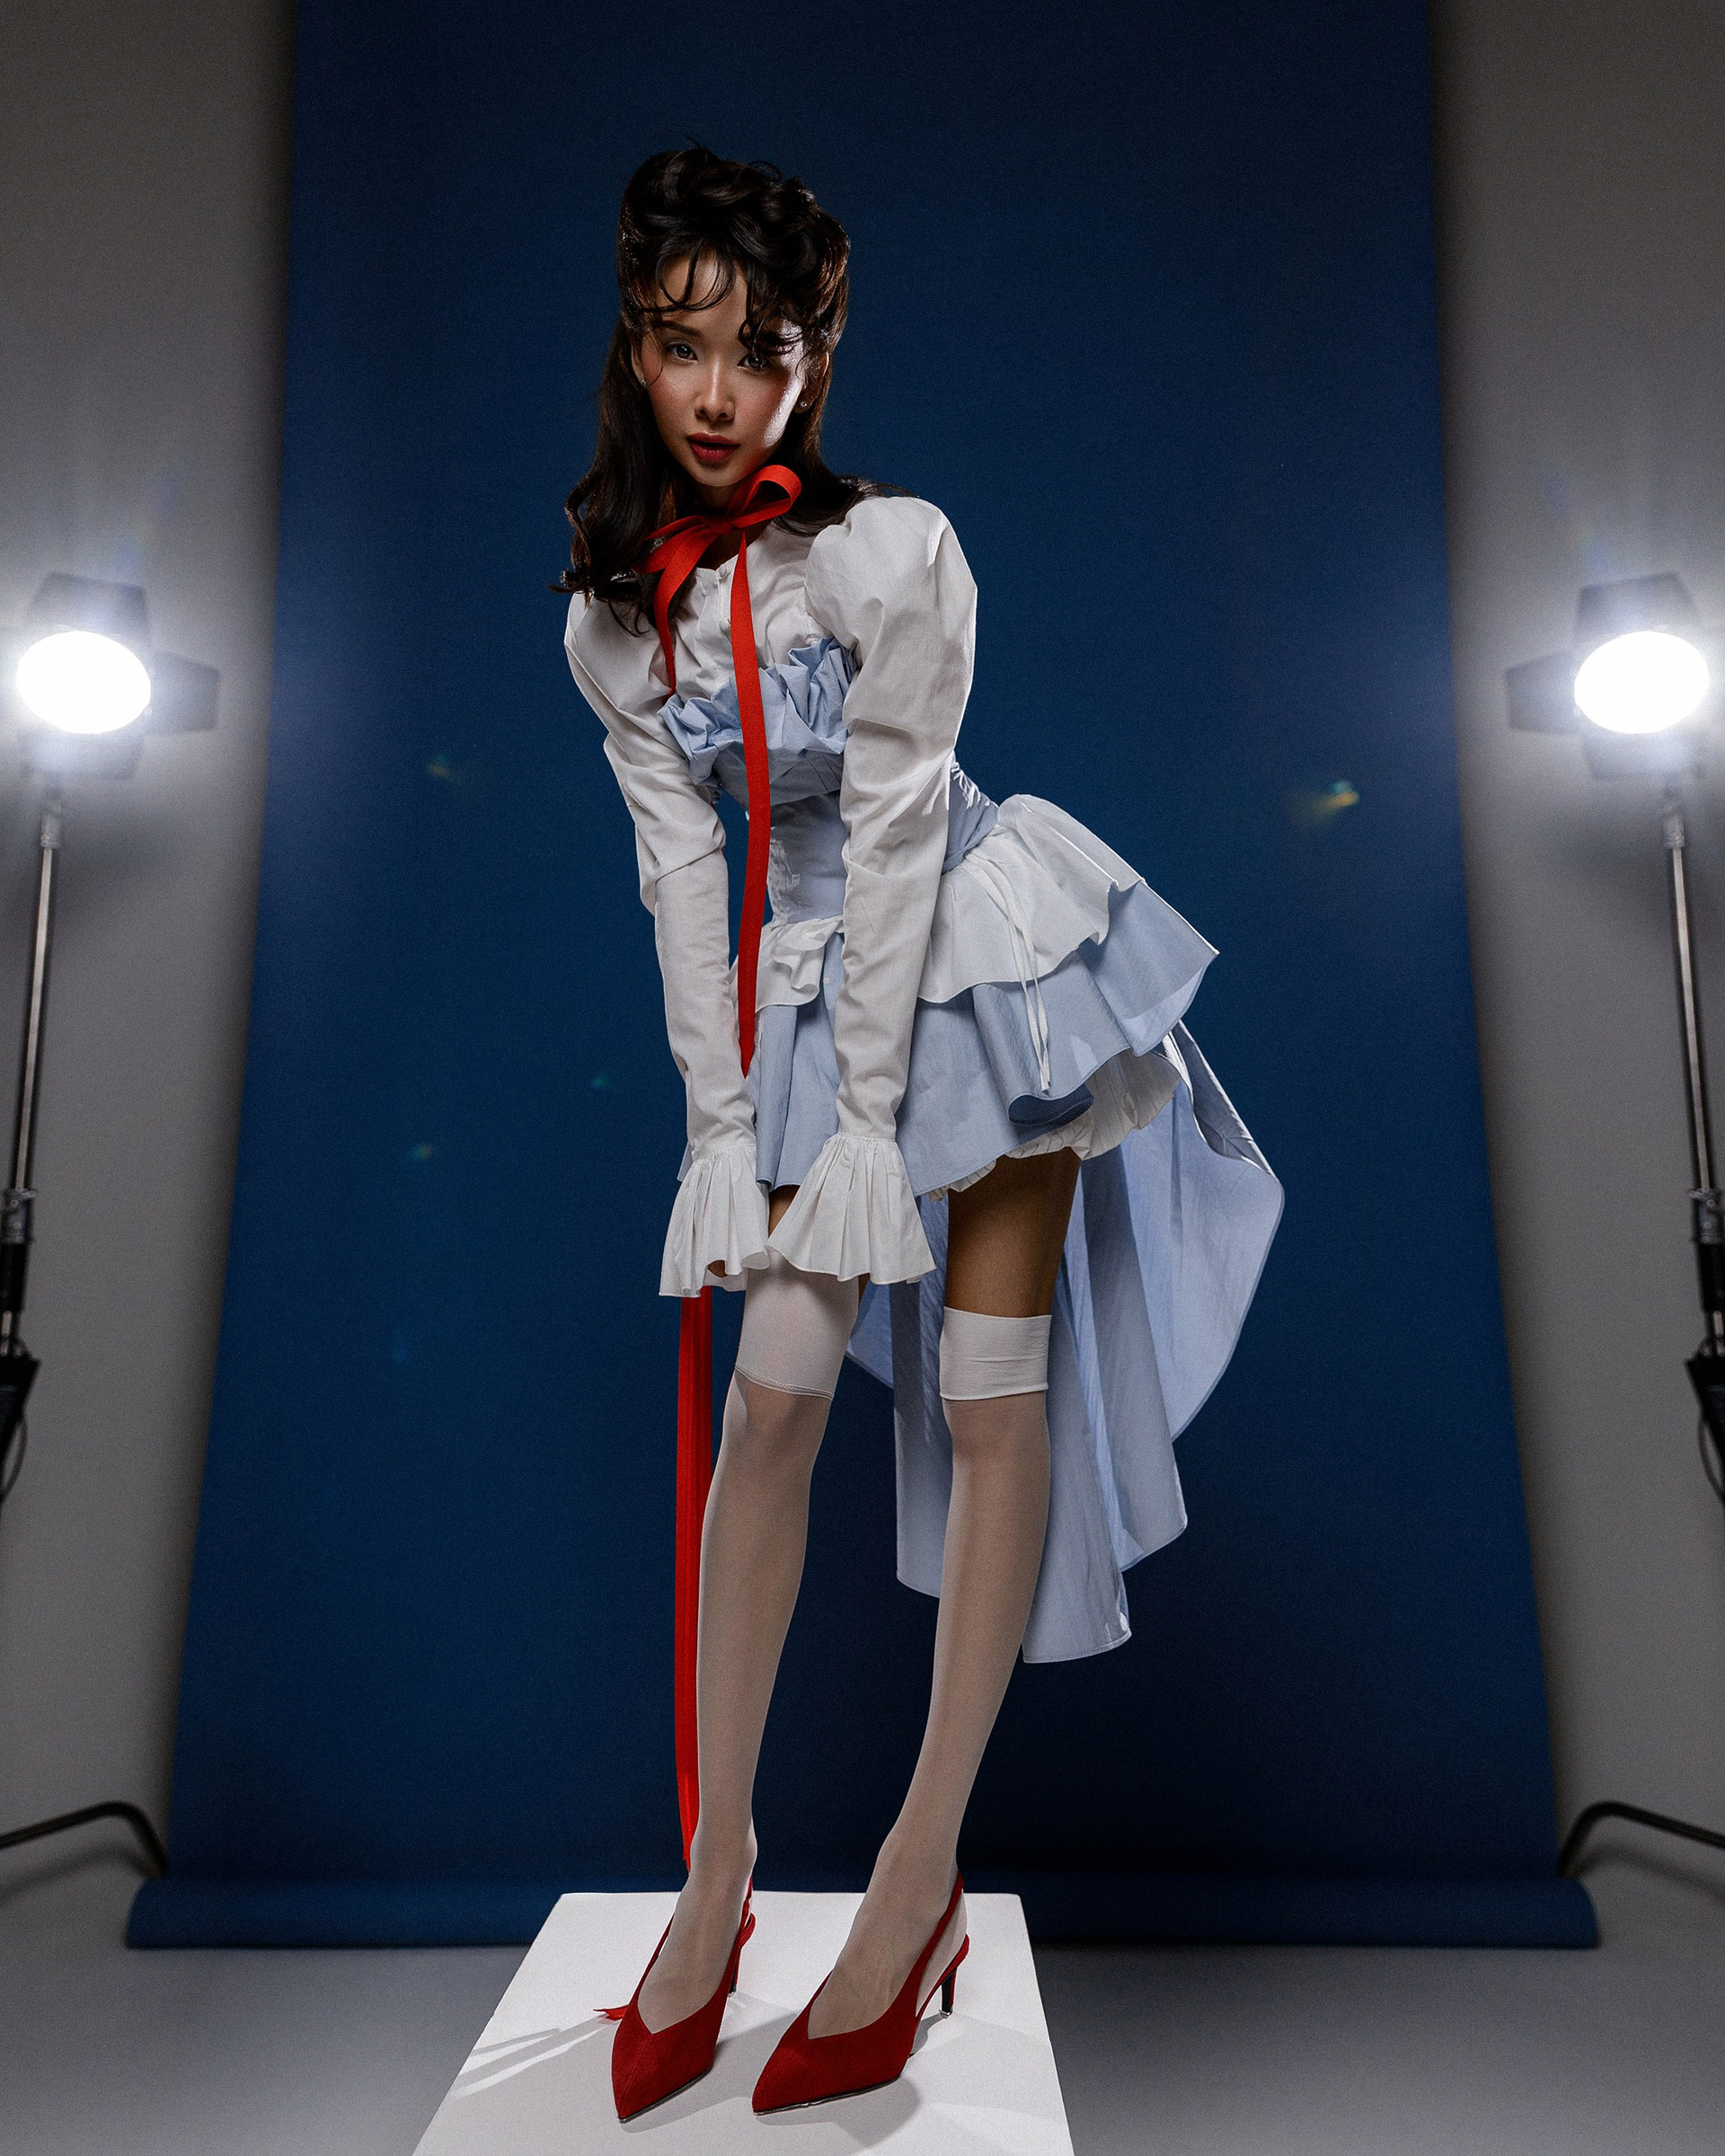
Portrait Retouching contains the main tools for professional portrait editing in Evoto AI.
The software automatically analyzes the person in the photo and allows you to work separately with the skin, facial features, expression, eyes, teeth, makeup, hair, hands, and body proportions.
The main goal of portrait retouching is not to completely change a person’s appearance, but to remove temporary imperfections, preserve natural features, and create a clean, polished, and professional result.
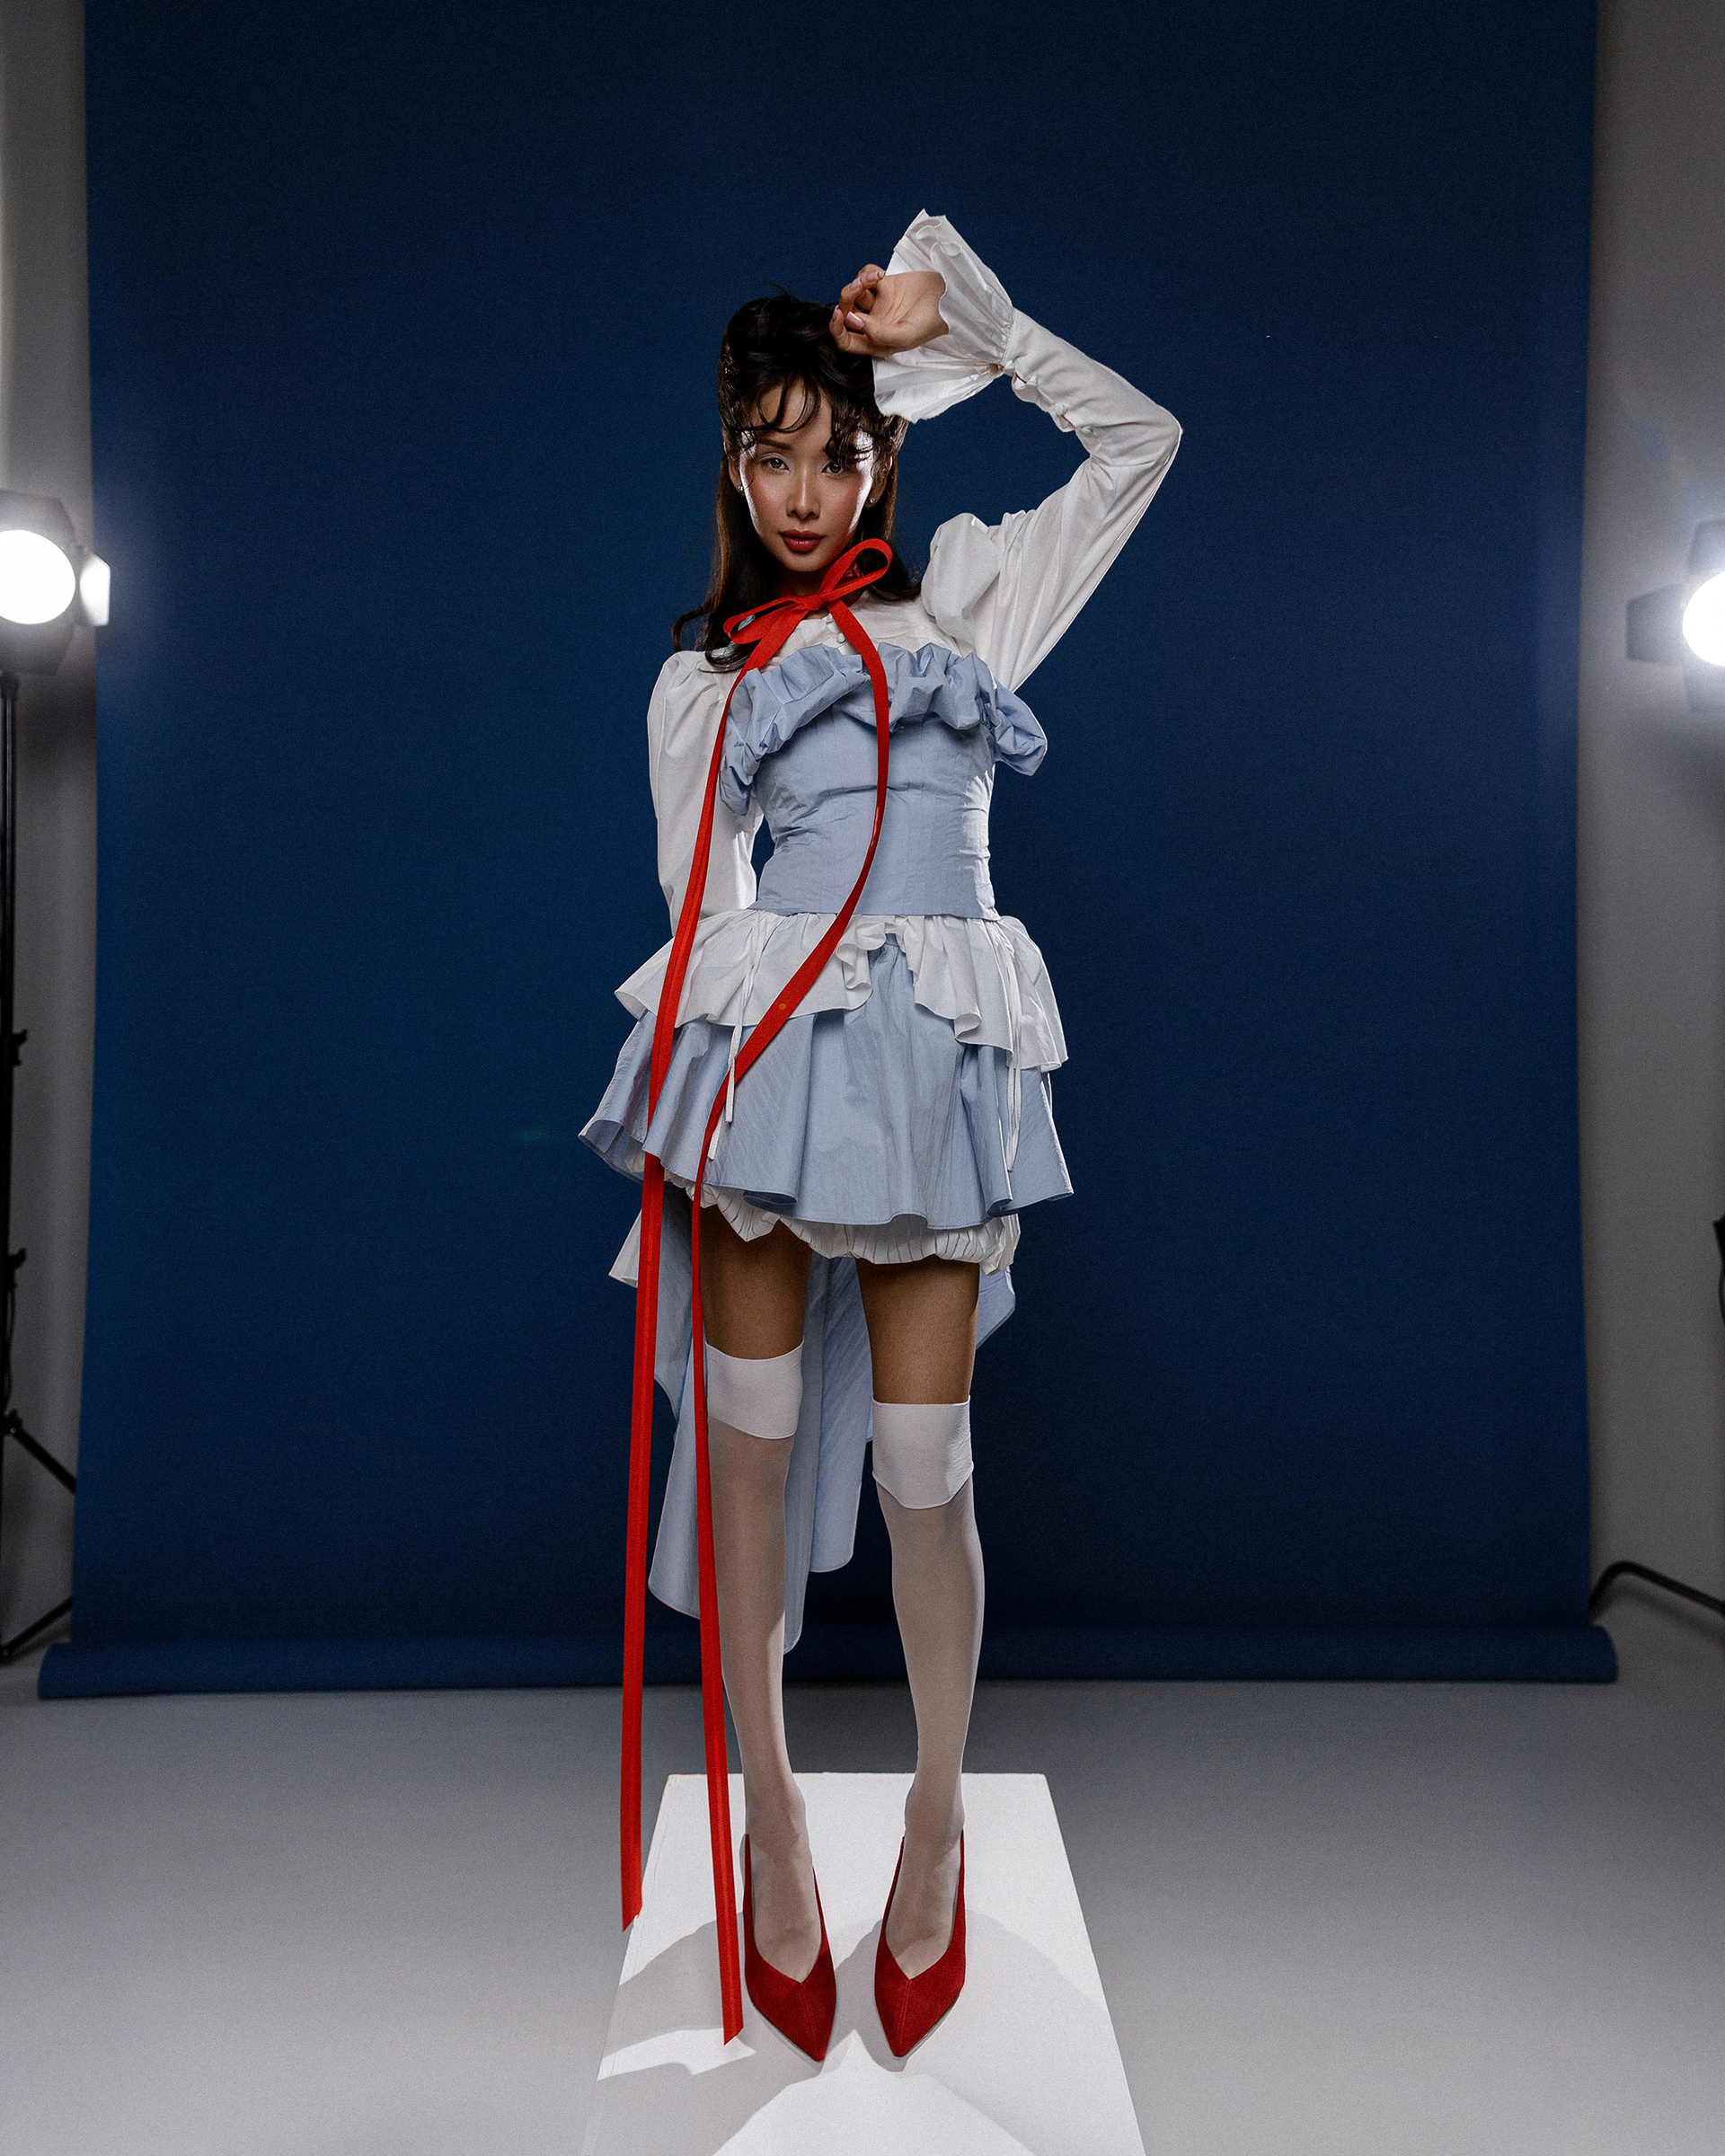
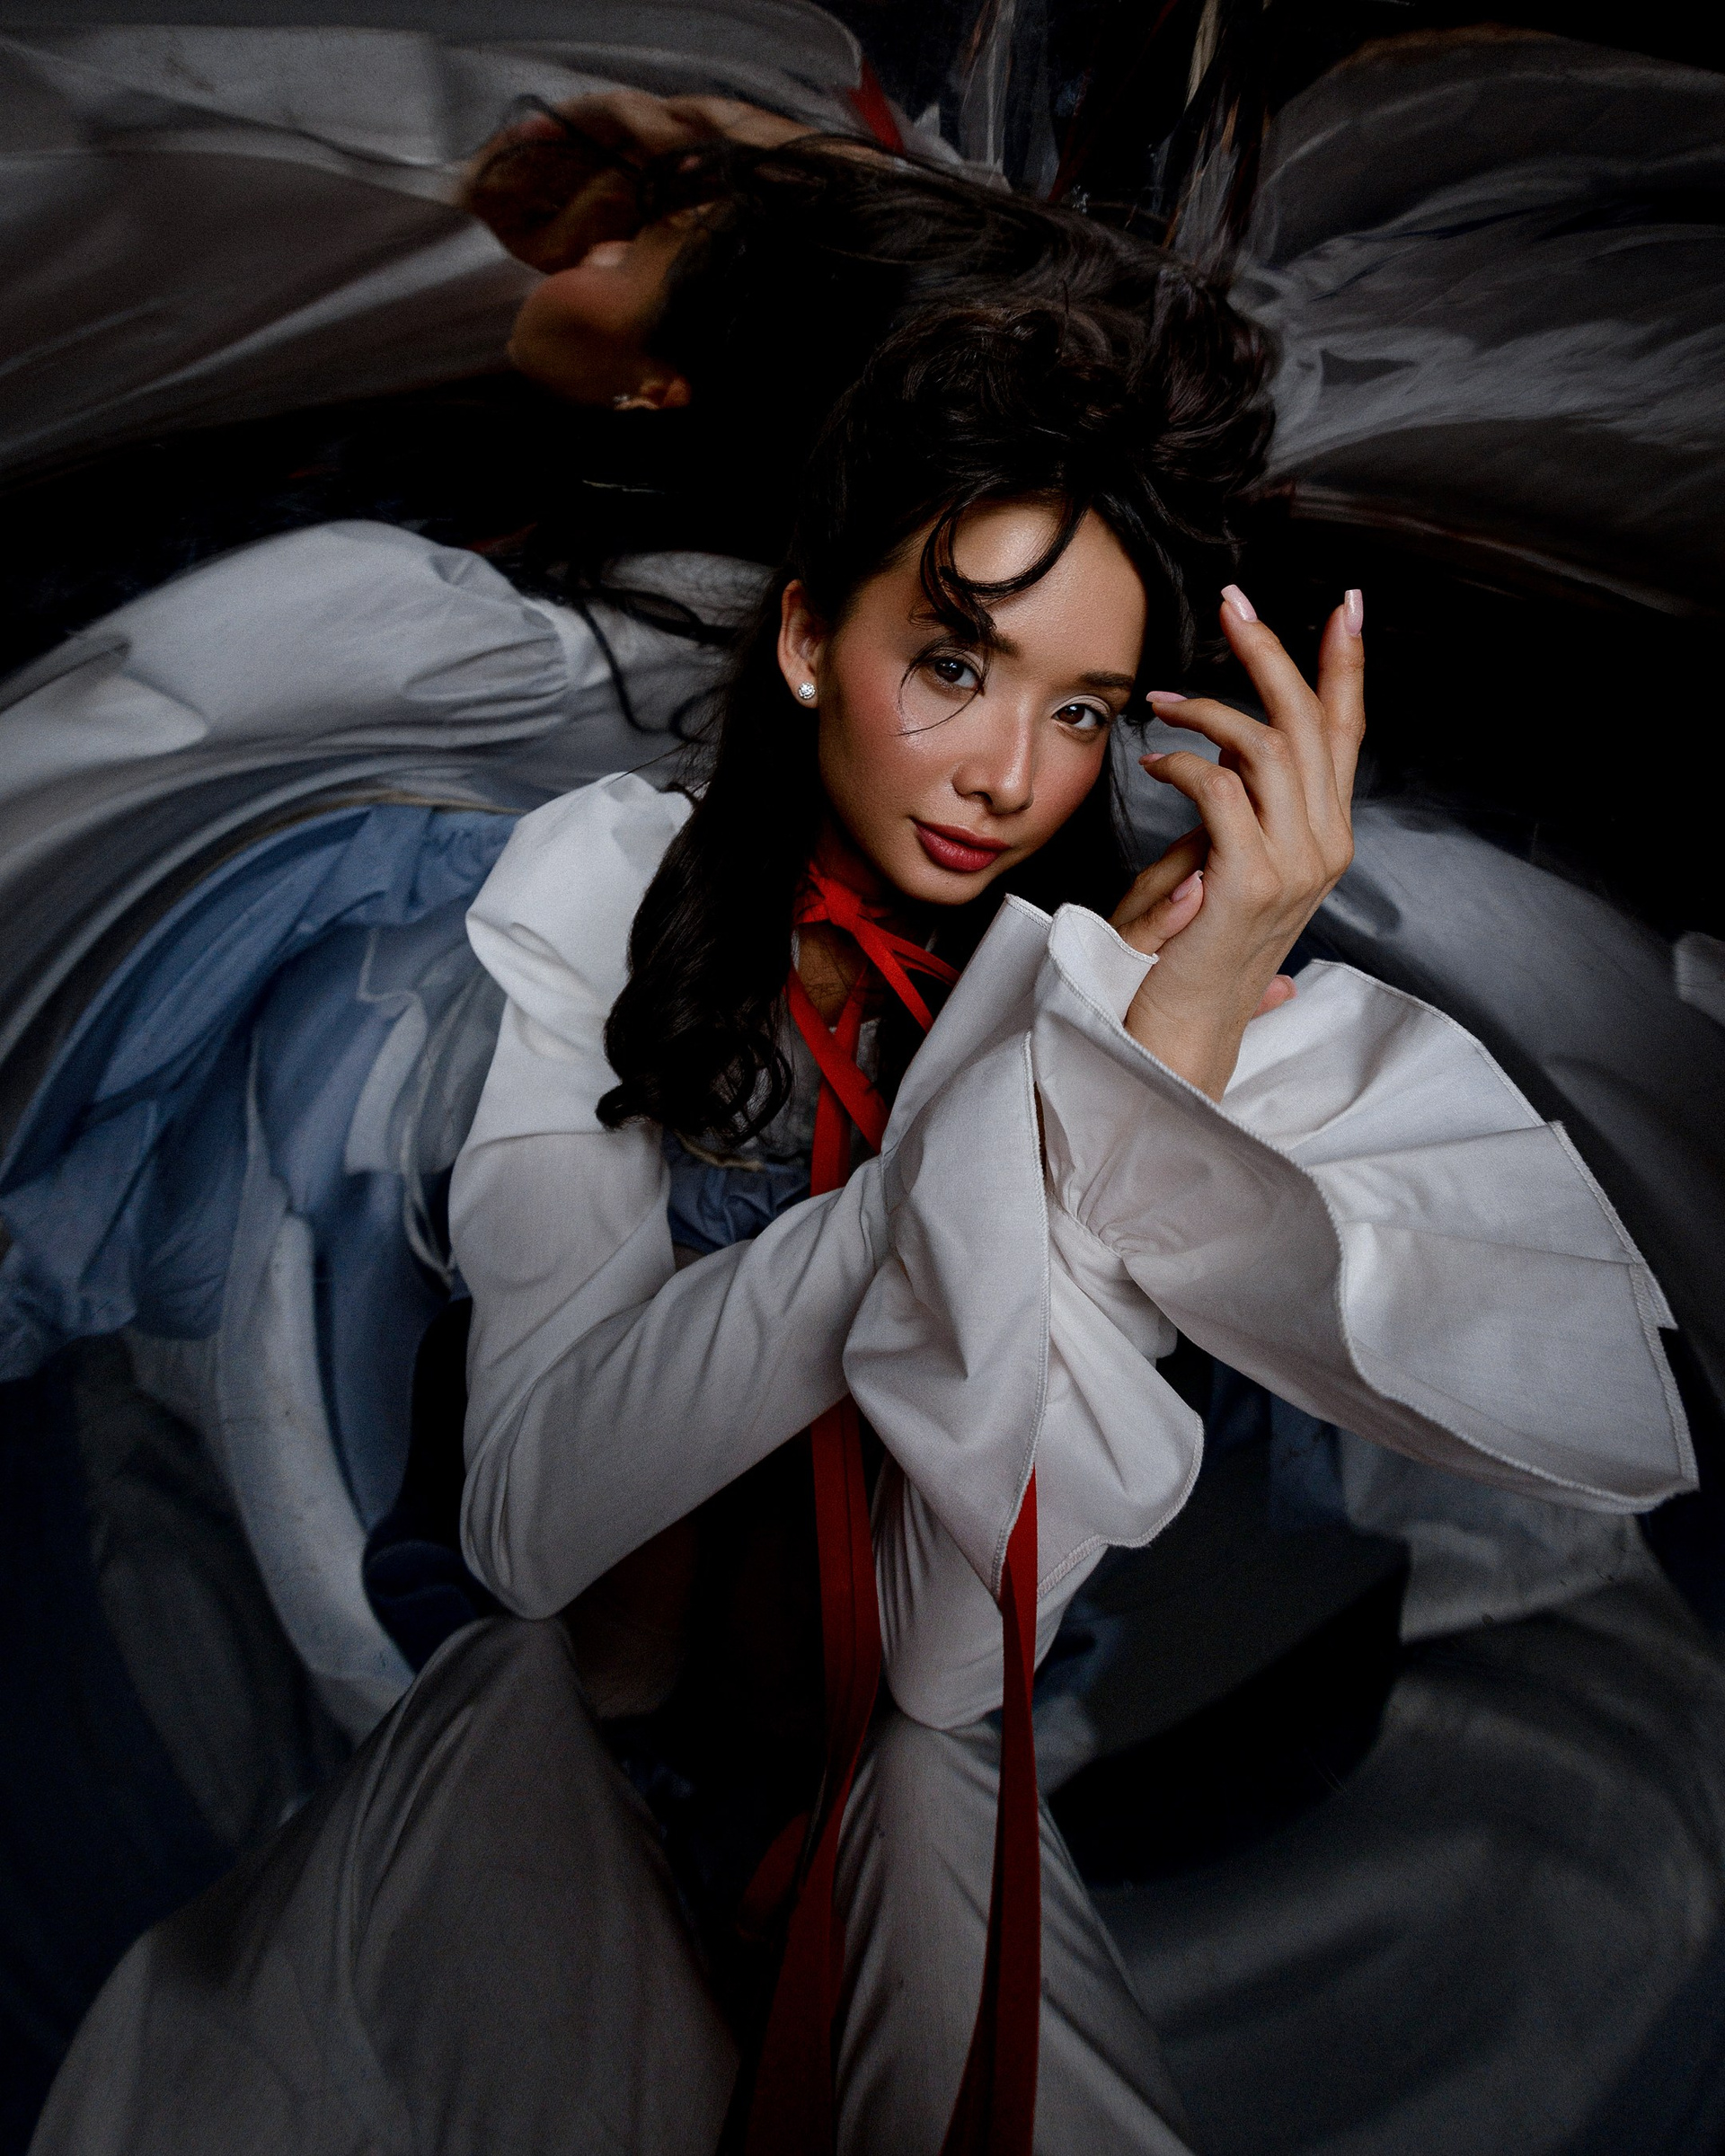
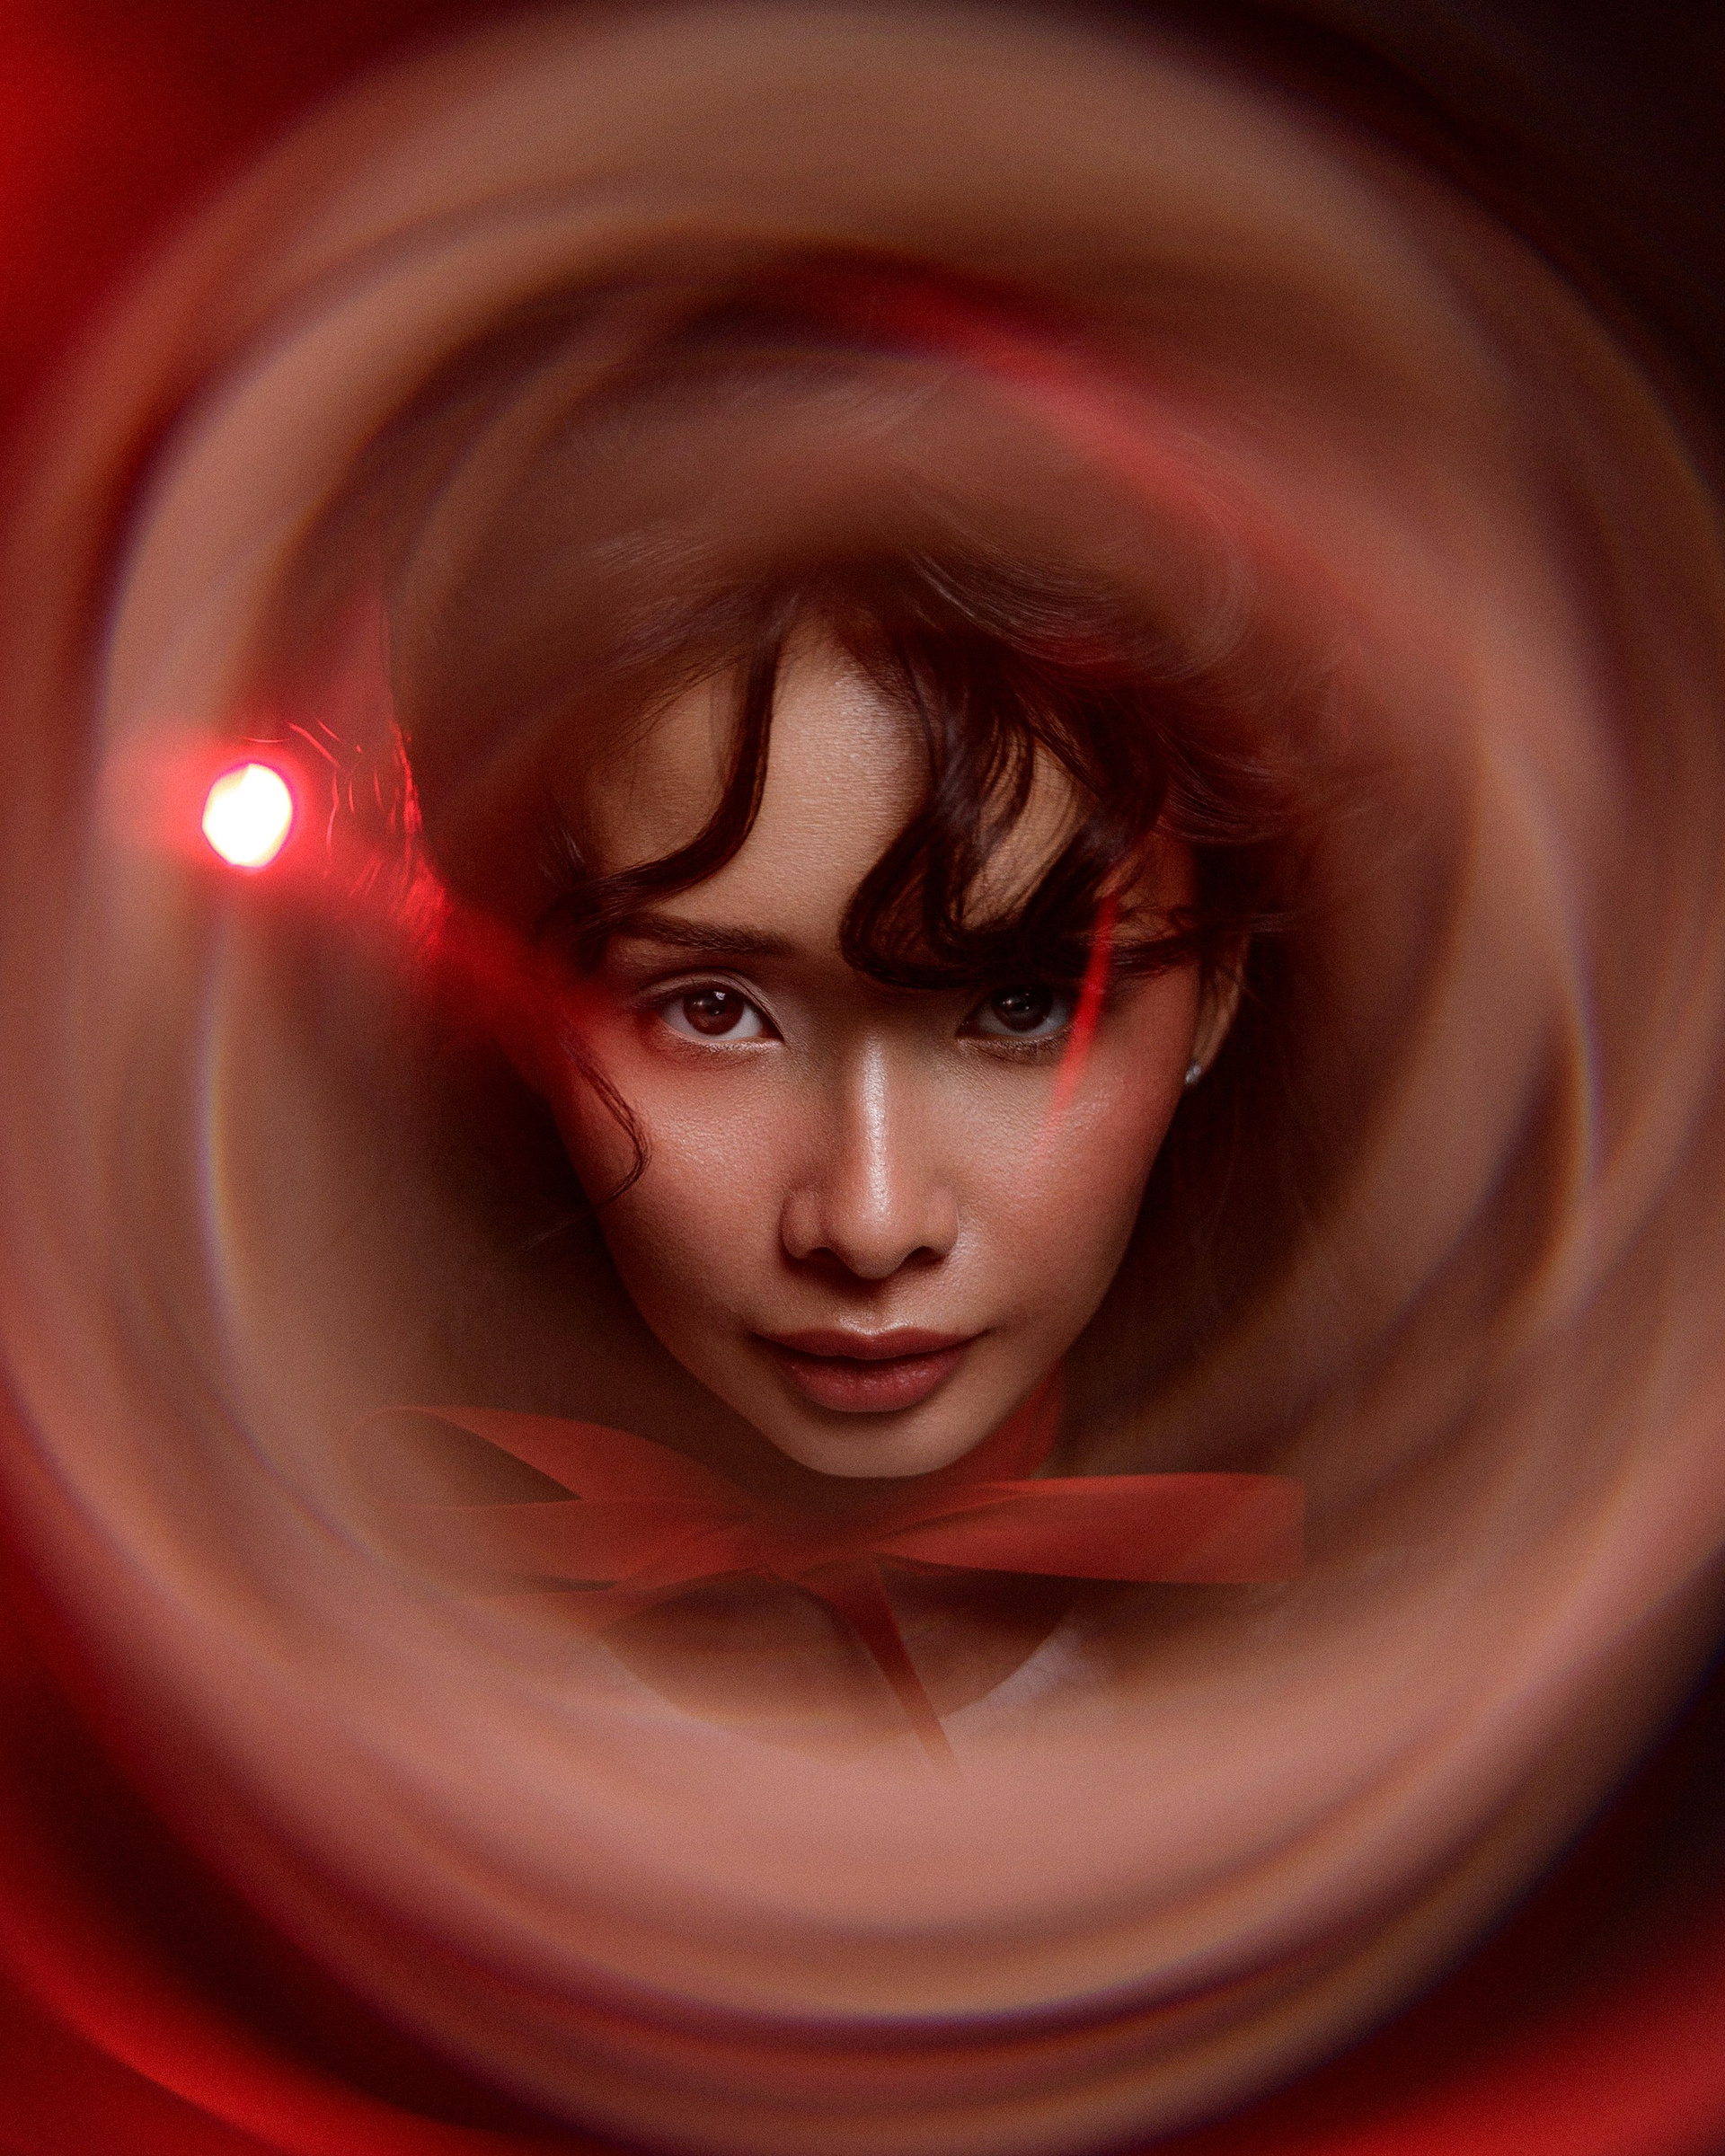
Model Type
Before retouching begins, Evoto AI automatically identifies the type of person in the photograph and applies the appropriate processing model.
Depending on the version of the software, the following options may be available:
- Female;
- Male;
- Child;
- Elderly Female;
- Elderly Male.
Selecting the correct Model Type affects the accuracy of the algorithms because the software uses different retouching principles for children, adults, men, women, and older people.
In most cases, Evoto AI identifies the person automatically. However, you can change the selected type manually if necessary.
Blemish Removal
Blemish Removal is designed to remove temporary skin imperfections.
The tool automatically detects and removes:
- pimples;
- redness;
- small scratches;
- post-acne marks;
- temporary spots;
- other minor skin imperfections.
It is important to understand that this tool is intended specifically for removing temporary imperfections, not the natural features of a person’s appearance.
Moles, freckles, scars, and distinctive facial features should not be removed automatically unless the client specifically requests it.
I recommend using moderate settings to preserve the natural texture of the skin and avoid an excessively cleaned or artificial-looking face.
Skin Retouching
Skin Retouching is one of the main tools used for professional portrait retouching.
It allows you to:
- even out the skin tone;
- reduce the visibility of pores;
- remove oily shine;
- soften uneven areas;
- make the skin look cleaner;
- preserve its natural texture.
Unlike standard blur, Evoto AI analyzes the structure of the skin and attempts to preserve its natural appearance.
It is important not to use the maximum effect value.
If pores and microtexture are completely removed, the face will begin to look plastic and unnatural.
Good retouching should make the skin look more polished without erasing its real structure.
Facial Reshape
Facial Reshape is used for subtle adjustments to the shape of the face.
With this tool, you can slightly modify:
- the face shape;
- the chin;
- the cheeks;
- the jawline;
- the forehead;
- the nose;
- the lips;
- individual facial proportions.
This tool should be used very carefully.
Its purpose is not to make the person unrecognizable, but to gently correct distortions caused by the camera angle, perspective, or lens characteristics.
Before finishing, always check that the facial features still look natural and that the person still looks like themselves.
Facial Expression
Facial Expression allows you to make subtle adjustments to a person’s expression.
With this function, you can:
- slightly enhance a smile;
- make the eyes appear more open;
- adjust the position of the lips;
- make the expression look calmer;
- add more emotion to the portrait.
This function is especially useful for wedding, family, and portrait photography when the composition is successful but the facial expression could be improved slightly.
The changes should be minimal. Excessive adjustment of facial expressions can look unnatural.
Teeth
Teeth is designed to improve the appearance of the teeth and smile.
With this tool, you can:
- brighten the teeth;
- reduce yellow tones;
- even out their brightness;
- make the smile look visually fresher.
Use this function moderately.
Teeth that are excessively white immediately look artificial and attract too much attention. They should remain natural and match the skin tone and lighting of the photograph.
Eyes
Eyes helps make the eyes look more expressive.
In this section, you can:
- brighten the whites of the eyes;
- reduce redness;
- enhance iris detail;
- emphasize the natural color of the eyes;
- add a subtle shine;
- make the eyes appear more open.
This tool is especially useful for beauty, headshot, and portrait photography.
Avoid brightening the whites of the eyes too strongly or increasing the iris brightness excessively.
The eyes should remain natural and consistent with the overall lighting of the image.
Makeup
Makeup allows you to enhance existing makeup or add it digitally in a subtle way.
In this section, you can work with:
- skin tone;
- blush;
- lips;
- eyebrows;
- eyelashes;
- eyeshadow;
- other makeup elements.
The tool is useful when the existing makeup needs minor correction or when you want to make individual elements more visible.
If the model already has professional makeup, I recommend using only subtle adjustments so that the original work of the makeup artist remains natural and recognizable.
Hair
Hair is used for hair retouching.
With this section, you can:
- remove stray hairs;
- make the hairstyle look neater;
- improve the hair texture;
- add natural shine;
- emphasize volume;
- reduce the visual untidiness caused by wind or movement.
This tool is especially useful during outdoor shoots when the hairstyle may change because of weather conditions.
At the same time, you should not remove every single stray hair.
A small amount of natural imperfection often makes the portrait feel more alive.
Hands
Hands is responsible for retouching the skin on the hands.
With this tool, you can:
- even out the skin tone;
- remove redness;
- reduce the visibility of veins;
- remove minor imperfections;
- make the hands look visually neater.
This function is especially useful in wedding, product, beauty, and portrait photography, where the hands are often clearly visible in the frame.
Retouch the hands consistently with the face so that the skin does not look different in color or texture.
Full Body Reshape
Full Body Reshape allows you to make subtle adjustments to body proportions.
You can slightly modify:
- posture;
- shoulders;
- waist;
- arms;
- legs;
- hips;
- overall body proportions.
This tool must be used with extreme care.
Professional body correction should emphasize a person’s strengths rather than completely change their body.
You must also pay close attention to the background. Strong reshaping can distort walls, furniture, architectural lines, or other objects around the model.
After making adjustments, always check the body contours and all straight lines nearby.
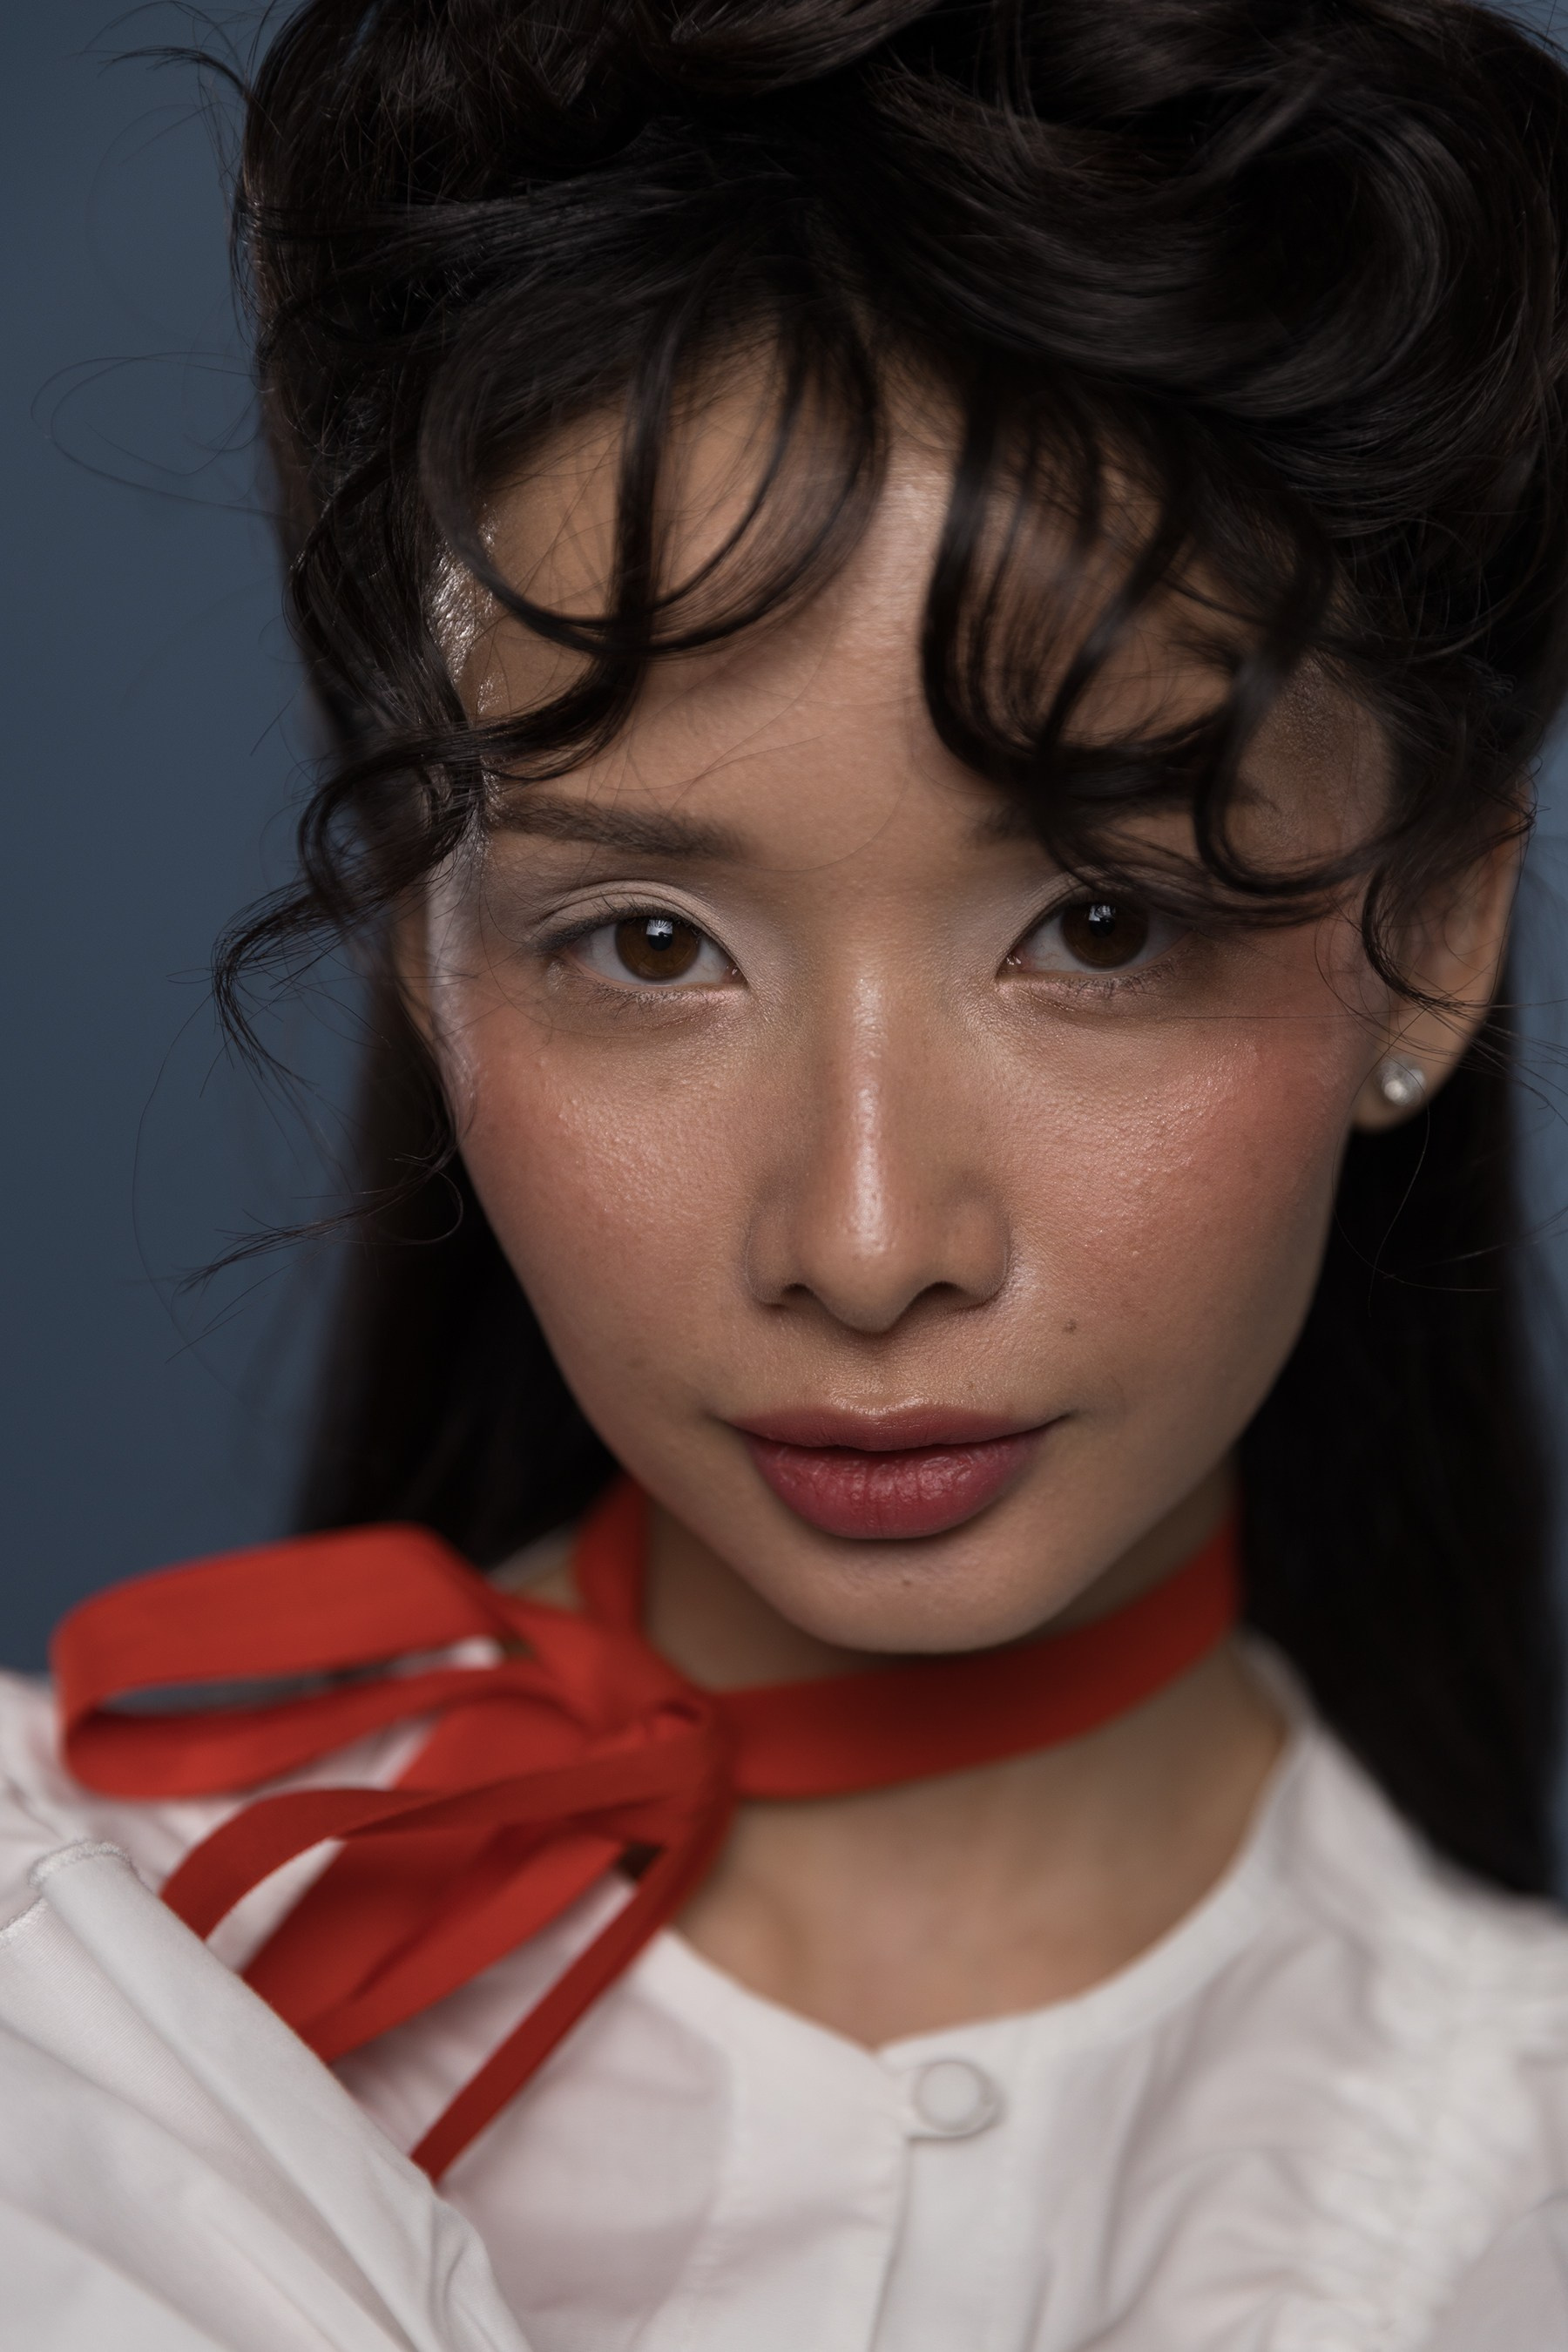
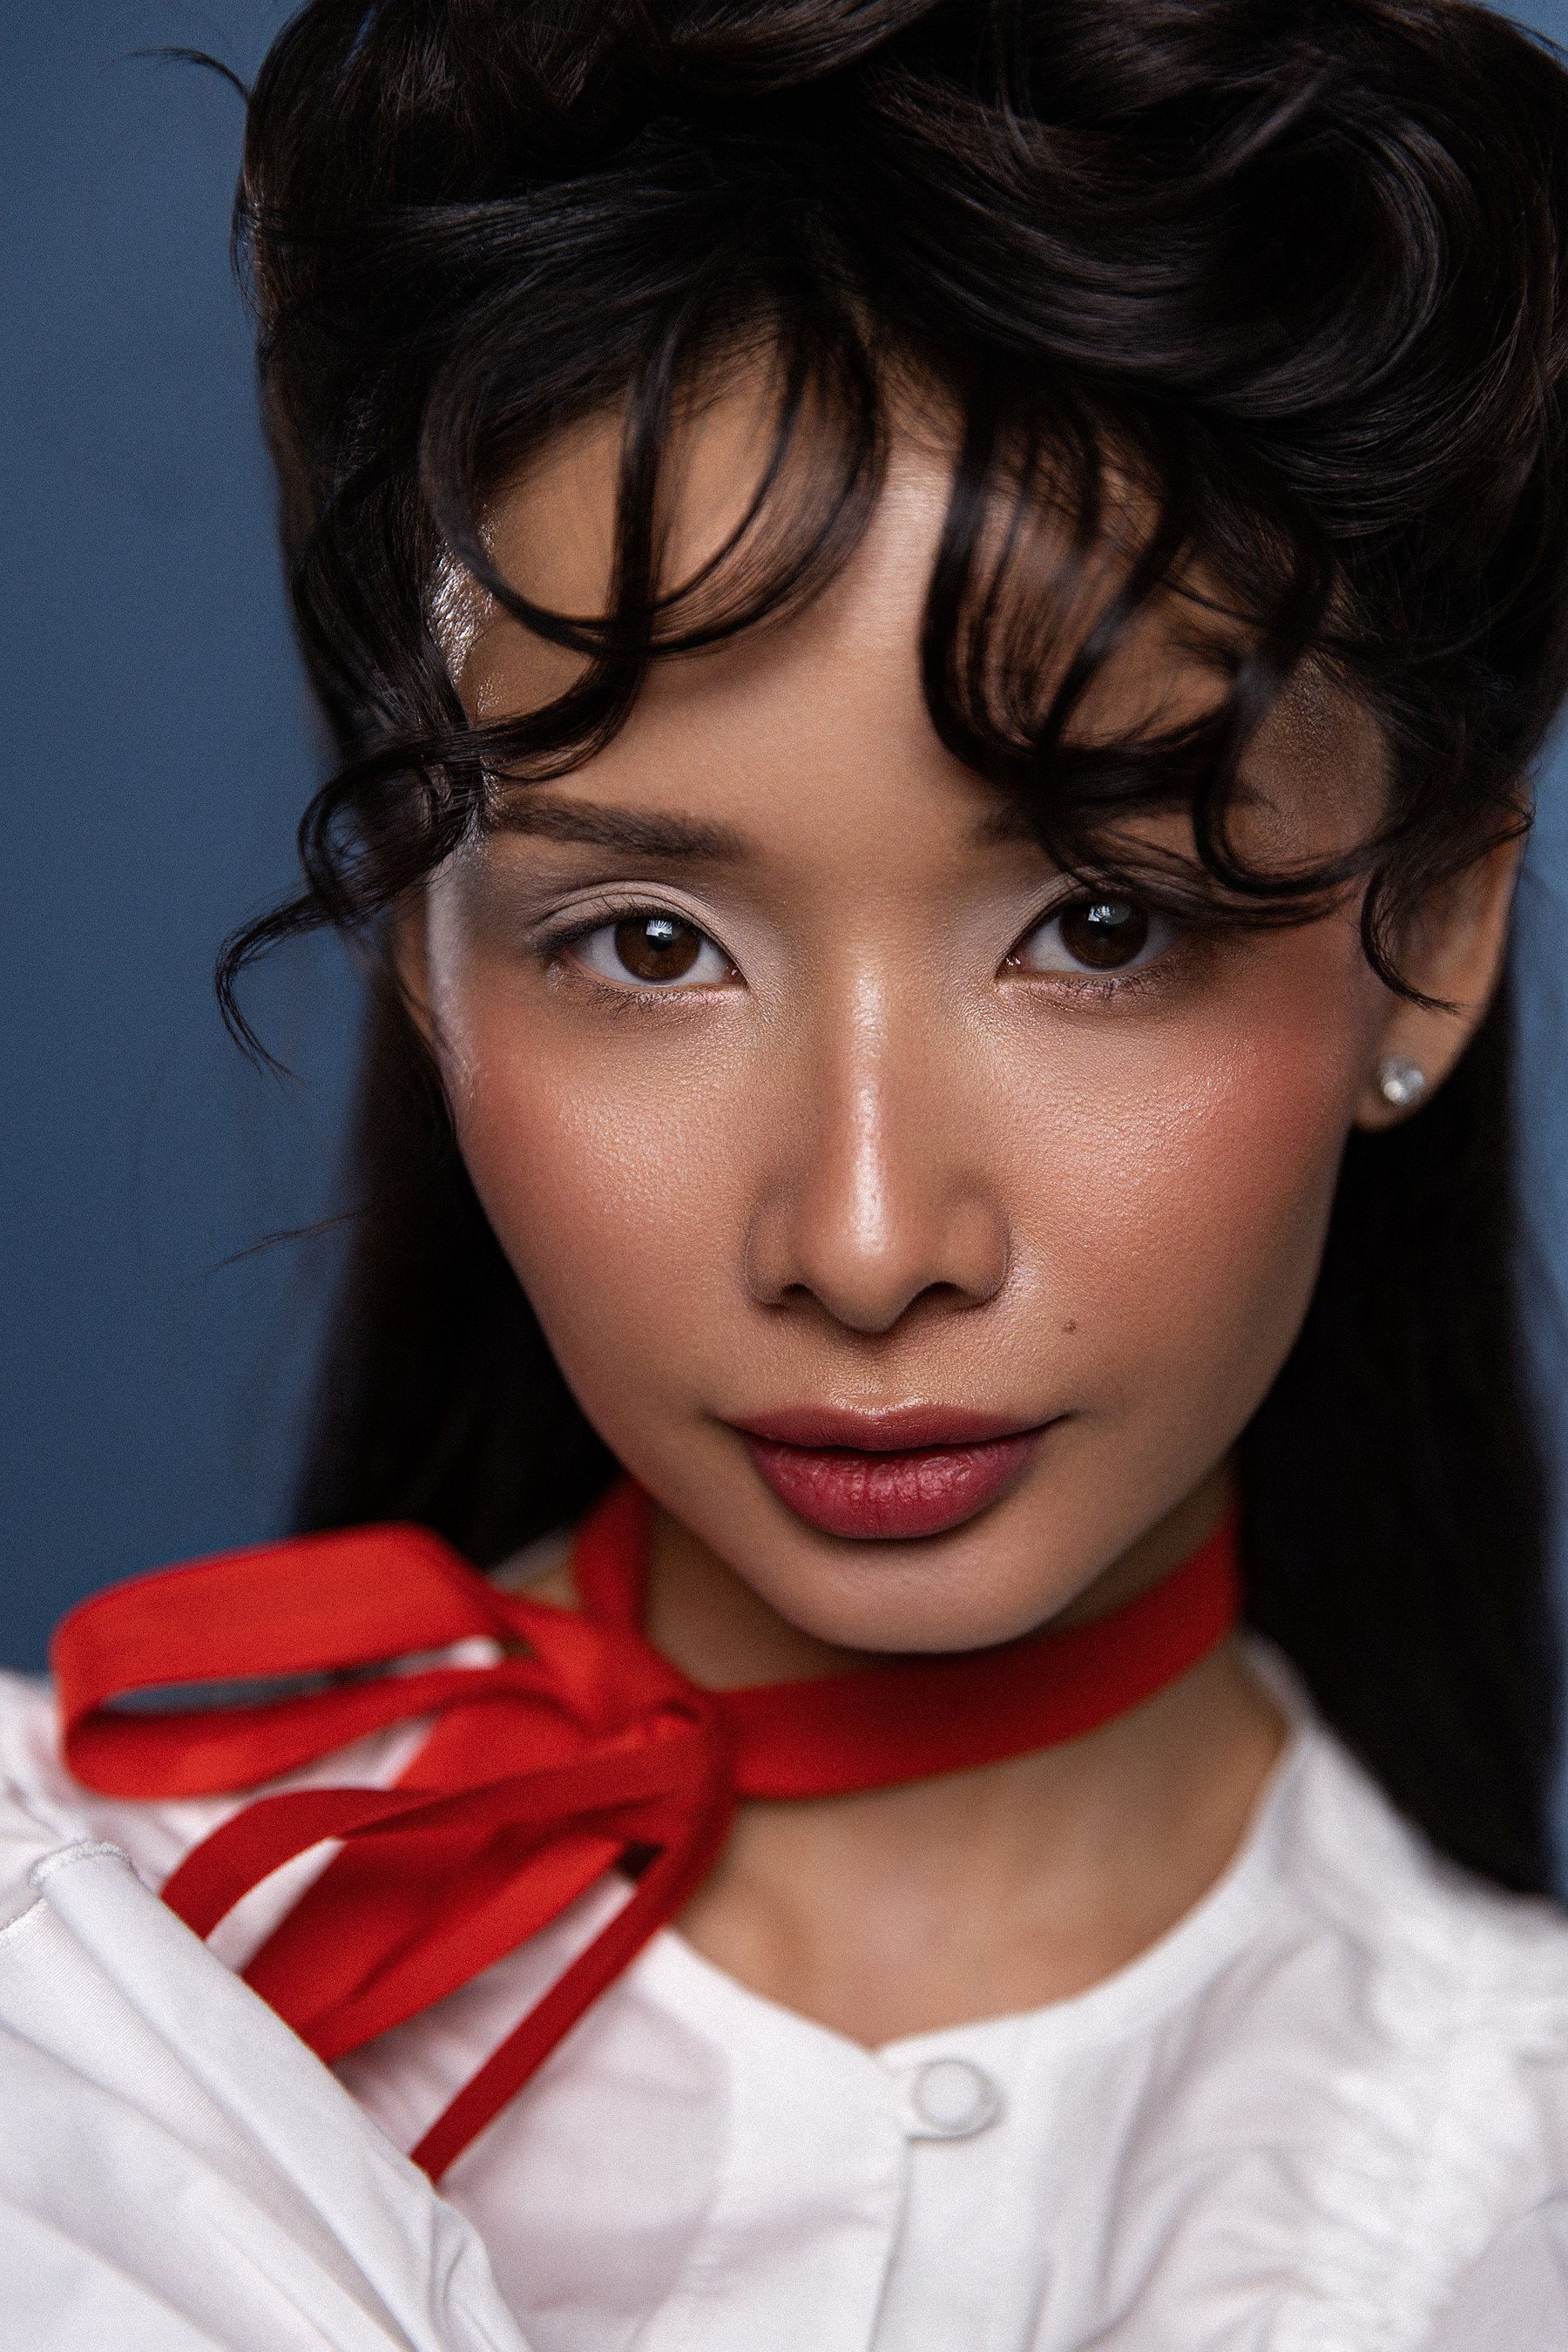
Before / After
After completing the retouching, always compare the photograph with the original.
Before / After mode helps you quickly evaluate:
- how much the skin has changed;
- whether the natural facial features have been preserved;
- whether the retouching has become excessive;
- whether the skin texture remains visible;
- whether the eyes and teeth look artificial;
- whether the person still looks like themselves.
If the changes are too noticeable, reduce the intensity of the individual tools.
Good retouching should create the impression of a high-quality photograph rather than draw attention to the fact that the image has been edited.
My Recommendation
Many photographers mistakenly believe that high-quality retouching should be clearly visible.
In reality, professional retouching works differently.
Its main purpose is to remove only temporary imperfections while preserving the person’s character, natural skin texture, and real facial features.
This approach is what makes photographs look refined, aesthetically pleasing, and professional.
Chapter 6. AI Lab
Generative AI Tools
AI Lab is one of the most advanced modules in Evoto AI, powered by generative artificial intelligence to automatically remove, replace, and reconstruct parts of an image.
Unlike traditional retouching tools, AI Lab doesn’t simply clone nearby pixels. Instead, it analyzes the entire scene—including lighting, perspective, textures, and surrounding objects—to intelligently recreate missing areas.
This makes AI Lab an incredibly powerful solution for removing unwanted distractions and cleaning up complex photographs in just a few seconds.
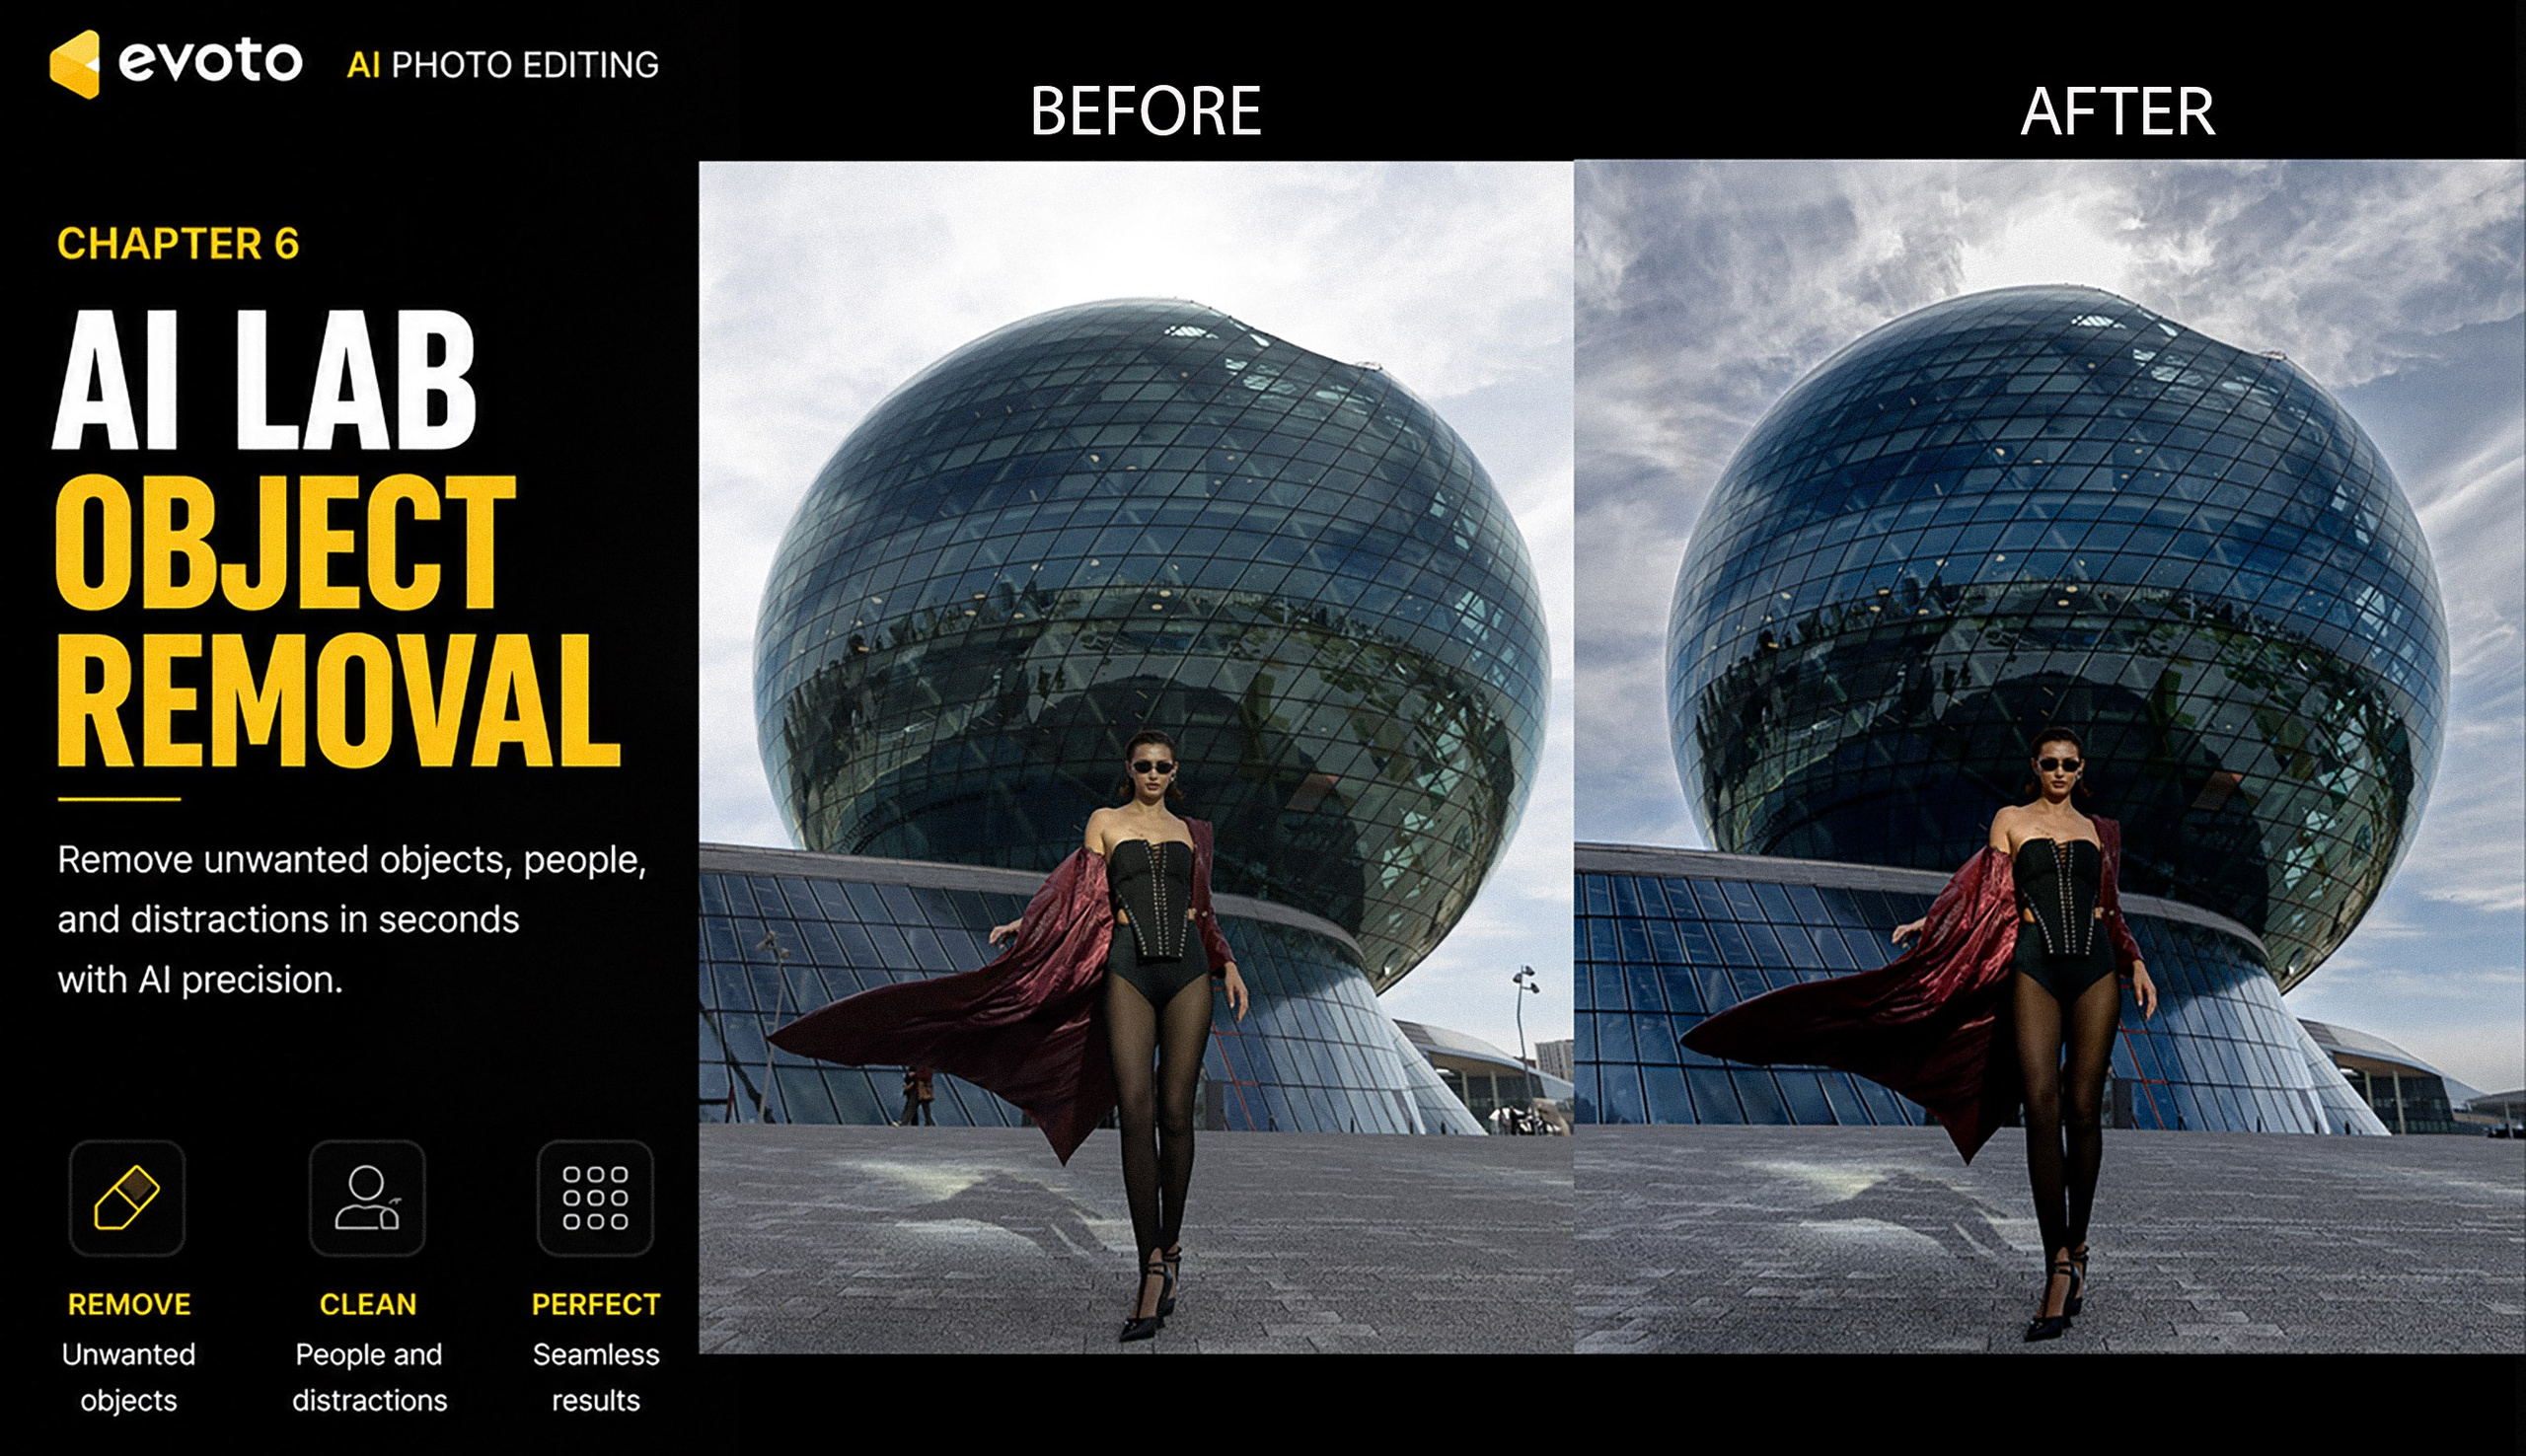
AI Object Remover
AI Object Remover automatically removes unwanted objects from your photographs.
Simply brush over the object, and Evoto AI will analyze the surrounding area and naturally reconstruct the background.
It can be used to remove:
- trash;
- road signs;
- cables and power lines;
- benches;
- trash bins;
- vehicles;
- bags;
- tripods;
- lighting equipment;
- random objects;
- logos;
- virtually anything that distracts from your composition.
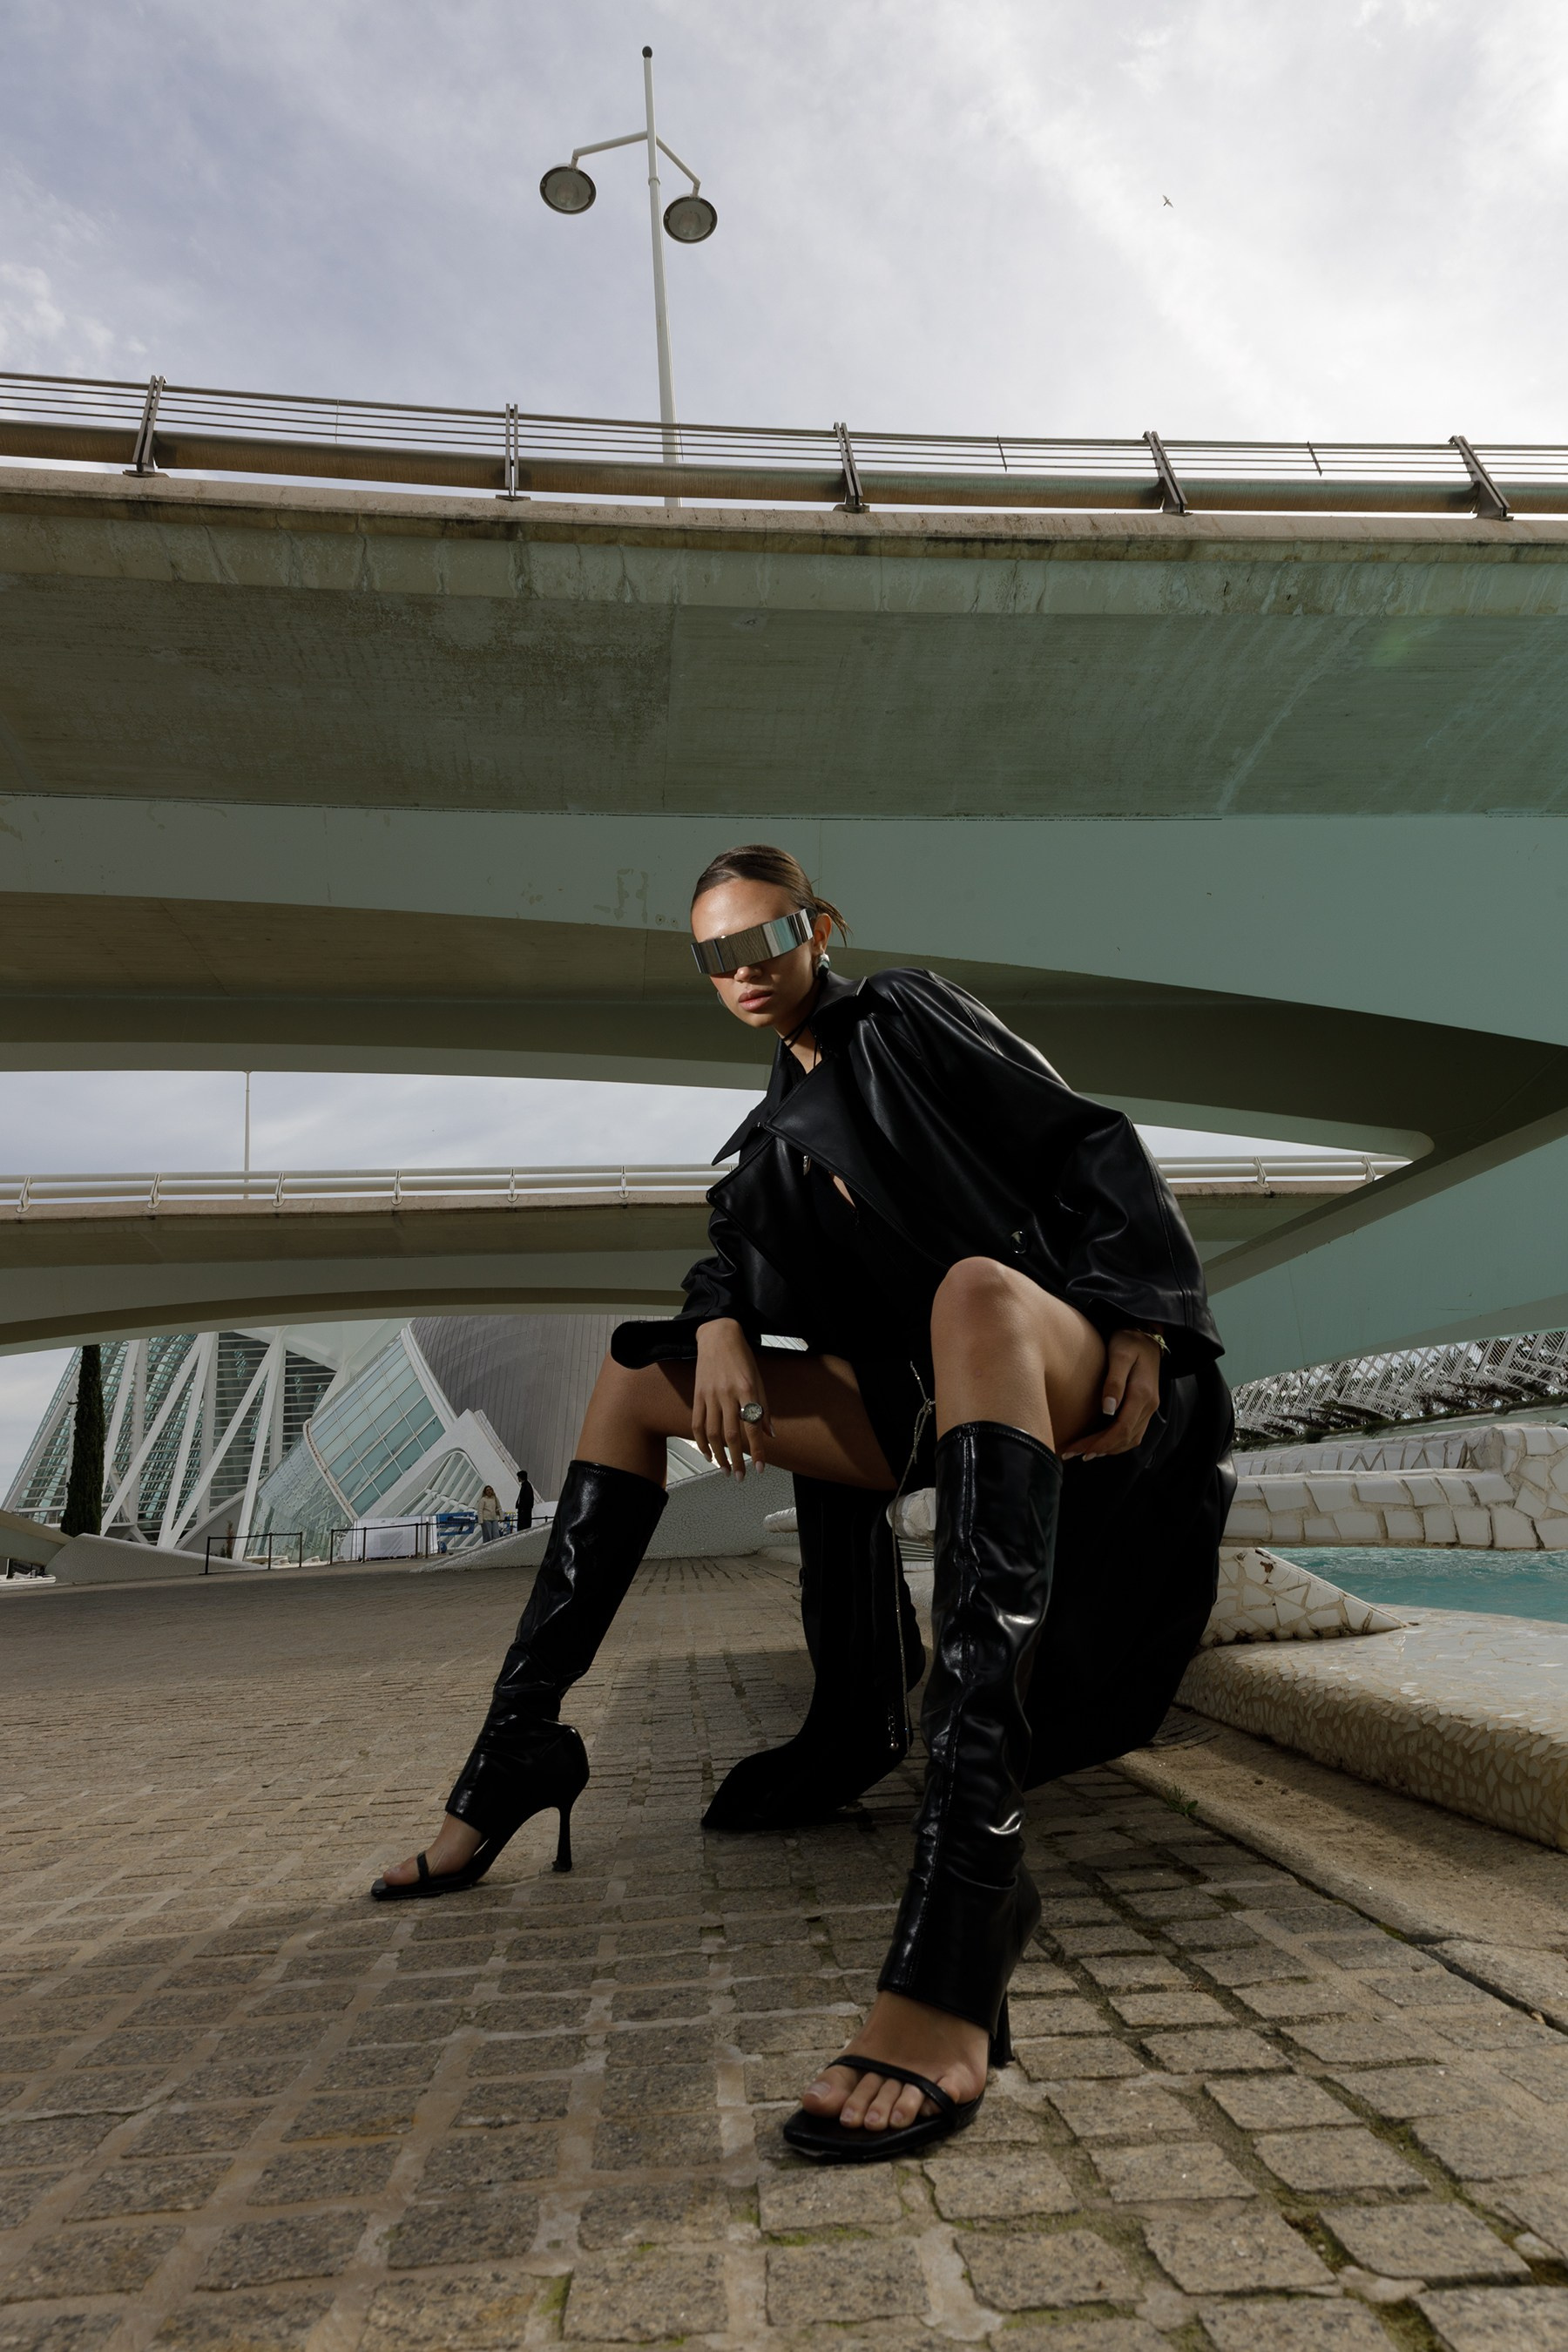
This is one of the most effective tools for architectural, cityscape, travel, and outdoor photography.
People Remover
People Remover quickly removes unwanted people from the background.
It is especially useful when photographing:
- tourist attractions;
- busy streets;
- architecture;
- weddings;
- cityscapes;
- portrait sessions in crowded locations.
After removing a person, Evoto AI automatically reconstructs the background while preserving perspective, lighting, and textures.
In many cases, the result looks natural enough that no additional manual editing is required.
Magic Eraser
Magic Eraser is designed for removing small distractions.
For example:
- spots;
- small pieces of litter;
- dust;
- scratches;
- wires;
- leaves;
- cigarette butts;
- stones;
- other tiny elements that distract from the image.
If you only need to remove a small object, Magic Eraser is often faster than AI Object Remover.
AI Replace
AI Replace allows you to replace or regenerate specific parts of an image.
With this tool you can:
- replace parts of the background;
- replace individual objects;
- improve certain areas of the composition;
- reconstruct complex areas after removing large objects.
This feature opens up powerful creative possibilities, but I recommend using it carefully so the final photograph still looks natural and believable.
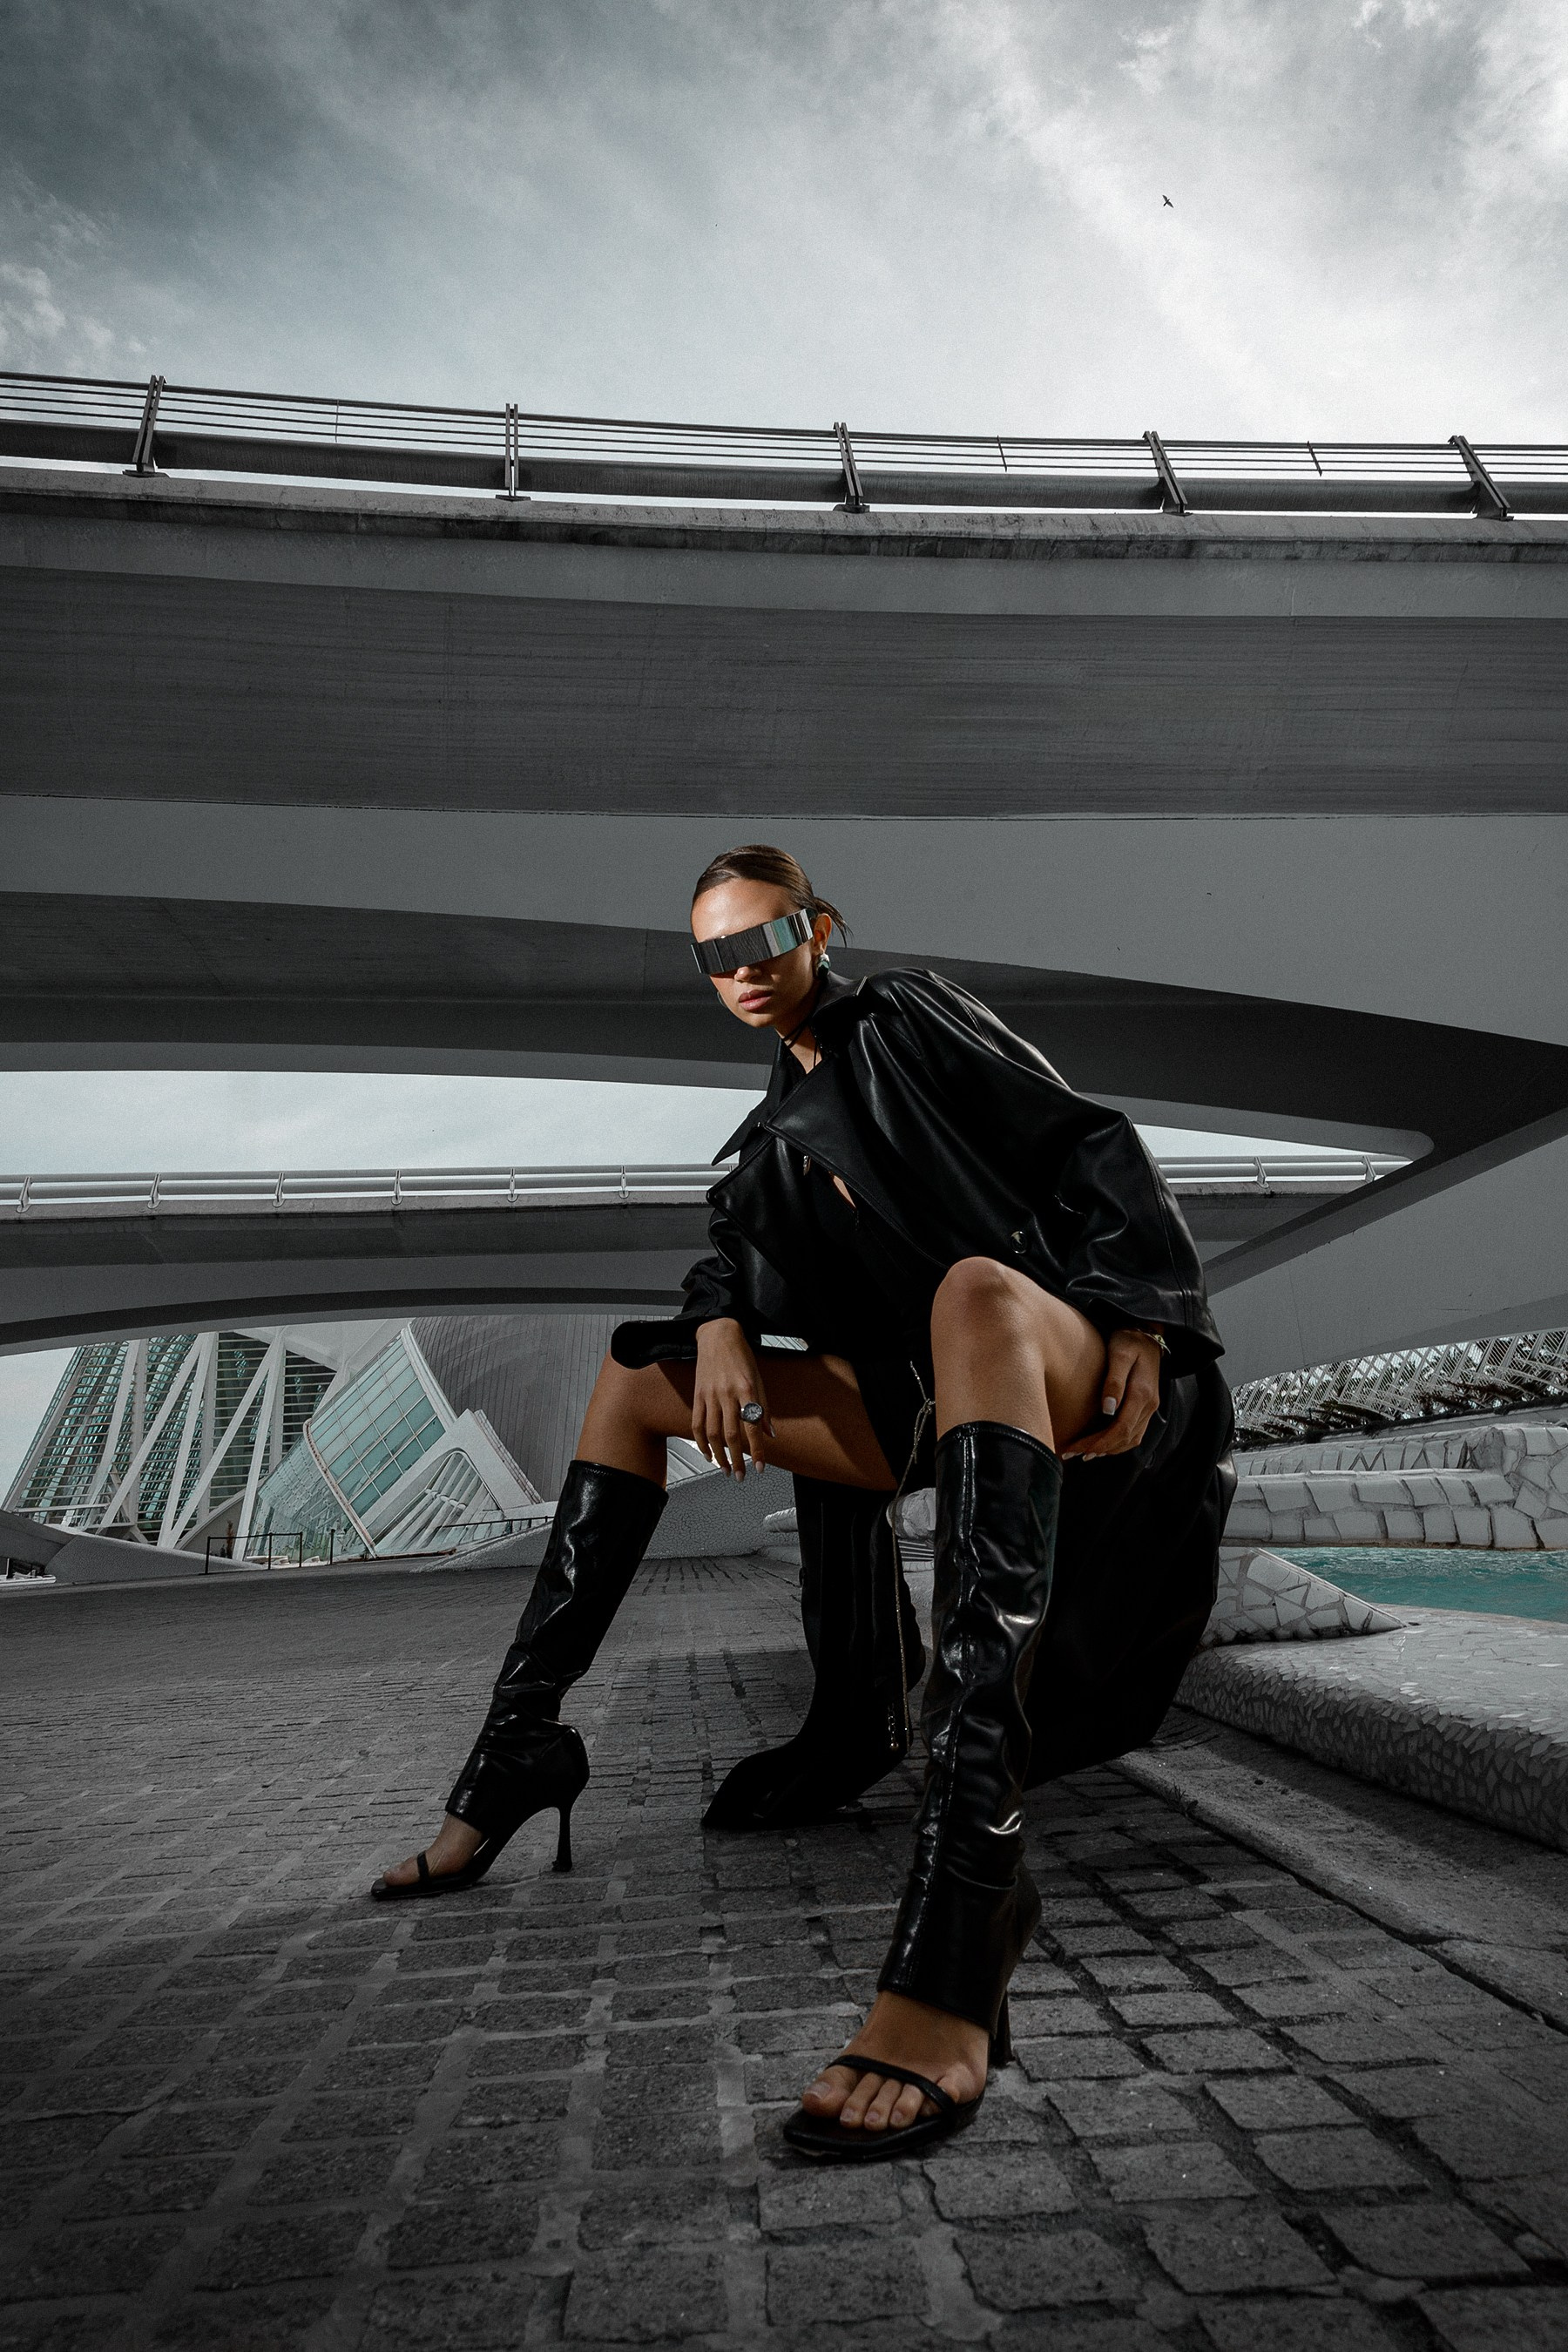
When Should You Use AI Lab?
AI Lab is especially useful when you need to:
- remove tourists from popular locations;
- clean trash from the ground;
- remove power lines or road signs;
- eliminate visible lighting equipment;
- remove photographers or assistants from the frame;
- clean studio backgrounds;
- remove random distractions from documentary or event photography.
In most situations, these tasks can be completed in just a few seconds.
My Recommendation
I always use AI Lab before starting the main retouching process.
First, I clean the composition by removing distracting elements so that nothing draws attention away from the main subject.
Only after that do I move on to color correction and portrait retouching.
This workflow significantly speeds up editing while producing cleaner, more professional-looking results.
Pro Tip
Avoid trying to remove several large objects with one selection.
If multiple objects need to be removed, work on them one at a time.
In most cases, this produces much more natural results because the AI can reconstruct each individual area with greater accuracy.
Chapter 7. AI Landscape Enhancer
AI Landscape Enhancer
Professional Landscape Enhancement with AI
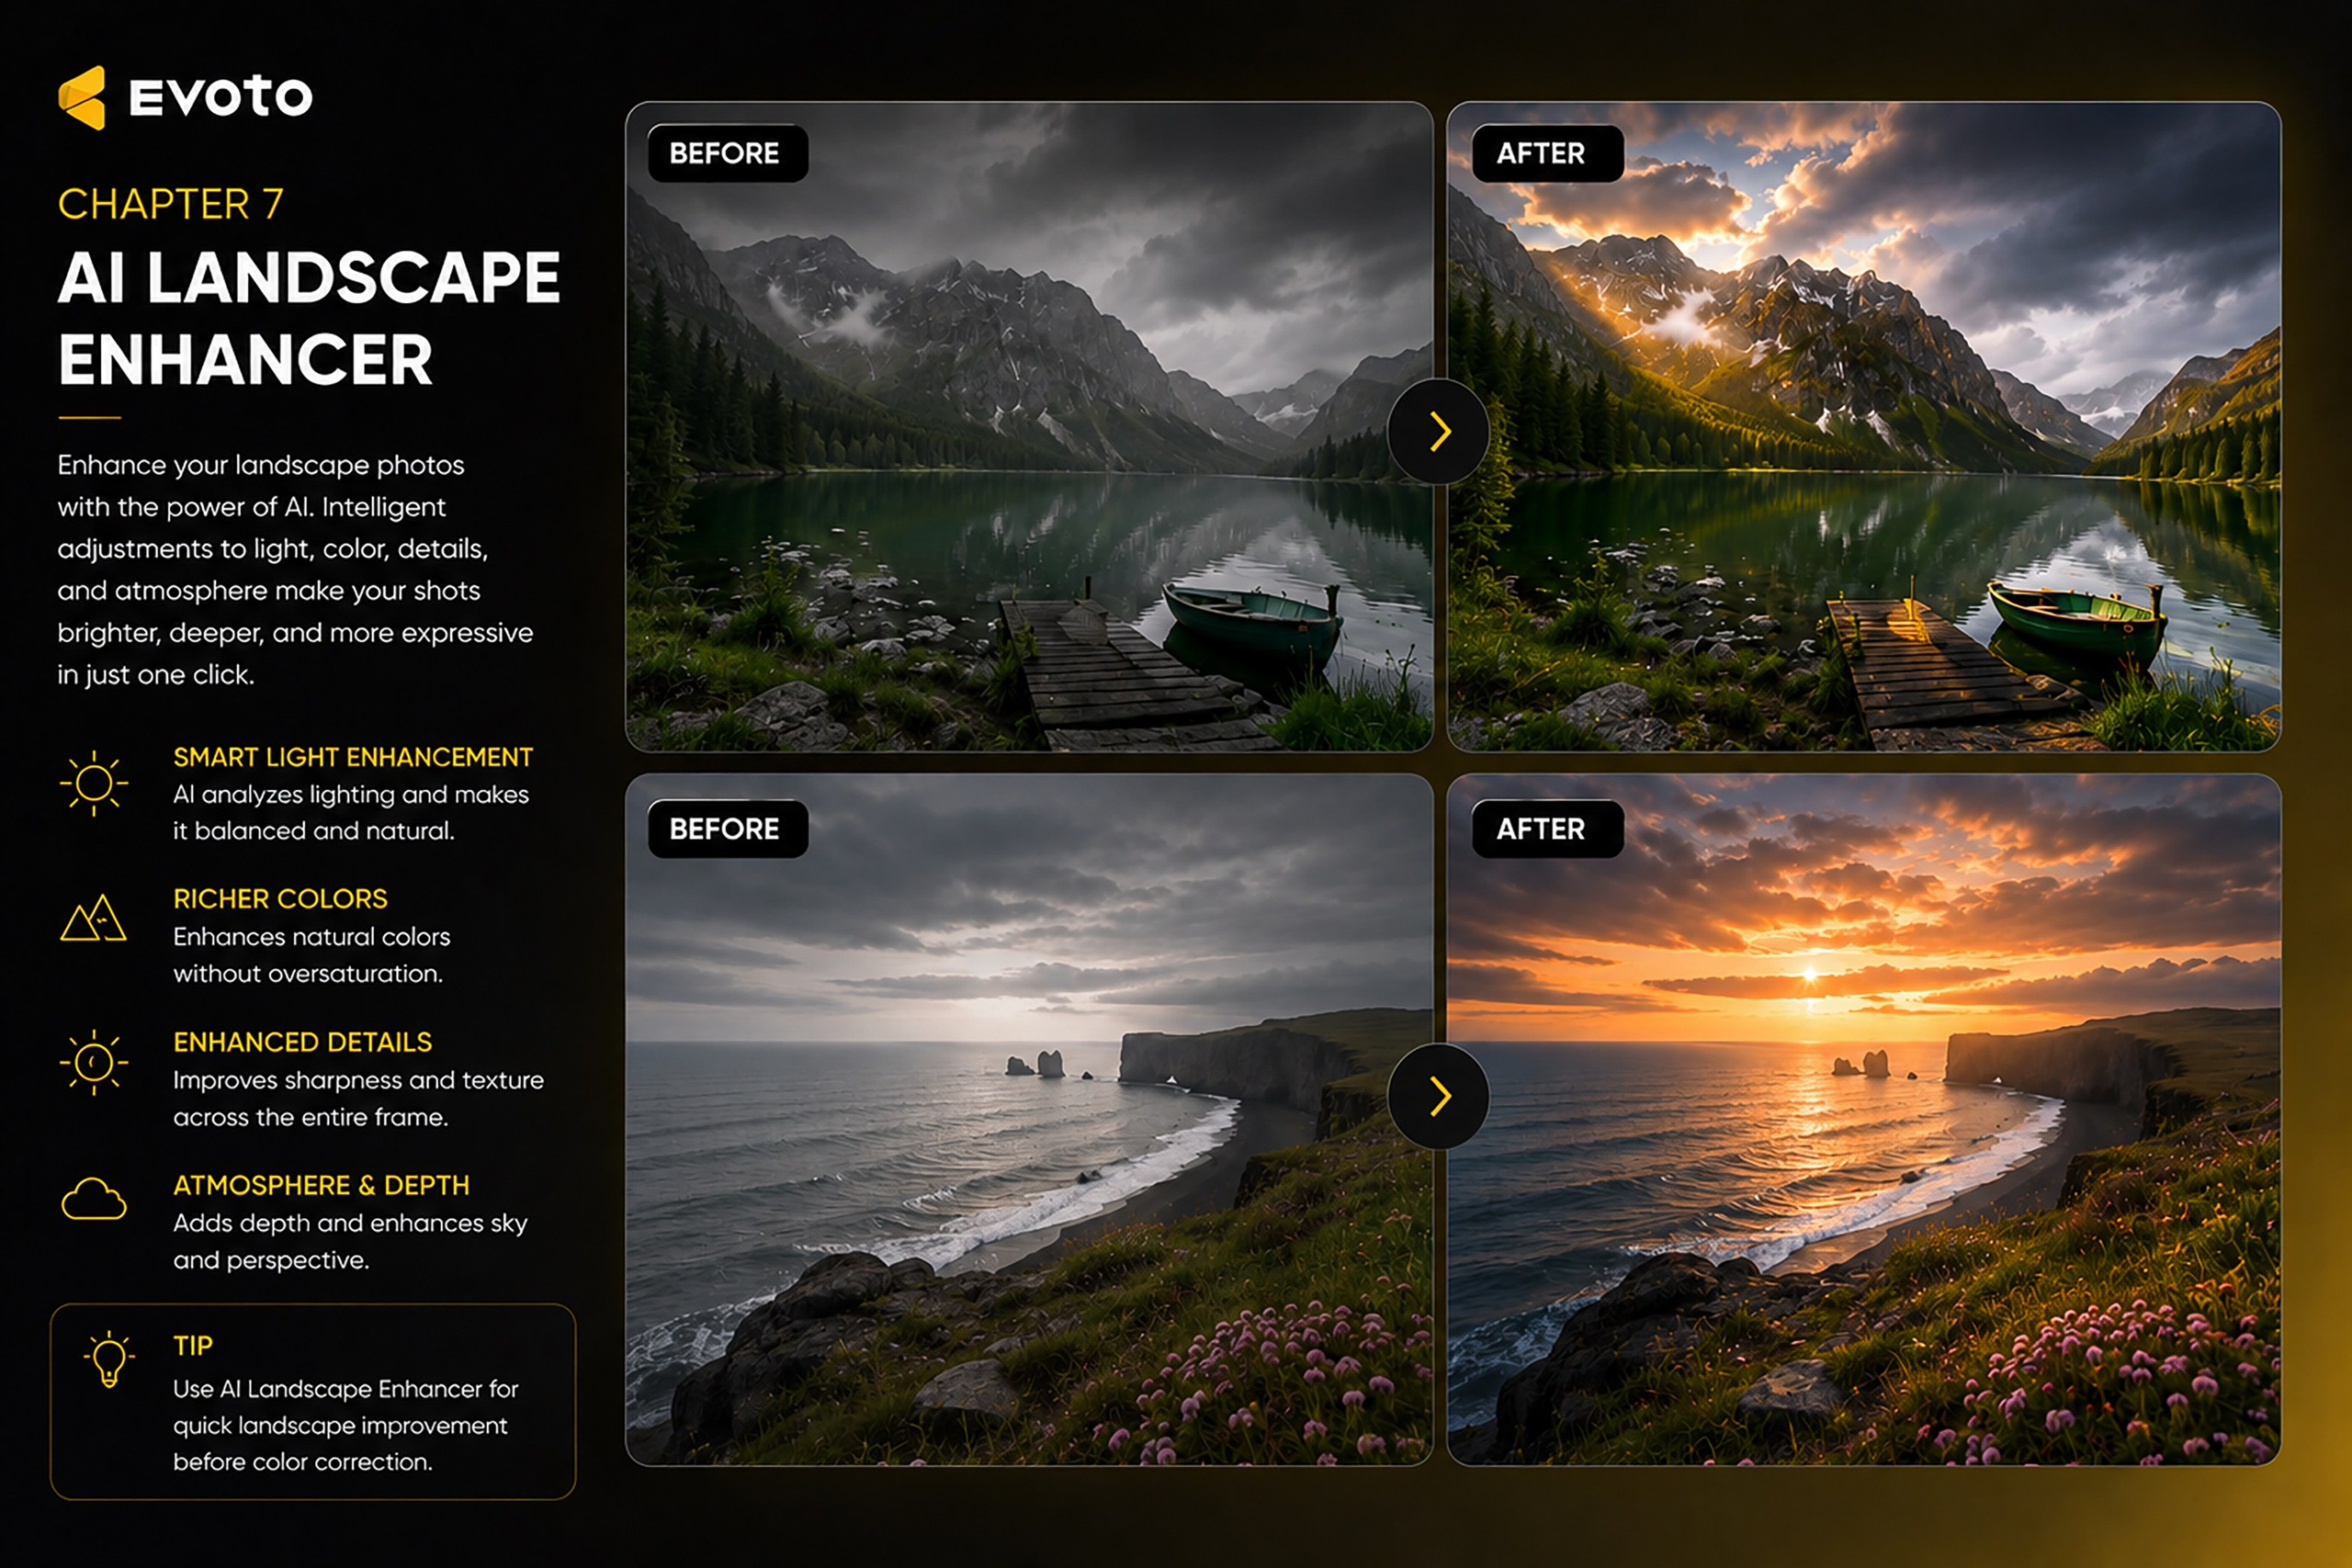
AI Landscape Enhancer is a collection of AI-powered tools designed to enhance landscape and outdoor photography.
Unlike traditional color correction, these tools intelligently analyze different areas of the image and automatically improve lighting, color, detail, and atmosphere.
As a result, even photos taken in challenging lighting conditions can become more vibrant, balanced, and visually appealing while maintaining a natural look.
I recommend using AI Landscape Enhancer after completing your primary color correction.
This allows the AI to build upon an already balanced image and produce the best possible results.
Light
Light intelligently improves the lighting throughout your image.
The AI analyzes the scene and enhances the natural distribution of light, helping to:
- improve overall illumination;
- increase depth;
- emphasize natural light;
- balance bright and dark areas;
- create a more dynamic image.
This tool works especially well for sunrise, sunset, and high-contrast landscape photography.
I recommend using moderate adjustments to preserve the natural lighting of the scene.
Color
Color enhances the overall color balance of the photograph.
The AI automatically analyzes the image and improves color harmony without making the photo look oversaturated.
With this tool, you can:
- enrich natural colors;
- improve color balance;
- increase visual impact;
- enhance the mood of the scene.
Avoid excessive adjustments. Natural-looking colors almost always produce the most professional results.
Details
Details increases the amount of visible texture and fine detail throughout the photograph.
This tool helps emphasize:
- mountains;
- rocks;
- trees;
- leaves;
- clouds;
- water;
- buildings;
- architectural details;
- other fine textures.
It improves image clarity while maintaining a realistic appearance.
I recommend using moderate values. Excessive sharpening can introduce an unnatural look.
Atmosphere
Atmosphere enhances the mood and depth of the photograph.
Using this tool, you can:
- increase depth;
- emphasize natural fog;
- enhance light rays;
- create a more cinematic look;
- strengthen the emotional impact of the image.
Subtle adjustments usually produce the most realistic results.
The goal is to enhance the existing atmosphere—not to completely transform the scene.
When Should You Use AI Landscape Enhancer?
AI Landscape Enhancer is especially useful when editing:
- landscape photography;
- travel photography;
- urban architecture;
- drone photography;
- nature photography;
- mountain landscapes;
- lakes;
- coastal scenes;
- parks;
- tourist destinations.
It is also an excellent choice whenever you want to quickly improve the overall depth, clarity, and visual impact of an image.
My Recommendation
When using AI Landscape Enhancer, I always work with subtle adjustments.
In most cases, a few small refinements are enough to make a photograph look significantly better.
Remember that the purpose of these tools is not to completely change the image, but to enhance the natural light, colors, details, and atmosphere that already exist in the scene.
This approach consistently produces clean, natural, and professional-looking landscape photographs.
Chapter 8. Batch Editing
Batch Editing
Professional Batch Editing
Batch Editing is one of the most valuable features in Evoto AI when working with large photo sessions.
It allows you to transfer editing settings from one reference image to an entire series, maintaining a consistent editing style while dramatically reducing post-production time.
With Batch Editing, you can process hundreds or even thousands of photographs in just a few minutes.
I recommend using this feature only after your Hero Image has been completely edited.
Sync
Sync allows you to copy selected editing settings from one image to the rest of your photo series.
You can choose exactly which adjustments you want to synchronize.
The most commonly synchronized settings include:
- color correction;
- portrait retouching;
- AI tools;
- crop;
- presets;
- other editing settings.
The best results are achieved when synchronizing photos taken under the same lighting conditions.
Batch Editing
Batch Editing automatically applies your selected settings to every image in the series.
Once started, Evoto AI analyzes each photograph individually and intelligently adapts the saved settings to every frame.
This helps maintain a consistent look throughout the entire gallery while dramatically reducing editing time.
Select Images
Before starting Batch Editing, select all the images you want to process.
The best results are achieved when the photographs were taken:
- under similar lighting conditions;
- with the same camera;
- using similar exposure settings;
- during the same photo session.
If the lighting conditions vary significantly, I recommend dividing the images into separate groups and editing each group independently.
Apply Preset
If you have previously created your own preset, you can apply it to the entire photo session using Apply Preset.
This instantly transfers your signature editing style to every selected image.
The best results are achieved when the preset is based on a properly edited Hero Image.
Batch Retouching
Batch Retouching automatically applies portrait retouching to all selected photographs.
The AI analyzes each image individually and adjusts the retouching according to the subject’s face, skin, and body proportions.
This allows you to maintain natural-looking results while editing large portrait sessions.
Review
After the batch editing process is complete, I always recommend reviewing the entire photo series.
At this stage you can:
- check the consistency of the editing;
- identify images that require additional adjustments;
- make small individual corrections;
- ensure the entire gallery maintains a consistent visual style.
This final review is an essential step before exporting your images.
Export
Once the editing process is complete, proceed to Export.
Here you can choose:
- file format;
- export quality;
- image resolution;
- file naming;
- destination folder;
- additional export settings.
This is the final stage where your edited photographs are prepared for client delivery, printing, or online publication.
My Workflow
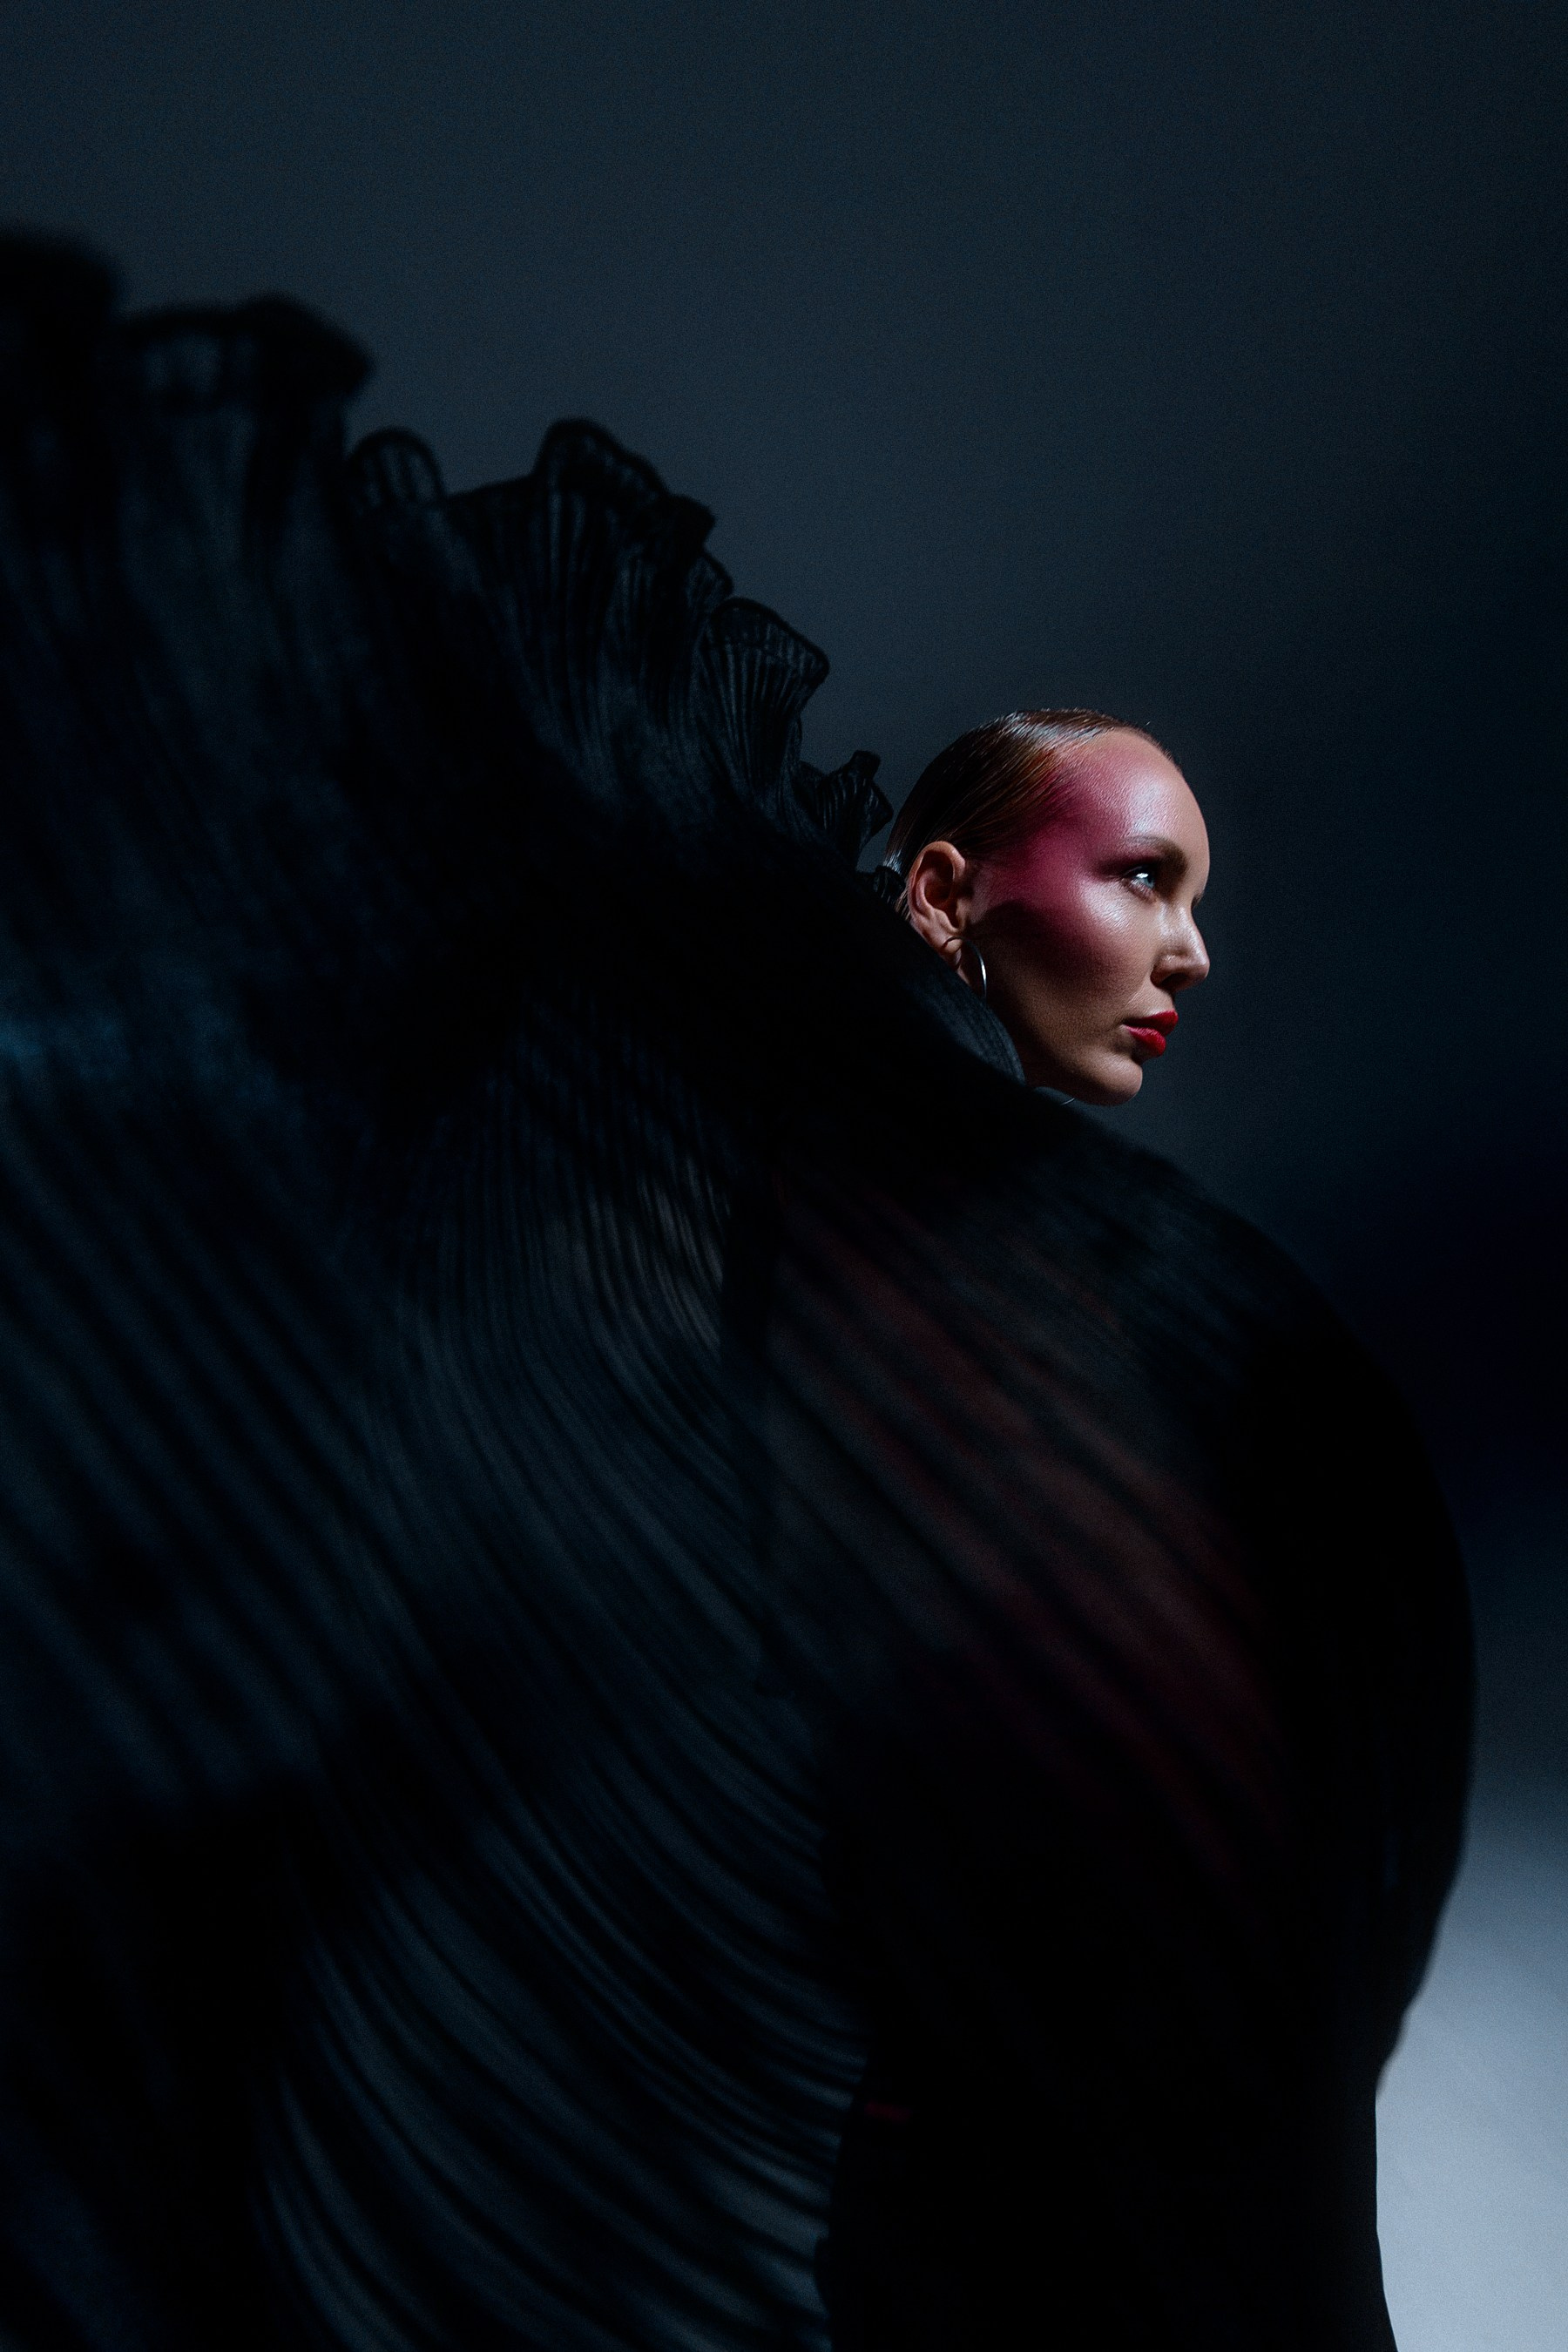
When editing large photo sessions, I follow this workflow:
- Import Photos
- Perform the initial photo selection.
- Choose the best image (Hero Image).
- Fully edit the reference image.
- Save the settings using Save Preset.
- Synchronize the settings with Sync.
- Run Batch Editing.
- Review the entire photo series.
- Make small individual adjustments where needed.
- Export the finished photographs using Export.
This workflow allows me to maintain a consistent editing style, significantly reduce editing time, and achieve professional results—even when working with very large photo sessions.
My Recommendation
Artificial intelligence can dramatically speed up your editing workflow, but it should never replace the photographer’s final review.
Always inspect the entire photo series after batch processing and make any necessary adjustments before exporting.
Spending just a few extra minutes on quality control helps eliminate inconsistencies and ensures every photograph meets a professional standard.
How I Edit Photos in Evoto AI
Practical Video Tutorial

Up to 20% off Evoto AI
Get up to 20% off Evoto AI plans using my promo code.
The discount amount depends on the selected plan. Enter my promo code at checkout or use my link — the discount will be applied automatically.
Promo code: EVOTOALEX

Conclusion
You now know the complete Evoto AI workflow—from importing your RAW files to exporting a fully edited gallery.
The next step is simple: put this knowledge into practice and develop your own editing style.
Evoto AI is much more than a fast retouching application.
It is a complete AI-powered editing solution that helps photographers speed up post-production, maintain a consistent editing style, and spend more time shooting, creating, and working with clients.
The key is to use AI not as a replacement for your artistic vision, but as a powerful assistant that helps you achieve professional results faster.
That’s exactly why Evoto is especially valuable for photographers who regularly work with large photo sessions and want faster, more consistent, and more reliable editing.